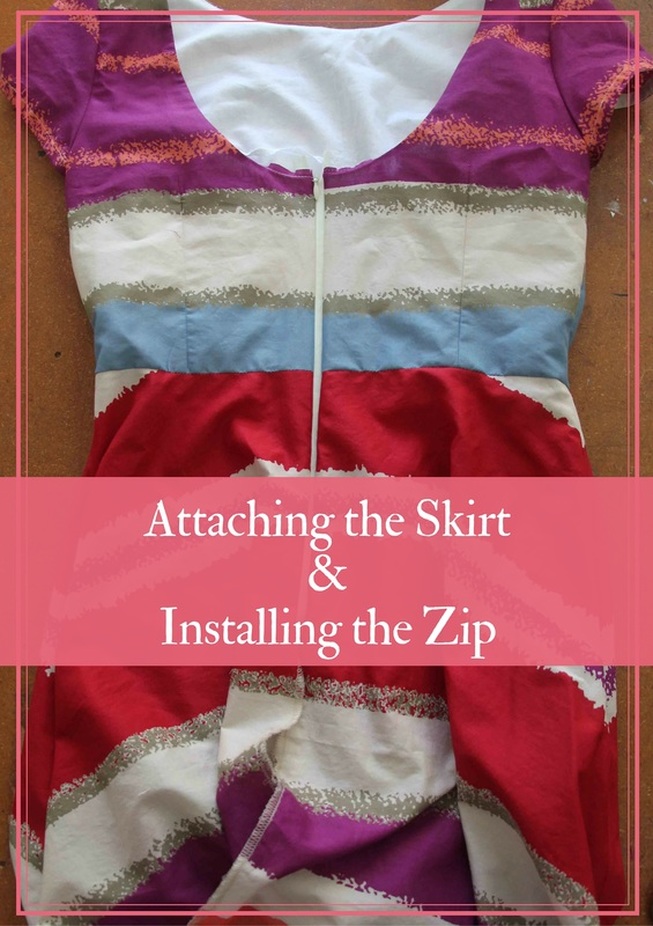
Lesson 6 Attaching the Skirt & Installing the Invisible Zip
In Lesson 6 we are on the home stretch. We will be attaching the skirt and installing the invisible zip. Easy Peasy!!!!!
Here's What You'll Achieve Today
Attaching the Skirt
Installing the Invisible Zip
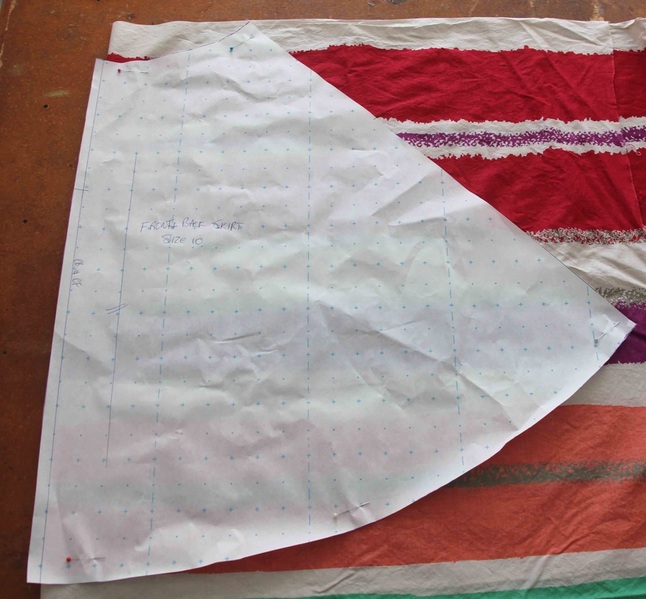
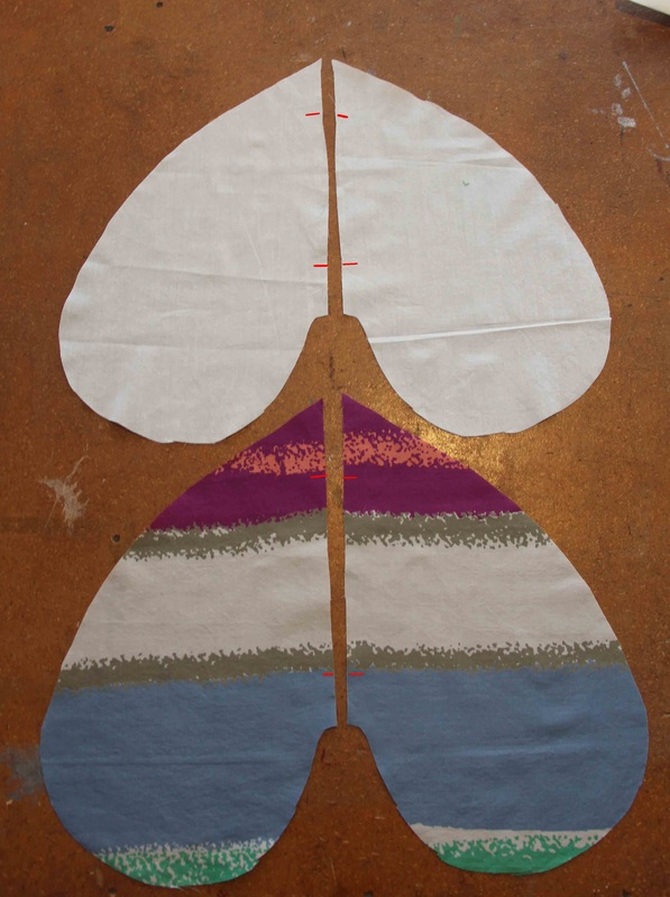
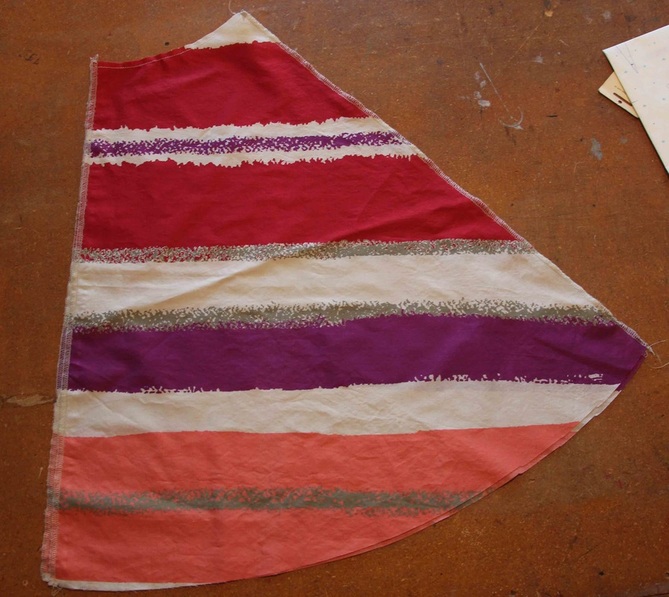
Step 1 - Cut your skirts out. For Skirt A you'll have:
1 front piece
2 back pieces
For Skirt B you'll have:
1 1/2 circle skirt
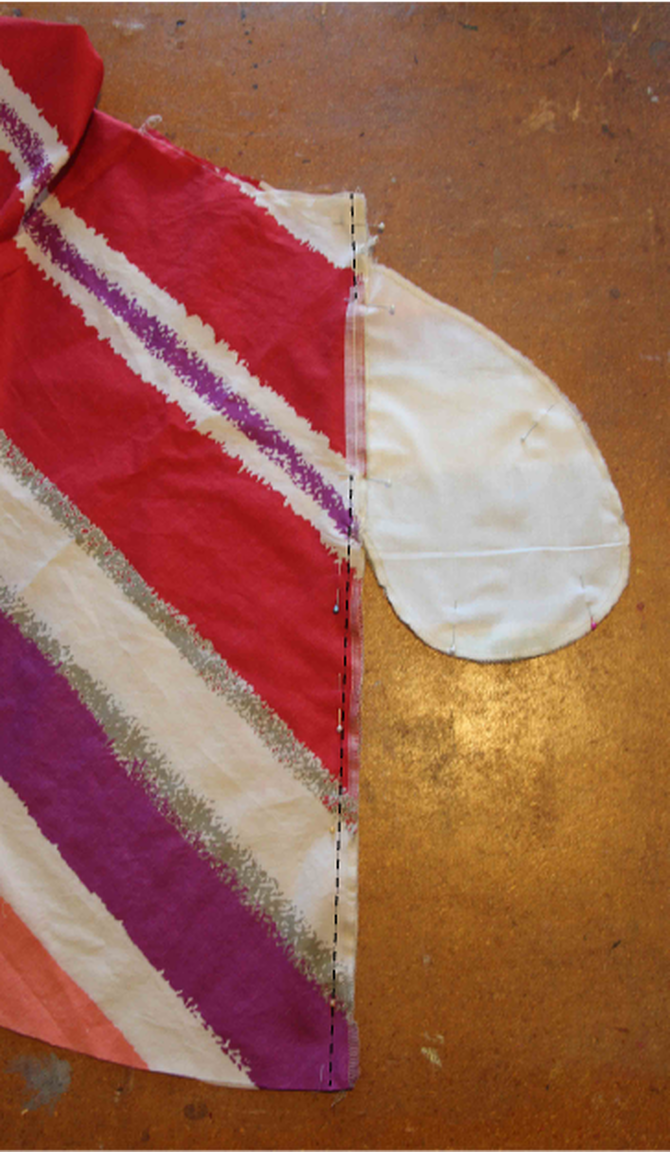
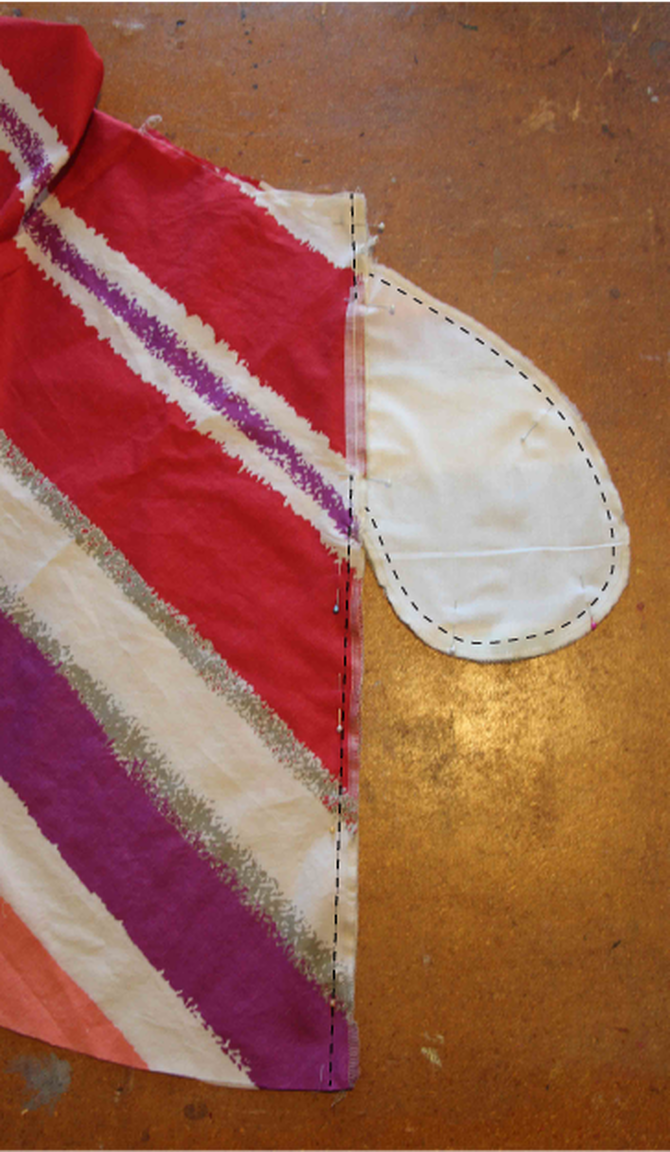
For this tutorial I've used Skirt A with side seam pockets. Also, I'm using stripe fabric that will run across the pattern. So that means I'll need to line the stripes up at the side seams.
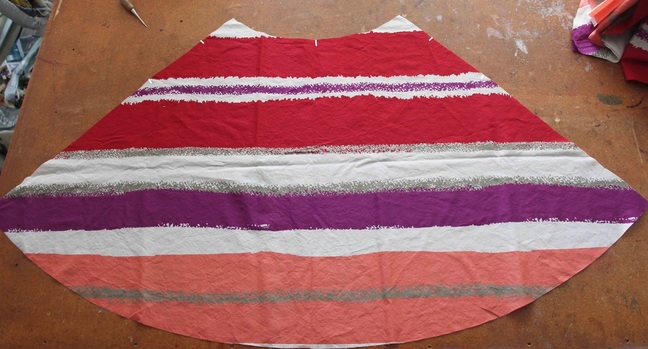
First up I cut out the front skirt.
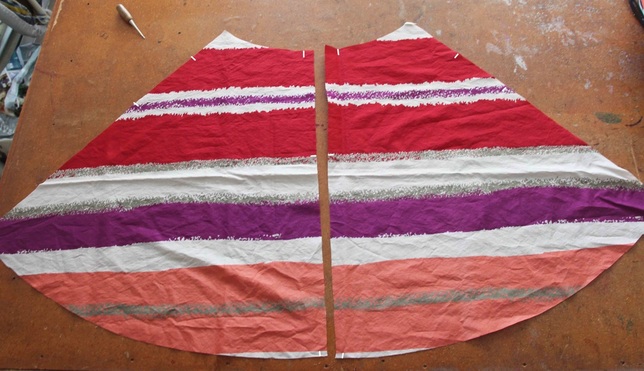
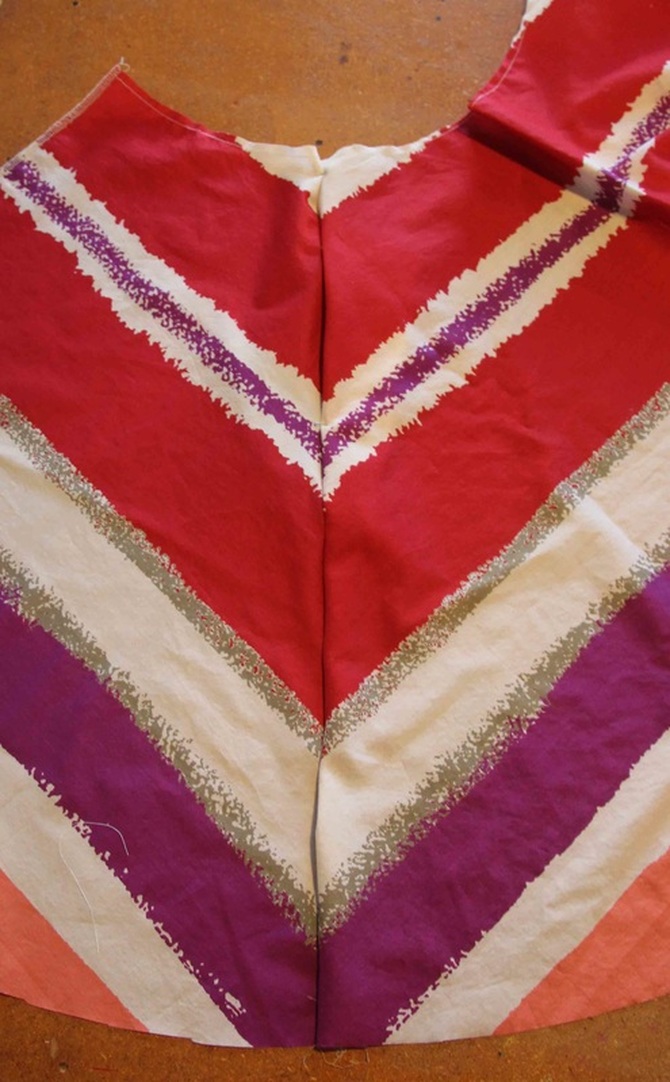
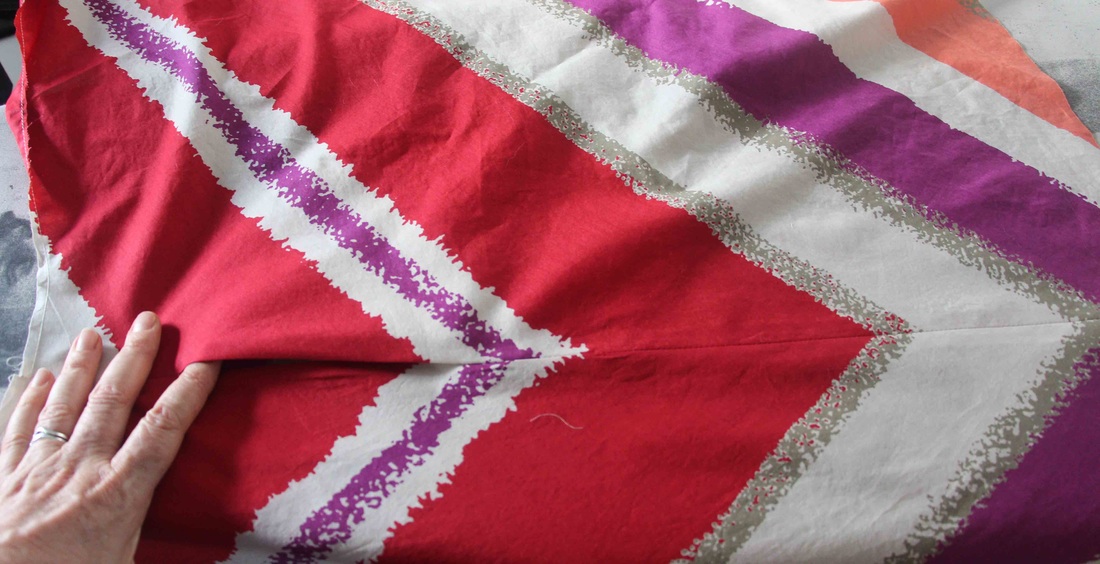
Step 2 - I then cut out the back skirt by lining up the the stripes of the front skirt with the back skirt.
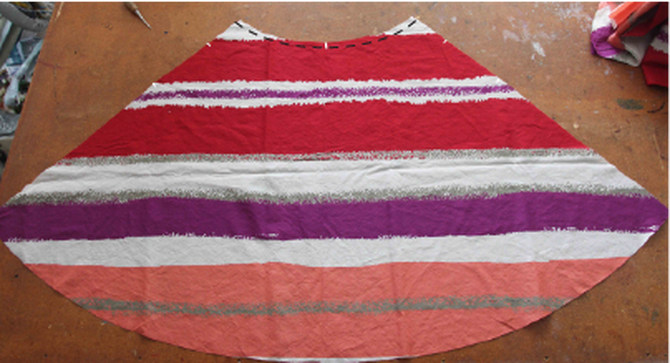
Step 3 - Now mark the following notches:
CF & CB waist
side seam pocket placement notches on the front & back skirt
CB zip placement
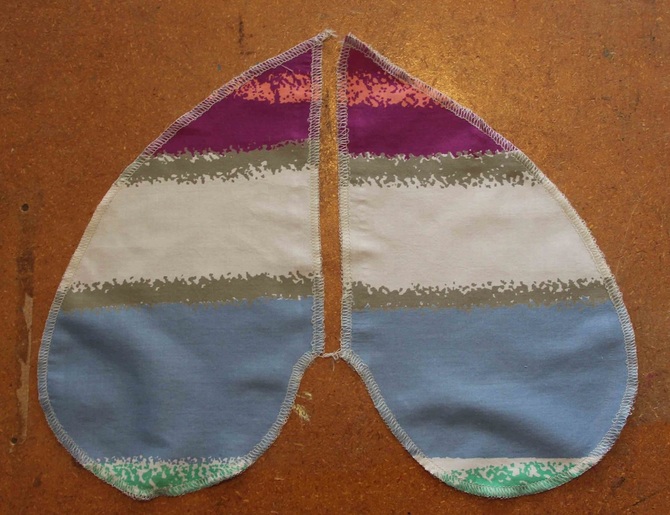
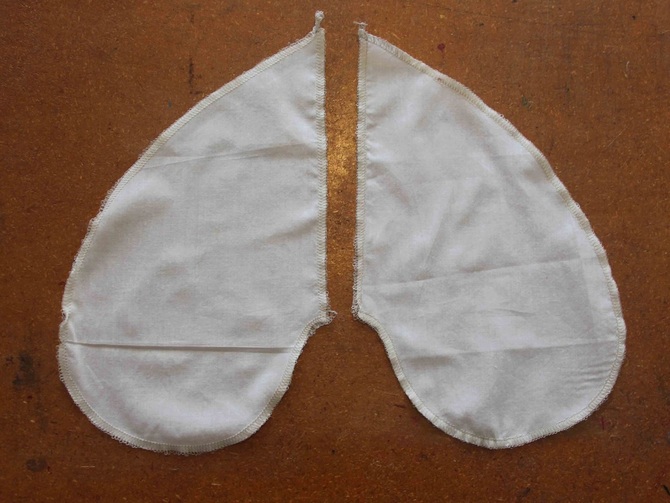
pocket placement notches on the pocket bags
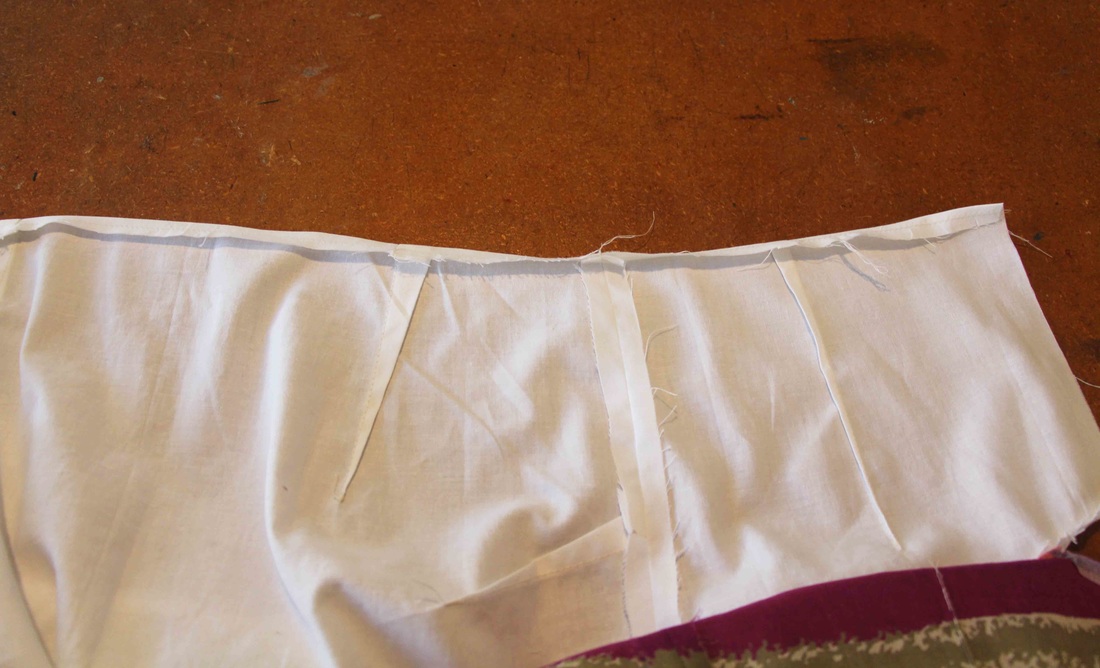
Step 4 - Sew a stay stitch on the front and back waist 6mm/1/4" from edge.
Step 5 - Sew a strip of iron on interfacing to the pocket opening on the front and back skirt. This is done between the pocket placement notches and will prevent the pocket opening from stretching.
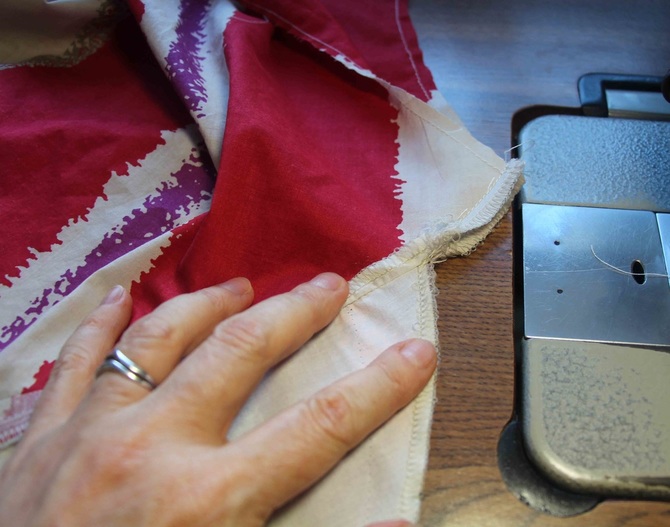
Step 6 - Now overlock the front and back side seams, CB seams and the pocket bags - if you are having pockets. If you are using Skirt A you'll just need to overlock the CB seams.
Step 7 - Mark the pocket placement with pins on the front and back skirt.
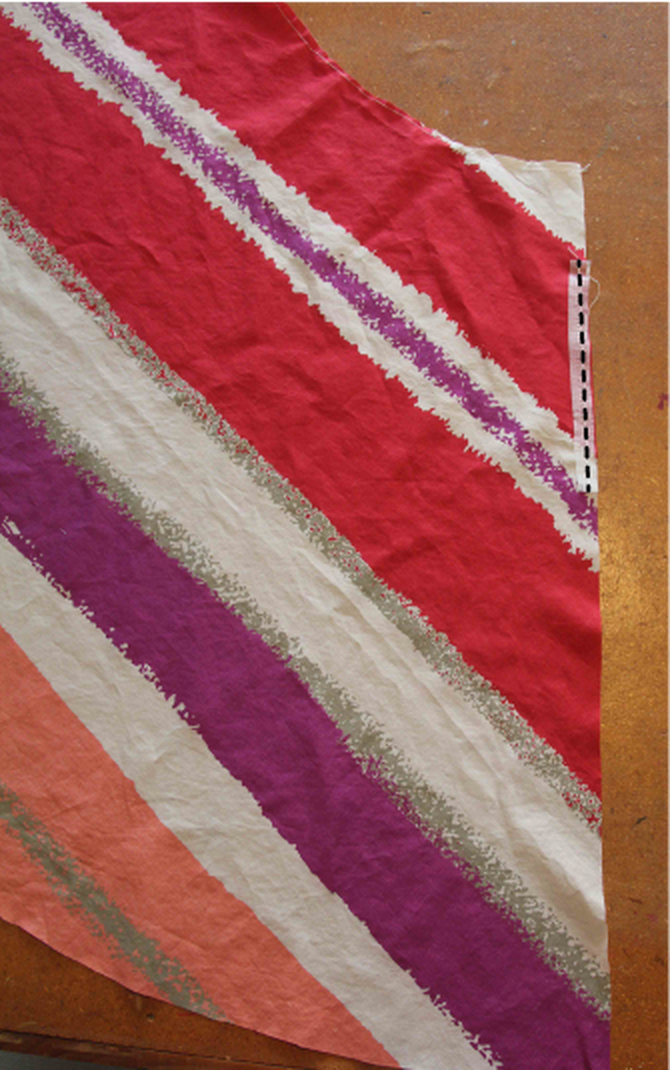
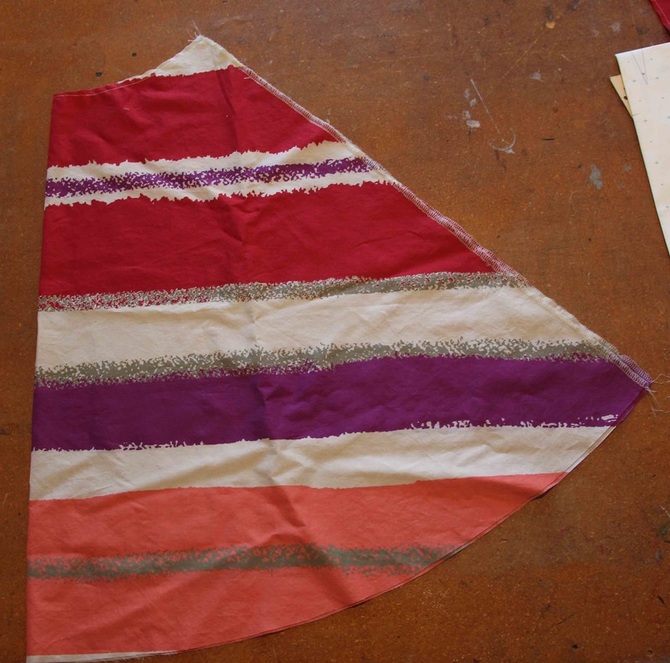
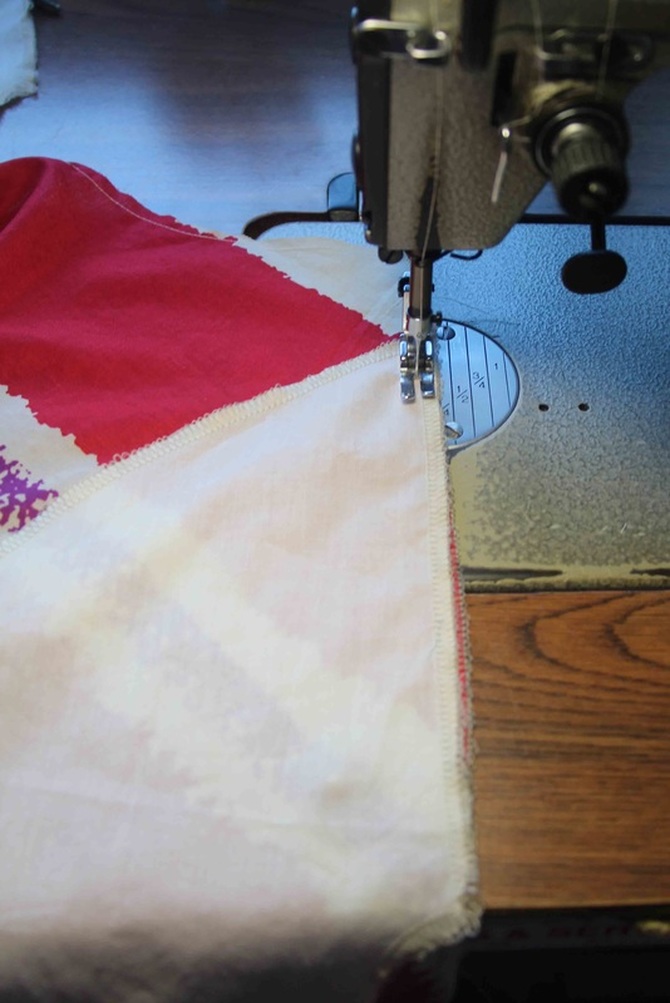
Step 8 - With the facing out flat and not turned back sew the side seam 1cm/3/8" from the edge. Because I've got a small seam I decided not to overlock. Press the seam open.
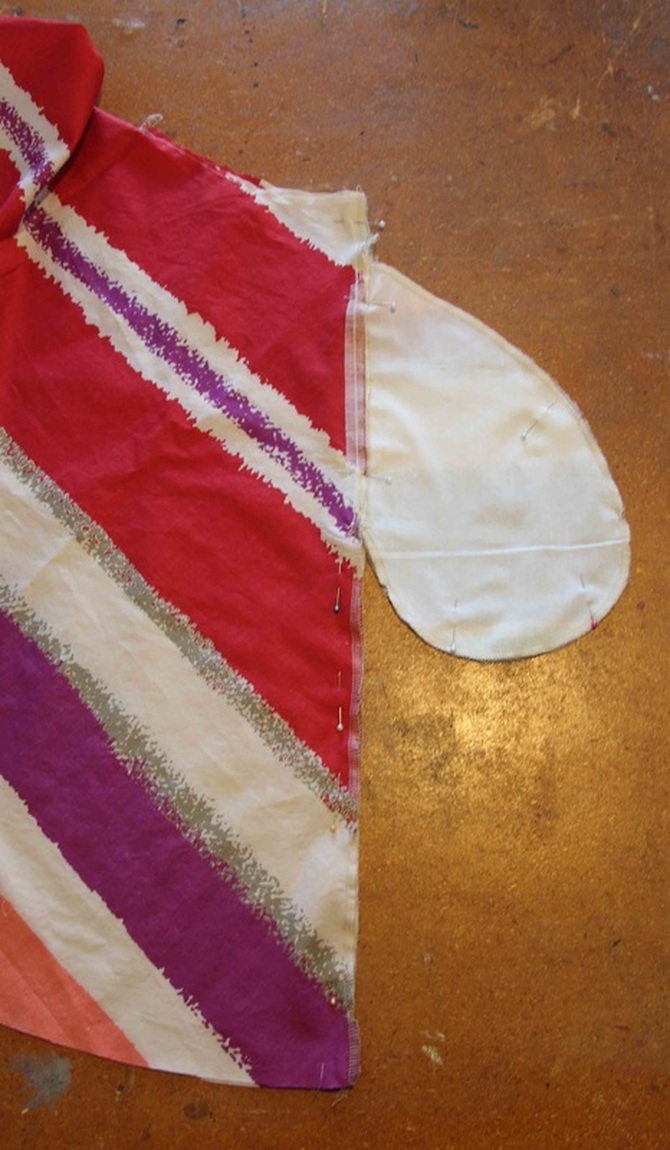
Step 9 - Fold the lining piece out flat and understitch the lining close to the seam. Now sew the last 2 pocket pieces to the back side seam. You won't need to understitch the pocket.
Step 10 - With right sides together of the front and back skirts, pin the side seam and the pocket bags. Make sure you pin the pocket placement notches.
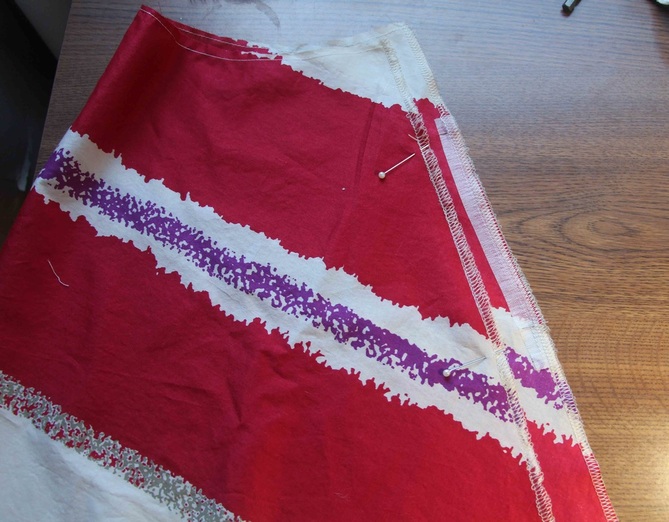
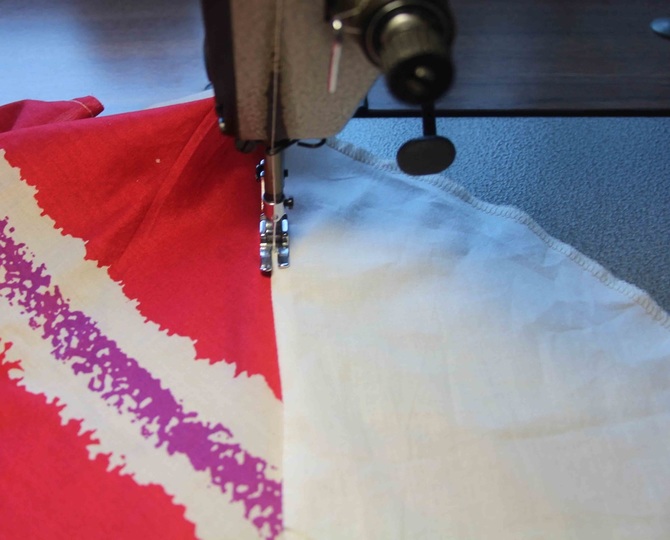
Step 11 - For this tutorial, before I sewed the side seam I opened it out flat to the right side to check that the stripes match up.
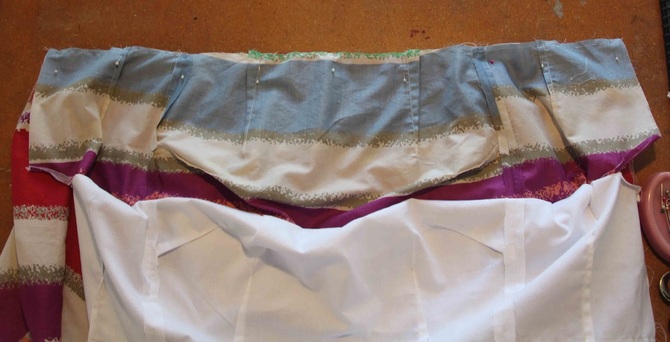
Step 12 - Now your lined sleeved bodice is finished and ready to attach the skirt.
Step 13 - Make sure you have the following steps done:
Front darts sewn
CF waist and neck marked
Side seams overlocked
Stay stitch sewn on the neck and the waist - 6mm/1/4" in from the edge
Attaching the Skirt
Step 1 - Fold the bodice lining to the inside 1cm/3/8" and press.
Step 2 - With right side together of the bodice and skirt pin in place. Make sure you match the CF notches and the side seam. Sew a 1cm/3/8" seam from the edge.
Installing the Invisible Zip
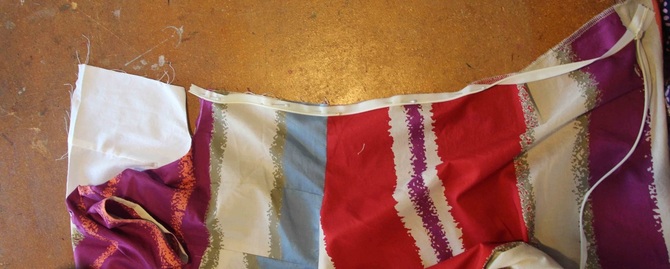
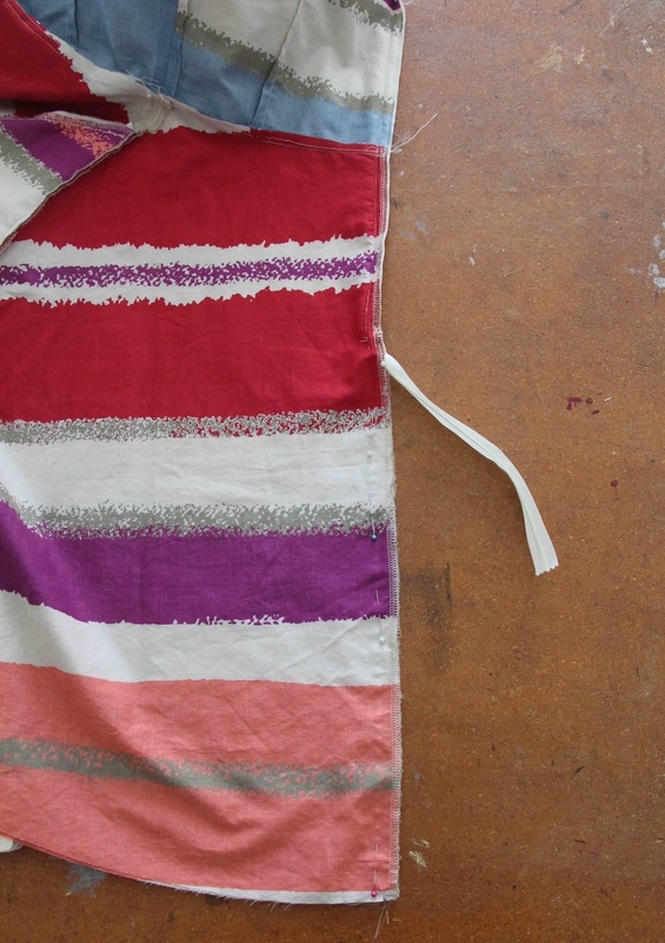
Step 1 - Undo your zip and pin right sides together of the zipper tape to the CB seam. Make sure the zip stopper at the top is 6mm/1/4" down from the neck edge.
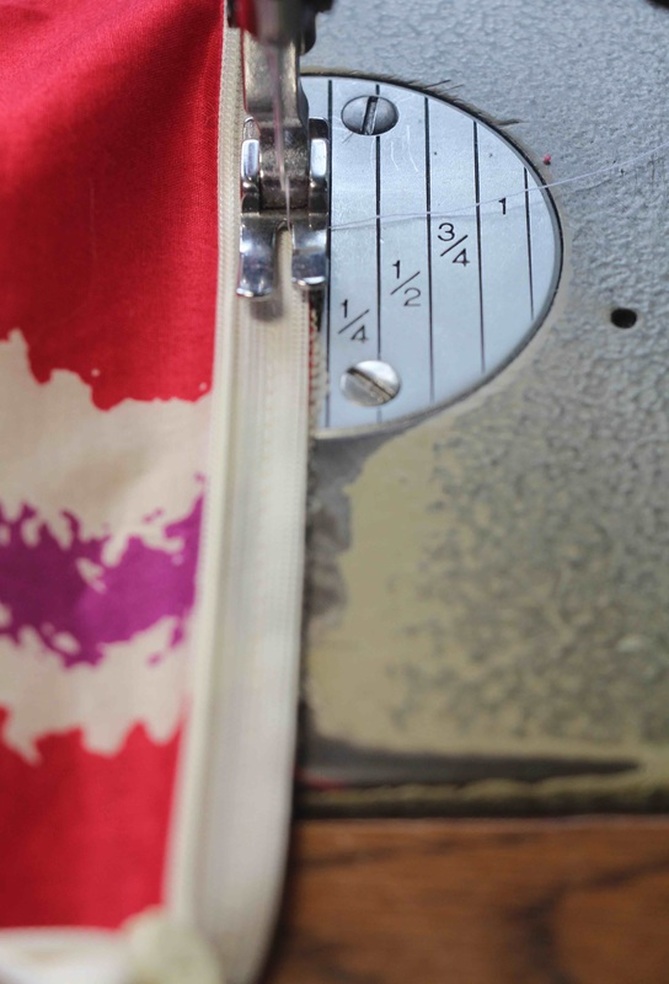
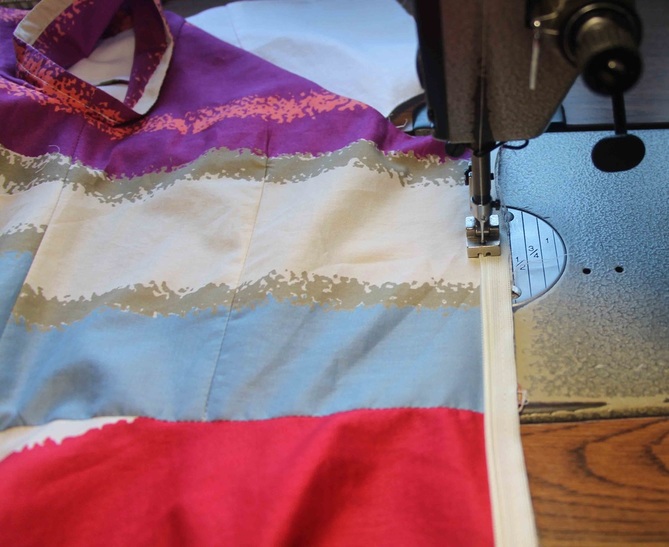
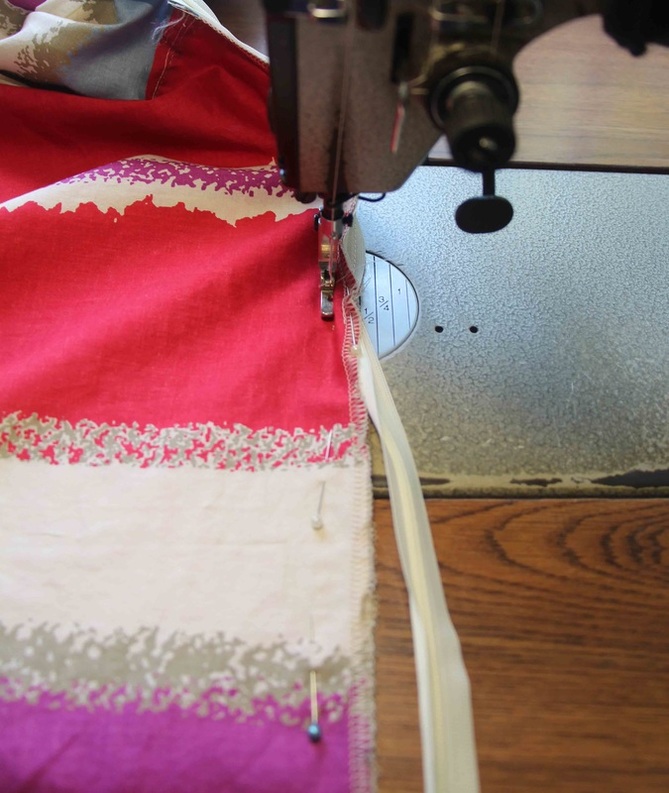
Step 2 - Using your regular sewing foot sew down the tape of the zip. This will hold the zip in place for when you sew the zip with the invisible zipper foot.
Step 3 - Now attach your invisible zipper foot and sew down the zip.
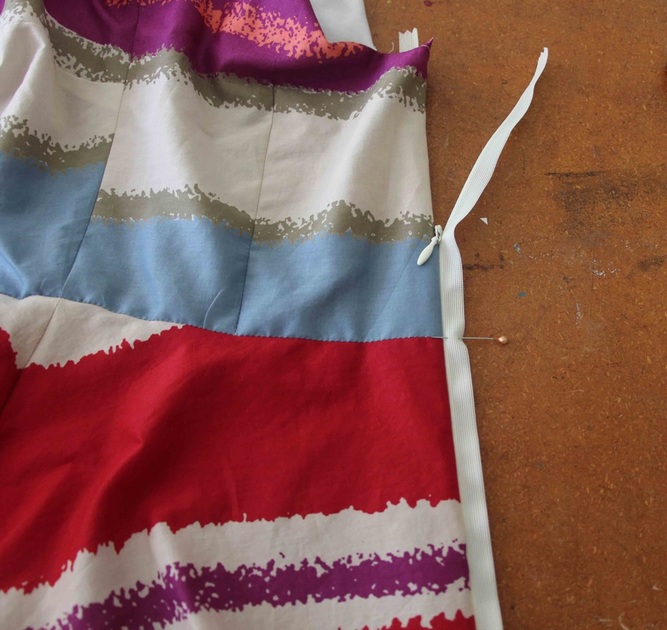
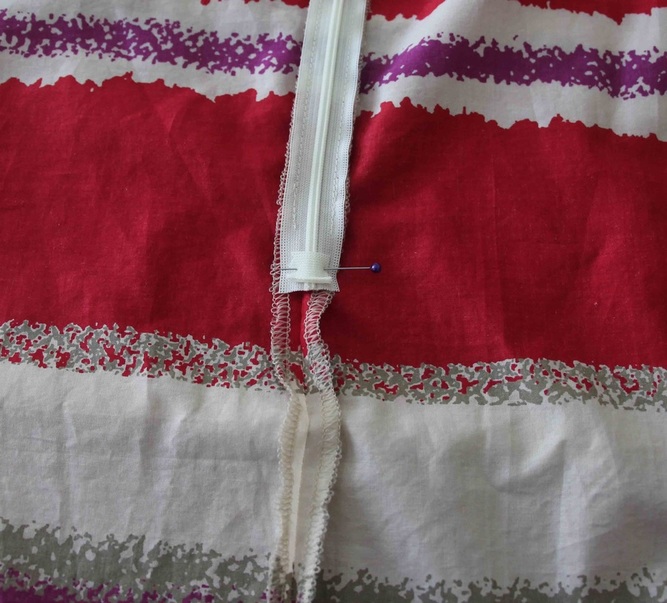
Step 4 - Close the zip just past the waist seam and mark the seam either with a pin or your marking pen. Open up the zip.
Step 5 - Turn your bodice to the right side and understitch the facing with the seam underneath turned toward the facing.
Step 6 - With your regular sewing foot sew down the zip tape.
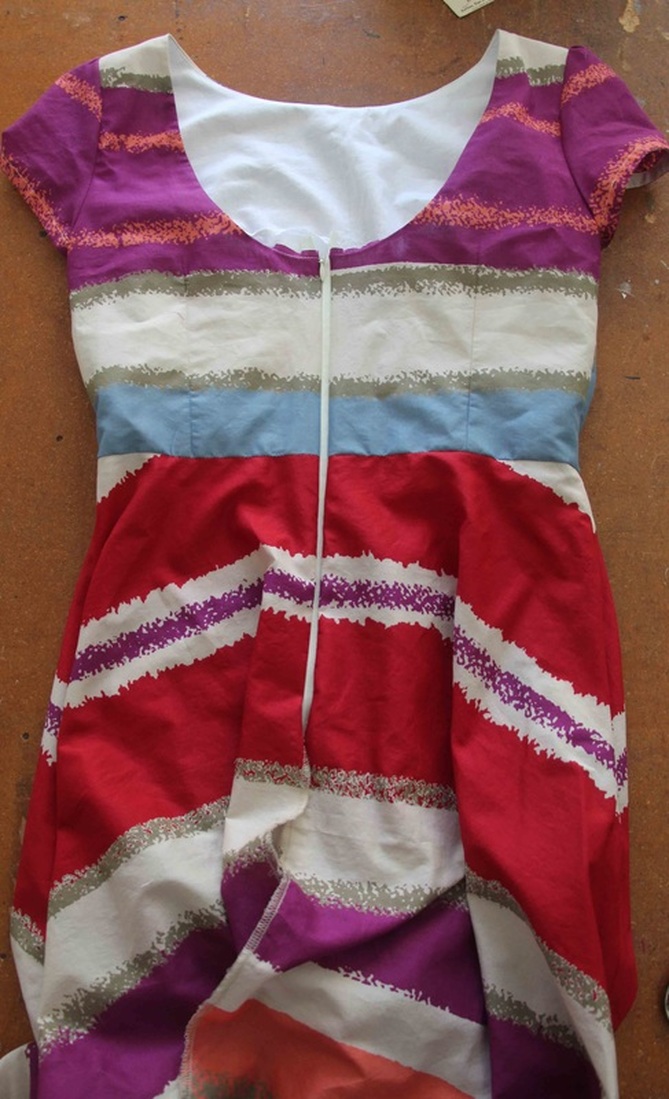
Step 7 - Before you sew the zip with your invisible zip foot - close the zip and check that everything aligns. Check the following:
the neck edges line up
the waist seams line up
and the hem edges line up
If everything lines up then you can sew the zip with your invisible zipper foot. If not, then make the necessary adjustments.
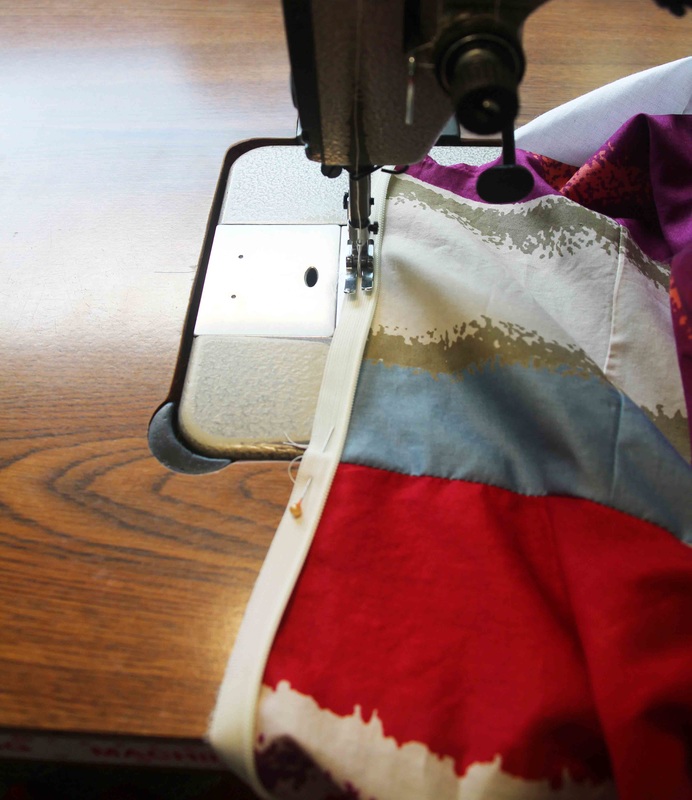
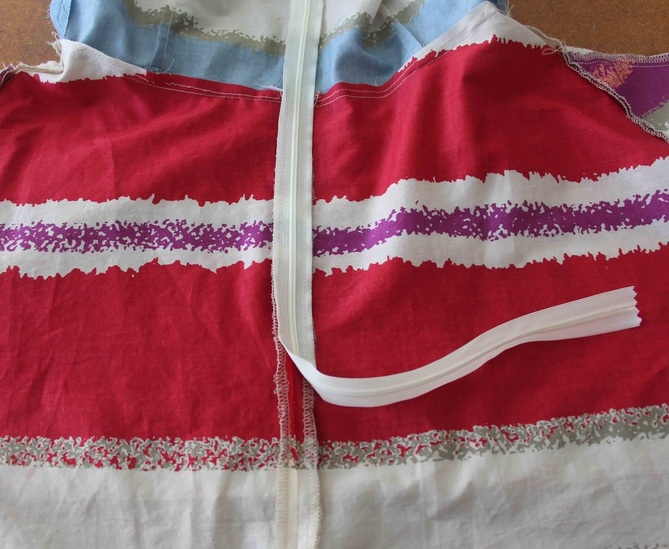
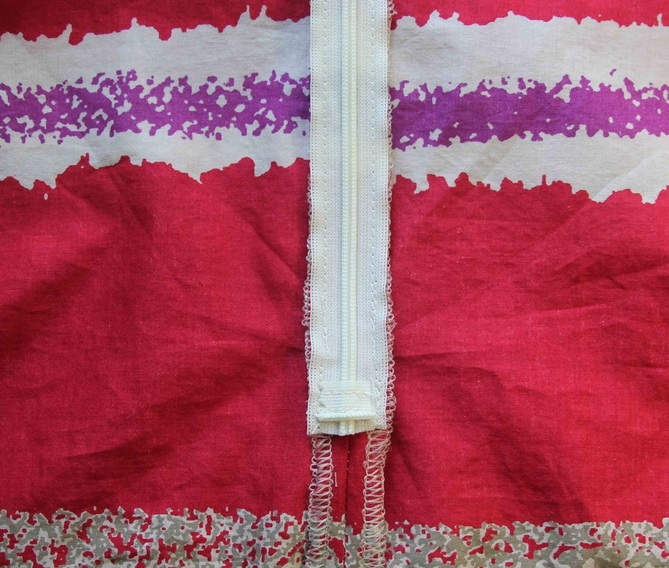
Step 8 - Now that you've sewn the zip the rest of the CB seam will be sewn up. Change your foot to your regular zipper foot. Pin the CB seam and pull the zip out of the way. Now sew the CB seam starting at the end of the invisible zip.
NOTE: For this tutorial I used a longer zip than I needed so I'll show you how to finish off the inside of your zip.
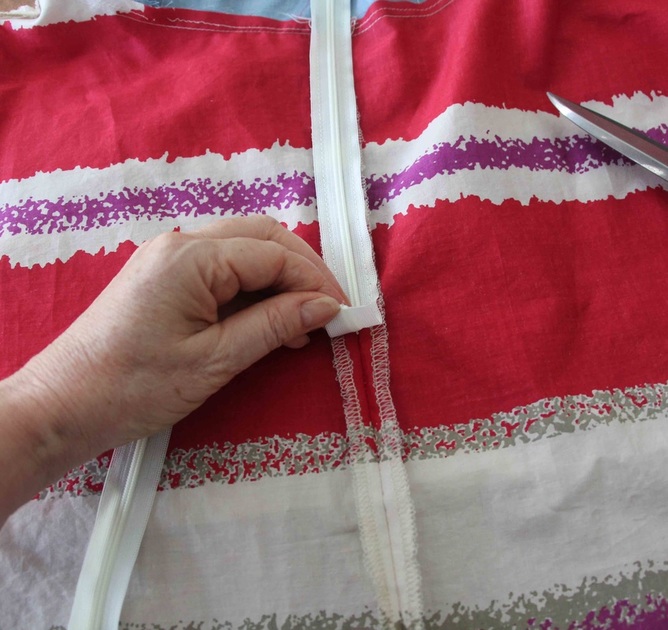
Step10 - Cut the end of your zip off about 12mm/1/2" below the zip seam.
Step 11 - Cut a piece off the end of your zip.
Step 12 - Pin the end piece to the end of your zip and sew in place. This will stop the zipper toggle coming off at the bottom end.
Step 13 - Now sew the end of your zip to the CB seam making sure the skirt is out of the way.
That's it for today
In Lesson 7 I'll be showing you how to finish off the Invisible Zip with the Facing or Lining. Then you'll hem the skirt.