Lesson 4
Cutting & Sewing Your Bodice
In Lesson 5 we are going to cut and sew our bodices. This is the fun part.
Here's What You'll Achieve Today
- Cutting Out & Sewing Your Bodice
- How To Line Up Stripes
Before we get started I just wanted to talk to you about stripe fabric. For this tutorial I chose a stripe fabric and I decided I wanted the stripes to go across the skirt, bodice and sleeve. And you'll notice when the dress is done the stripe affect on the skirt is really beautiful.
So, I've got a mini lesson on how and where to line up the stripes of your fabric. And if you've chosen a stripe fabric you are going to learn a lot.
Ok, let's get started.
So, I've got a mini lesson on how and where to line up the stripes of your fabric. And if you've chosen a stripe fabric you are going to learn a lot.
Ok, let's get started.
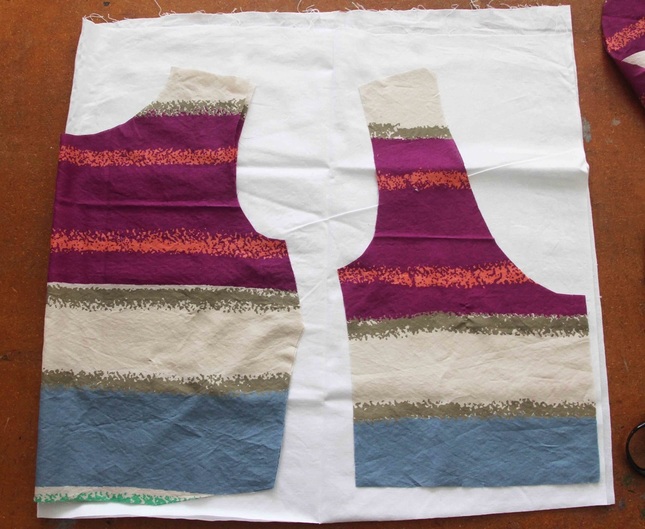
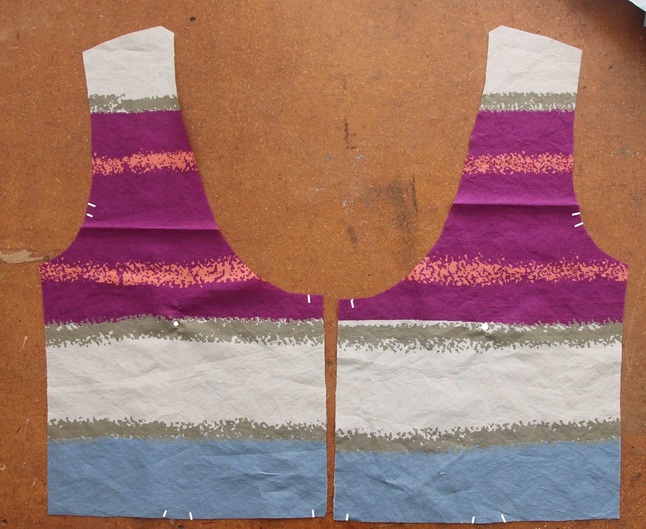
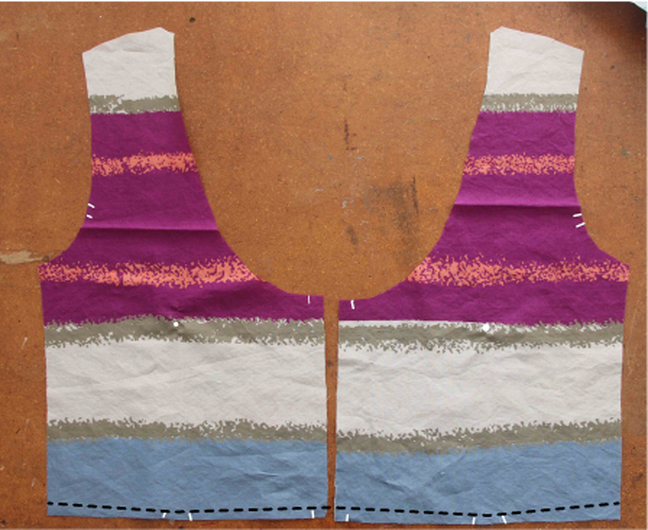
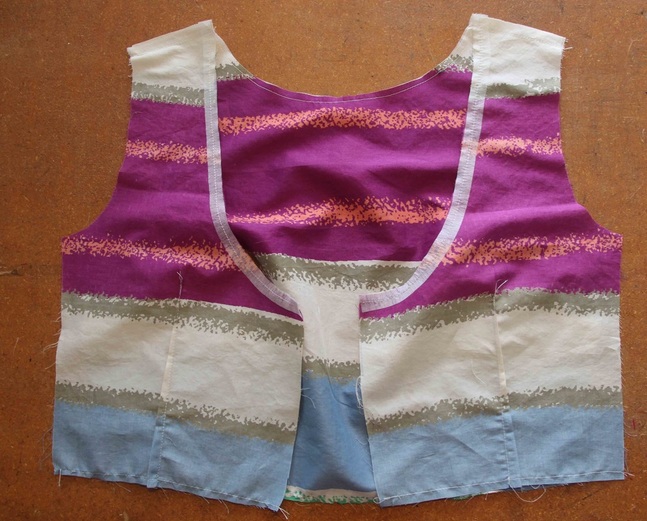
Step 1 - The stripes on my fabric run down the length of the fabric so I've folded the length up to create the stripes going across the bodice.
Because I have sleeves I've decided to match the stripes from the side bust dart up. That way the sleeve will match to the front and back of the bodice.
If you are having a sleeveless bodice I would match up the stripes from the side bust dart down.
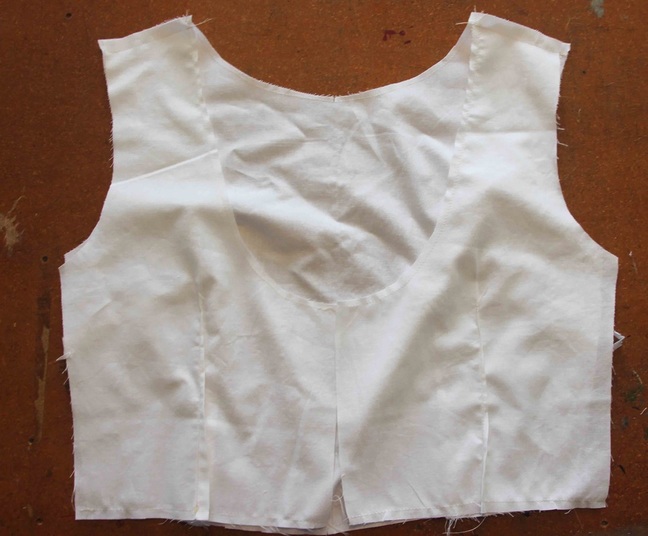
For this tutorial I'm lining my bodice.
NOTE: If you are using facings now is the time to cut out your facings. Make sure you mark the following notches on your facings:
Because I have sleeves I've decided to match the stripes from the side bust dart up. That way the sleeve will match to the front and back of the bodice.
If you are having a sleeveless bodice I would match up the stripes from the side bust dart down.
For this tutorial I'm lining my bodice.
NOTE: If you are using facings now is the time to cut out your facings. Make sure you mark the following notches on your facings:
- CF & CB neck notch
- armhole notches
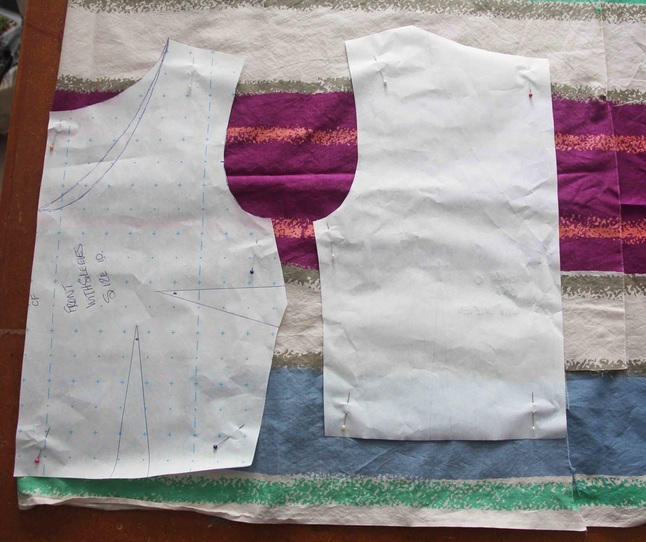
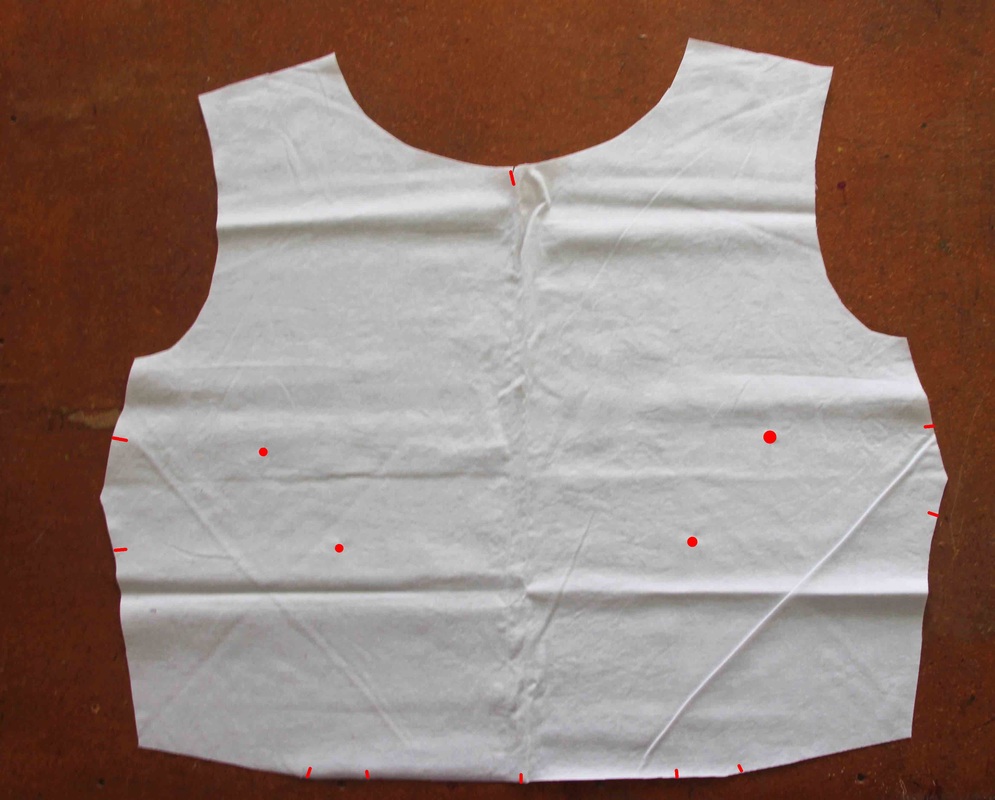
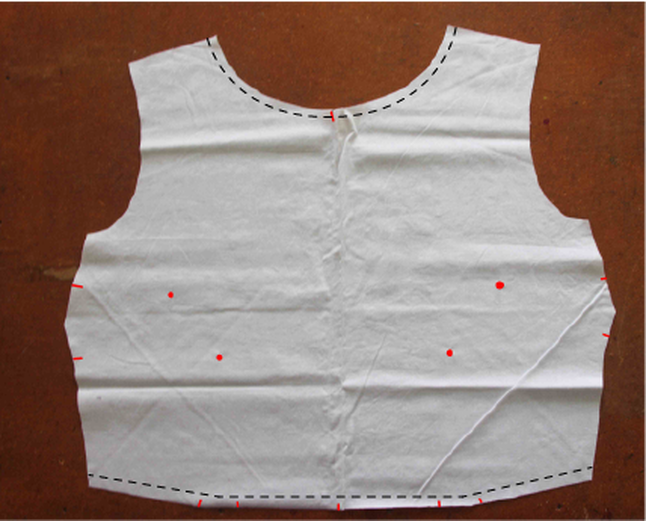
Step 2 - Make sure you mark the following on the front bodice and lining:
- CF neck and waist
- armhole notch
- side bust dart
- waist bust dart
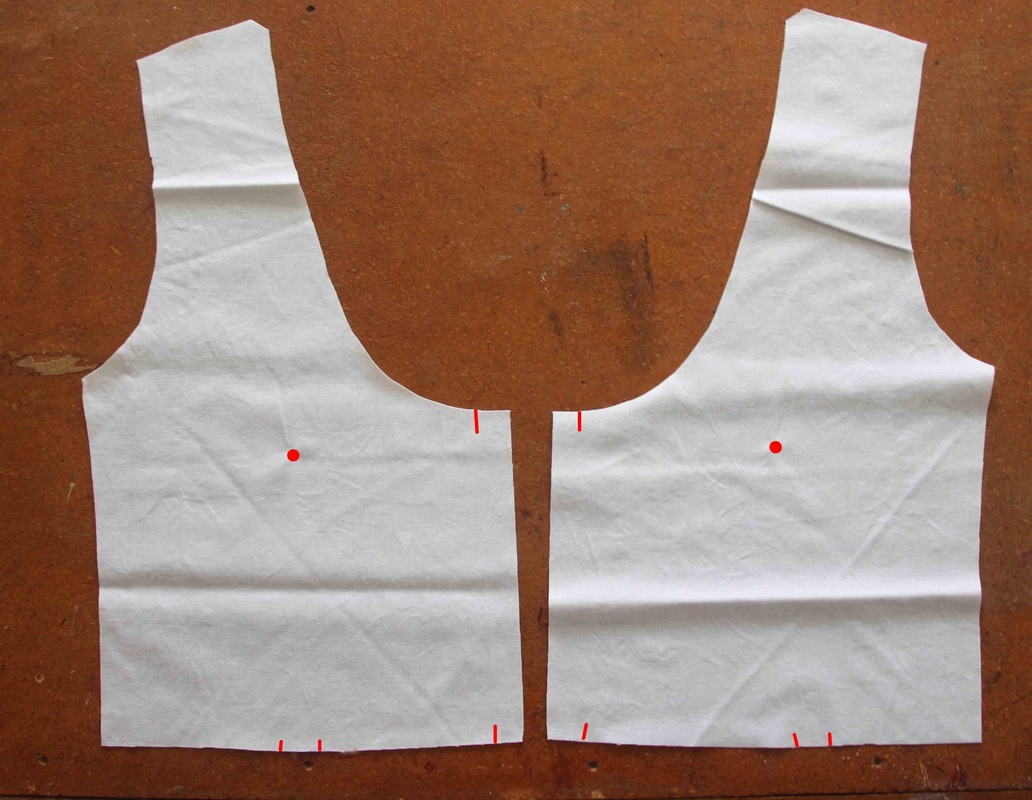
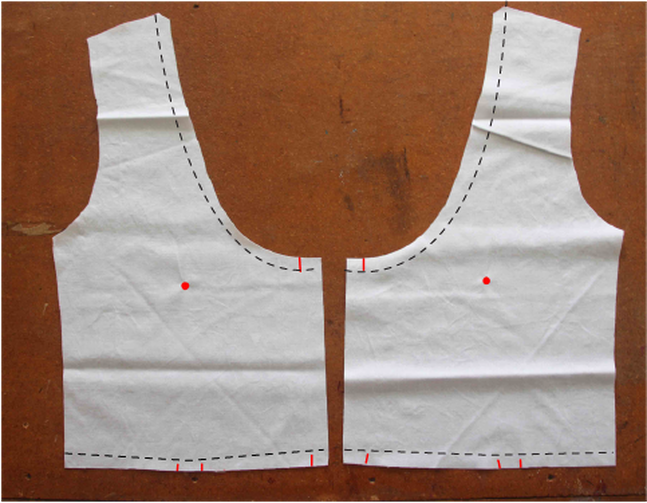
Step 3 - Make sure you mark the following to the back bodice and lining:
- CB neck and waist notch
- armhole notches
- darts
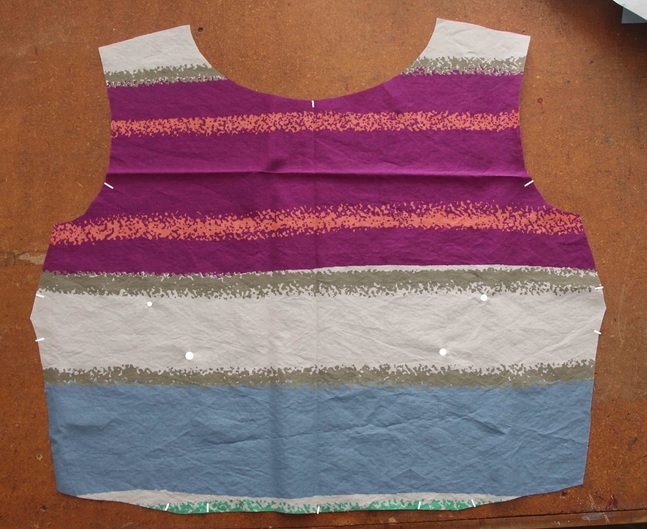
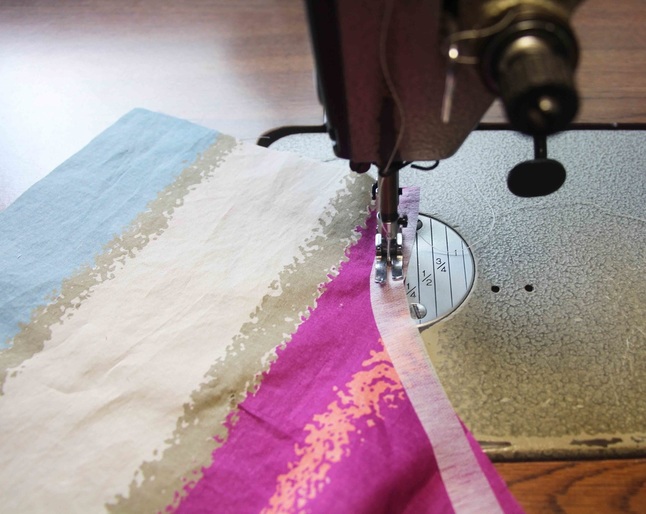
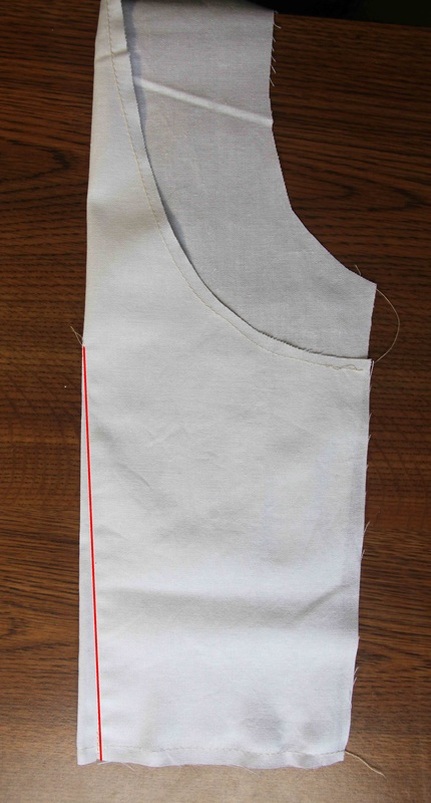
Step 4 - Now sew the side seams of the bodice main fabric and press seam open.
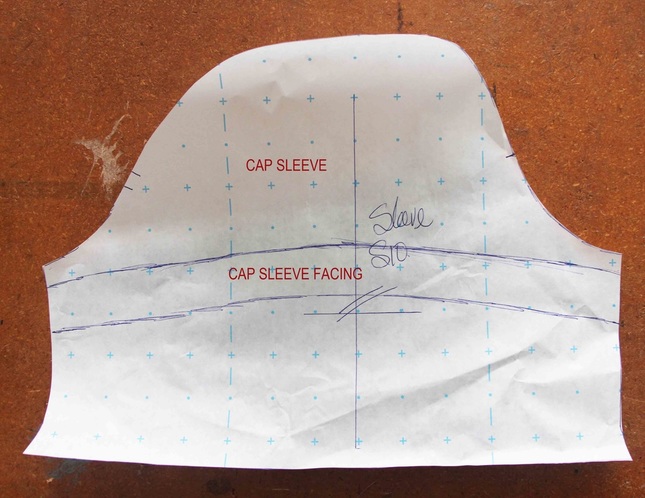
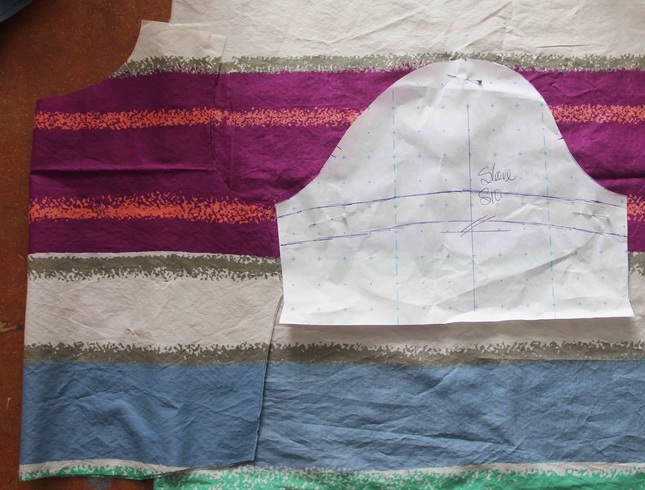
Step 5 - To line up your stripes of the bodice and the sleeve - place your bodice on your fabric and line up the stripes. Next place your sleeve pattern next to the bodice. The underarm is the place you'll match up first. Make sure both side seams of the sleeve are the same and level.
Cut out your sleeves and facings.
Cut out your sleeves and facings.
Step 6 - Your lined bodice is now ready for the sleeves.

Step 7 - Cut out strips of iron on interfacings to be used at the neckline. Cut the width of the interfacing by 1cm/3/8".
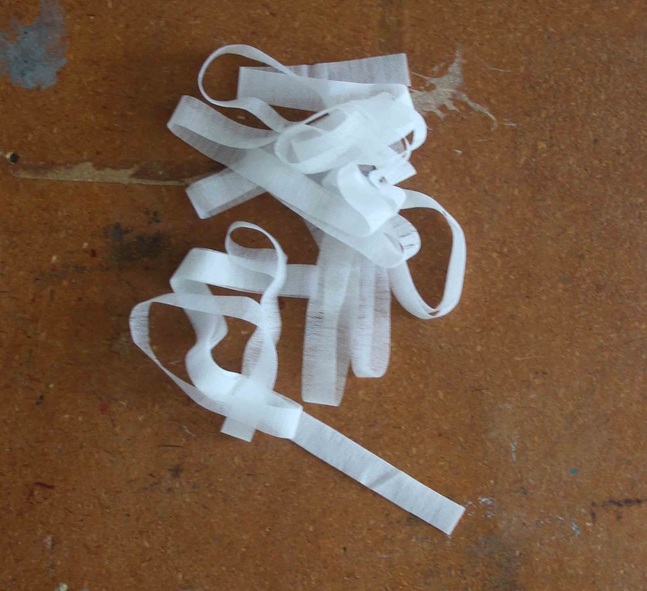
Step 8 - Sew the interfacing to the wrong side of your fabric - 6mm/1/4" in from the edge. Then press your neckline on the right side of the fabric to stick the interfacing down.
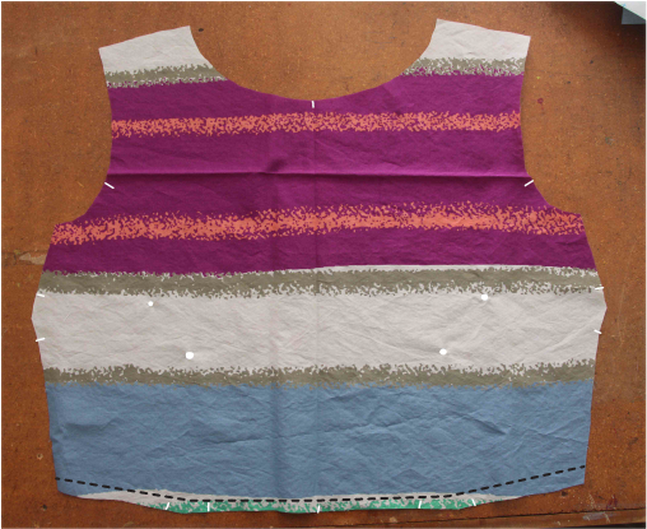
Step 9 - Sew a stay stitch 6mm/1/4" from the edge on the waist of the front and back bodice.
Step 10 - Sew a stay stitch 6mm/1/4" from the edge on the lining neck and waist.
Step 11 - Sew all the darts on the main fabric and lining.
Press your darts the following way:
A word on sewing darts - Make sure you sew in a straight line and start from the bottom of the dart and finish at the point. When you get to the end of the dart make sure you finish by stitching the dart very close to the edge for a few stitches before finishing. This way you won''t experience a pointy dart.
Press your darts the following way:
- Waist darts to be pressed to the side seams
- Side front bust dart to be pressed down toward the waist
A word on sewing darts - Make sure you sew in a straight line and start from the bottom of the dart and finish at the point. When you get to the end of the dart make sure you finish by stitching the dart very close to the edge for a few stitches before finishing. This way you won''t experience a pointy dart.
Step 12 - Starting at the side seam, sew the armhole 1cm/3/8" from the edge. Overlock on the lined bodice side and the press the armhole with the seam facing toward the sleeve.
- Back darts sewn
- Side seams and CB seams overlocked
- Stay stitch sewn on the neck and waist - 6mm/1/4" in from the edge
That's it for today
Your bodice is now ready to attach the lining.
In Lesson 5 I'll teach you how to attach your lining and also, I'll do a tutorial on how to attach facings to a sleeveless bodice.
In Lesson 5 I'll teach you how to attach your lining and also, I'll do a tutorial on how to attach facings to a sleeveless bodice.


The MiSS FOX DRESS SEW-A-LONG
Welcome - What You'll Need
Lesson 1 - How to Measure Yourself Correctly & Cut & Sew Your Toile
Lesson 2 - How to Fit Your Toile & Fitting Issues
Lesson 3 - Transferring Your Toile Adjustments to Your Pattern
Lesson 4 - Cutting Out and Sewing Your Bodice
Lesson 5 - Attaching the Bodice Lining or Facing
