Lesson 5
Attaching the Bodice Lining or Facing
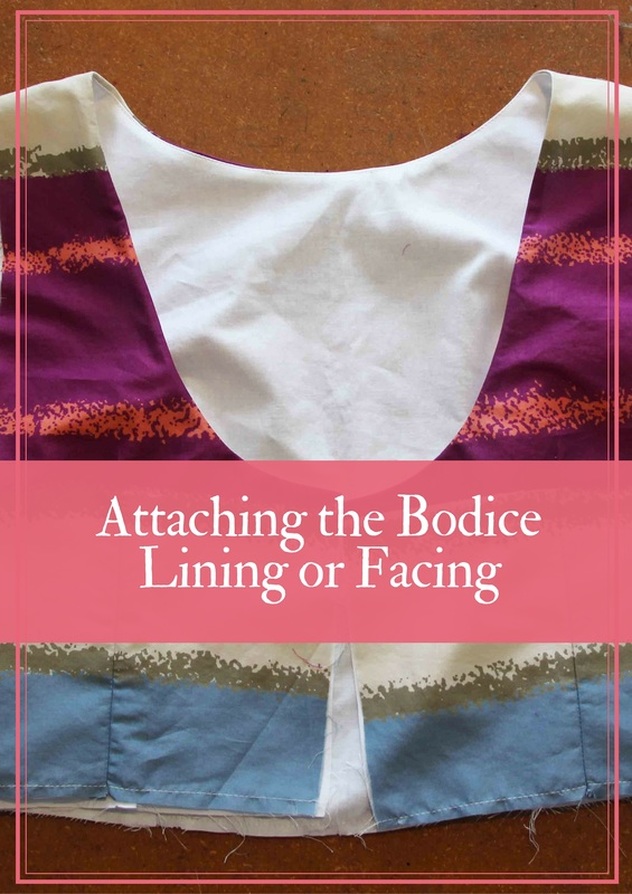
In Lesson 5 we will now be attaching the Bodice Lining. Also, I'll have a tutorial below on how to attach the sleeveless Bodice Facing.
Here's What You'll Achieve Today
- How to Attach the Bodice Lining
- How to Attach the Sleeveless Bodice Facing.
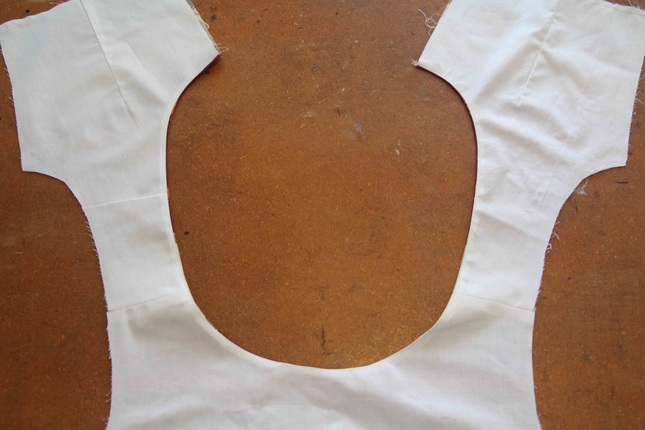
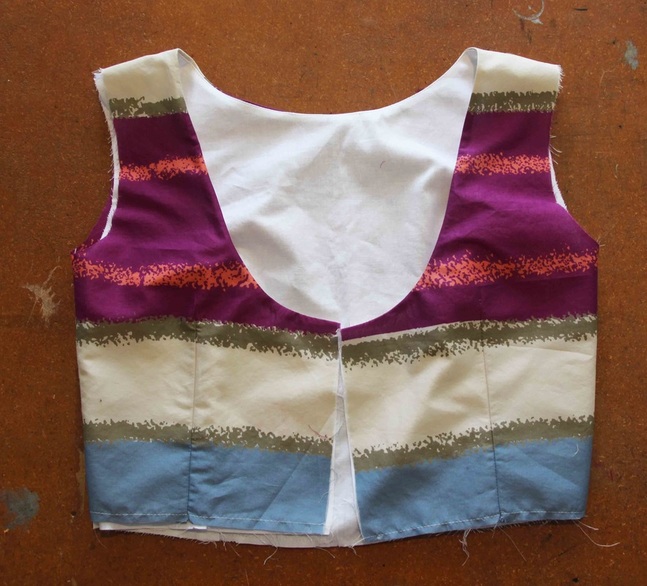
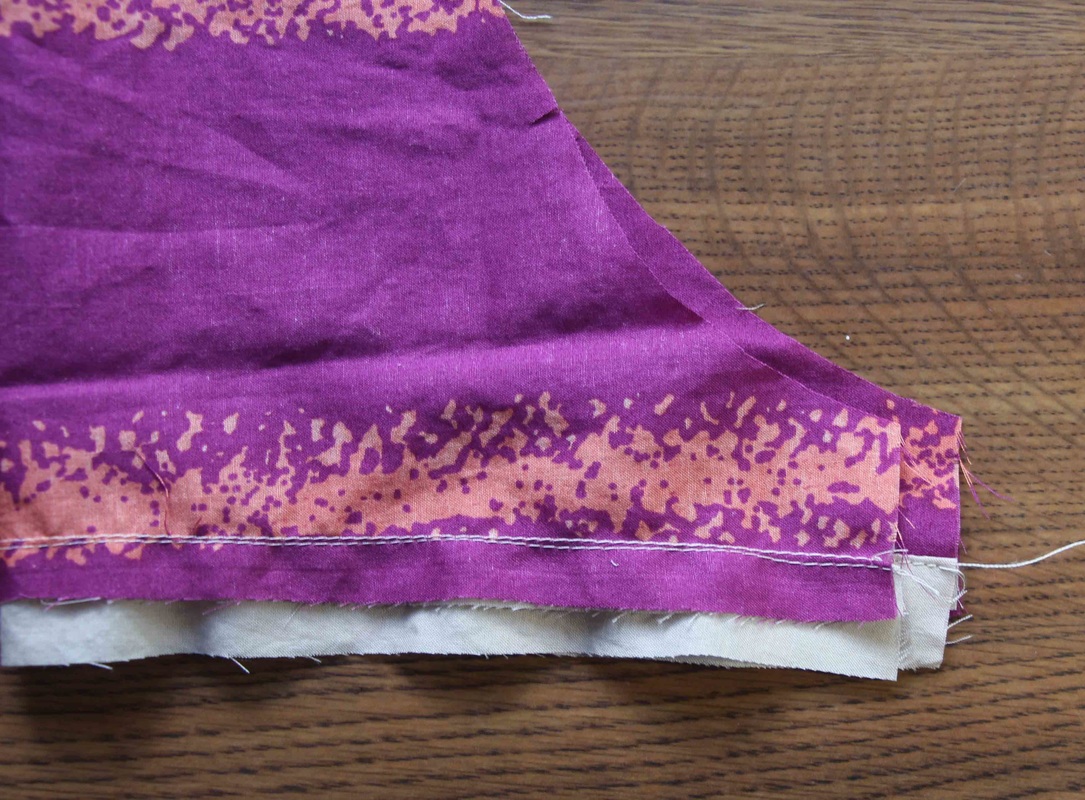
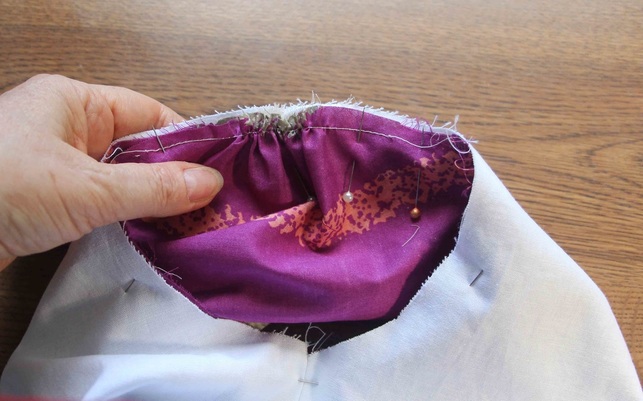
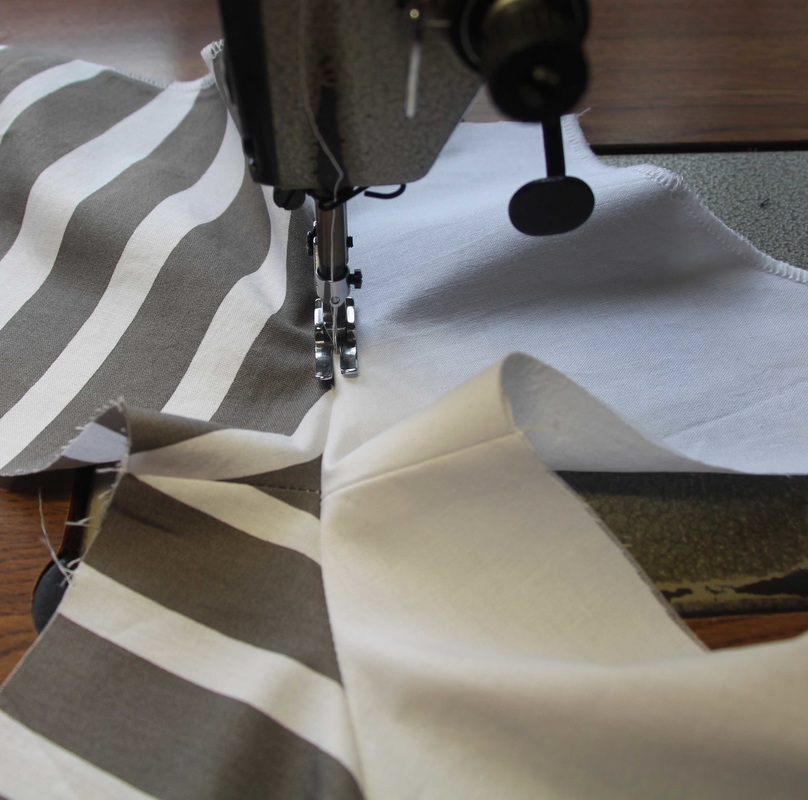
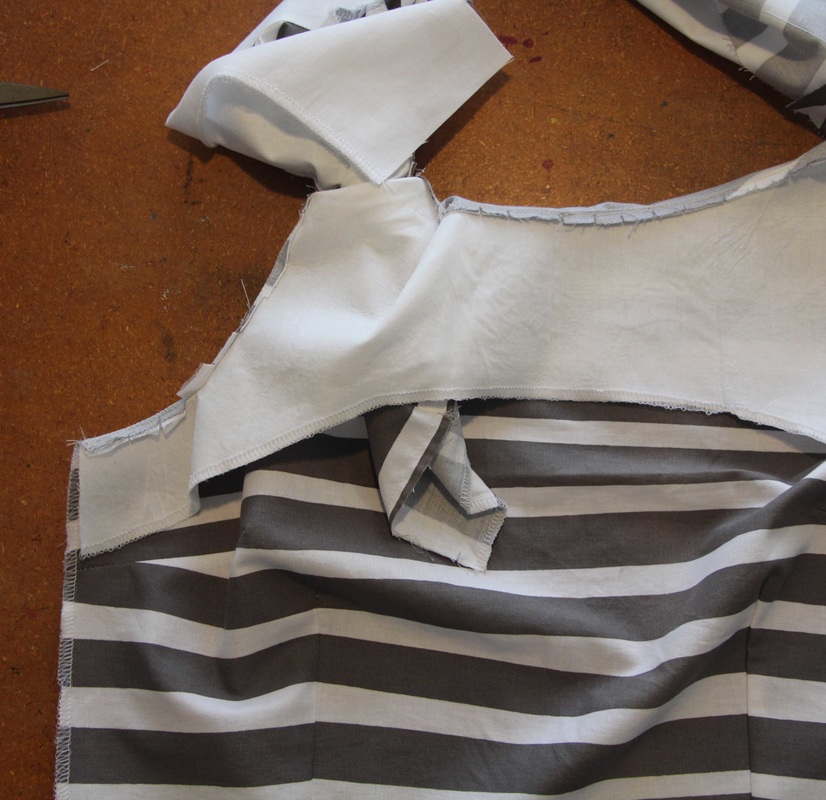
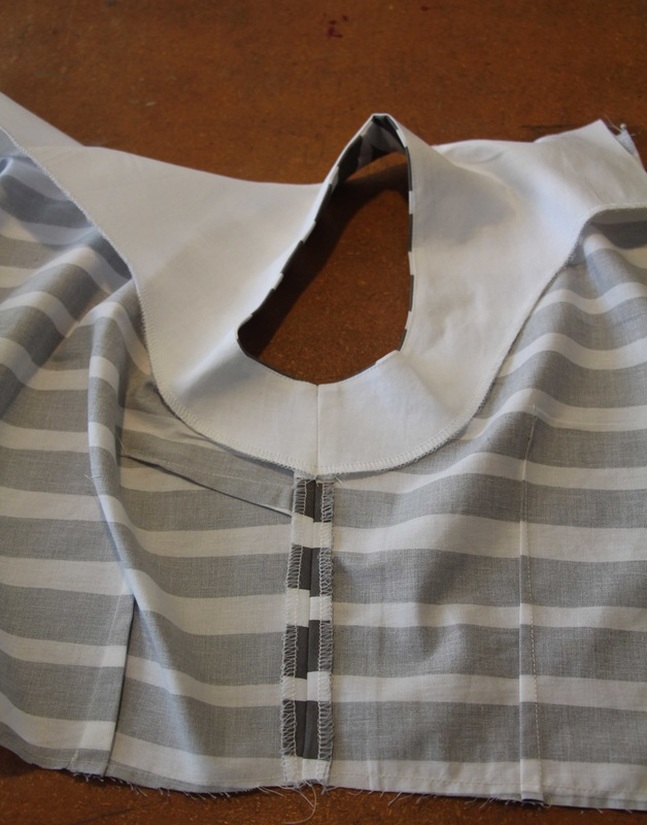
Step 1 - With right sides together pin the lining to the Bodice at the neckline. Match the shoulder seams and CF notches.
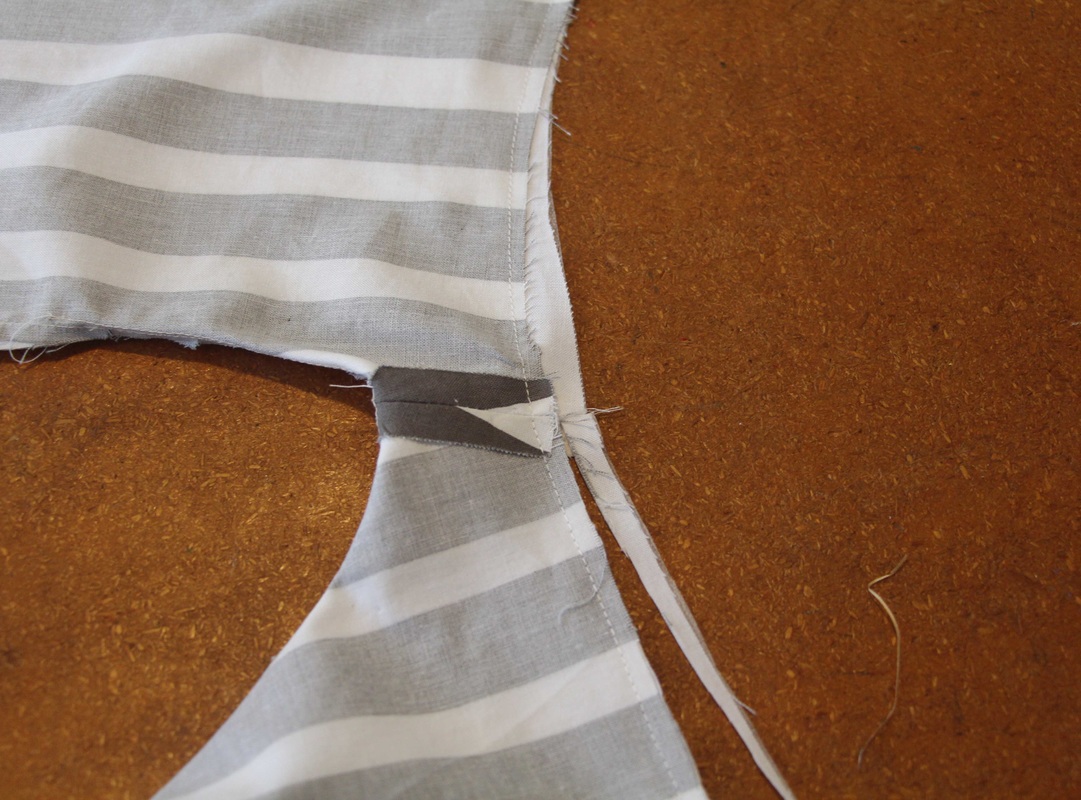
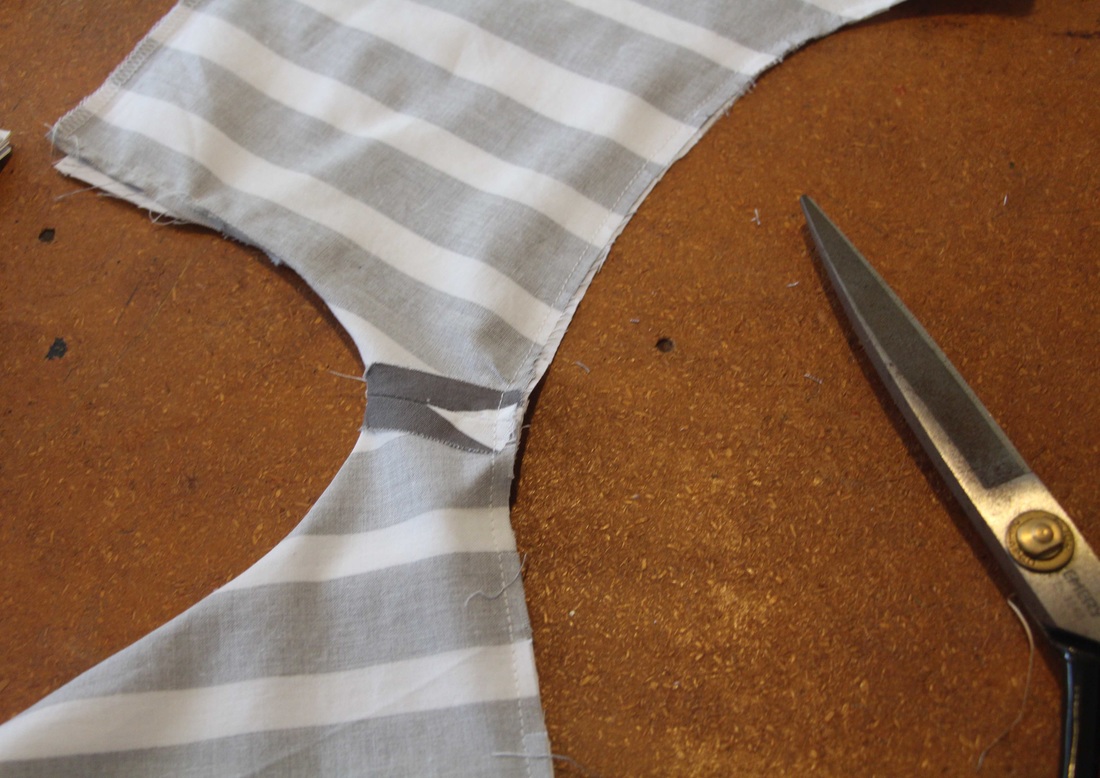
Step 2 - Sew a 6mm/1/4" seam starting 5cm/2" from the CB sewing round the neck and finishing 5cm/2" from the other CB. Nick the neckline seam every 2.5cm/1".
Step 3 - On the right side of the bodice understitch the neckline sewing close to the neck seam on the lining with the seam underneath facing the lining.
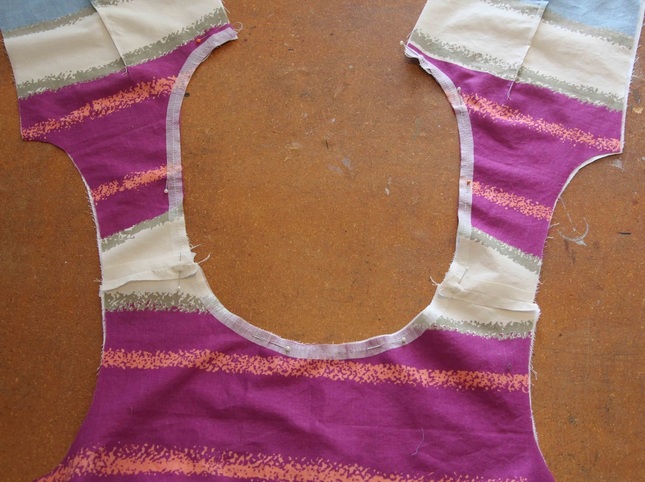
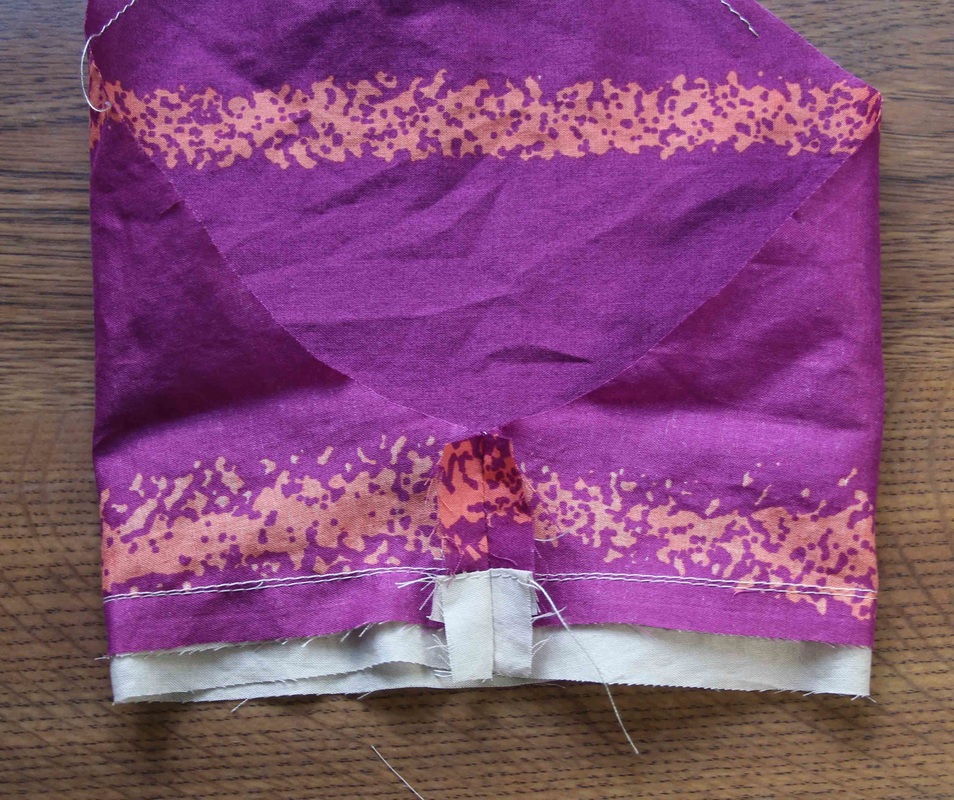
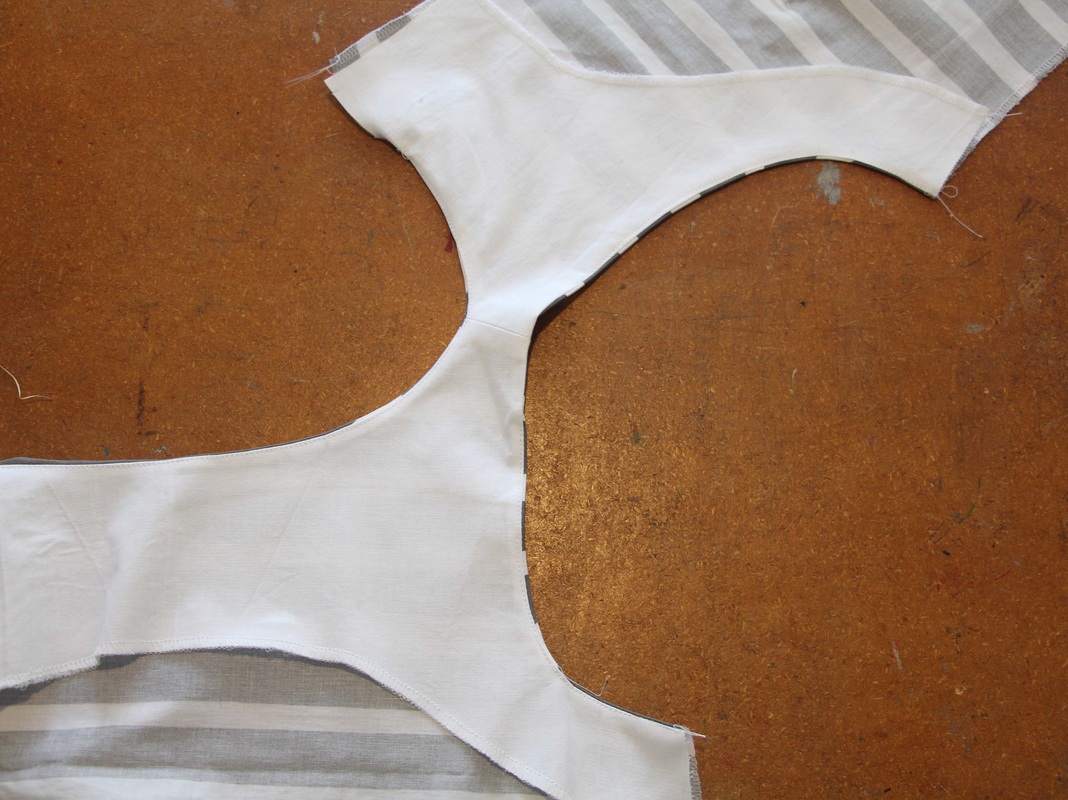
Step 4 - Turn your bodice through to the right side and press.
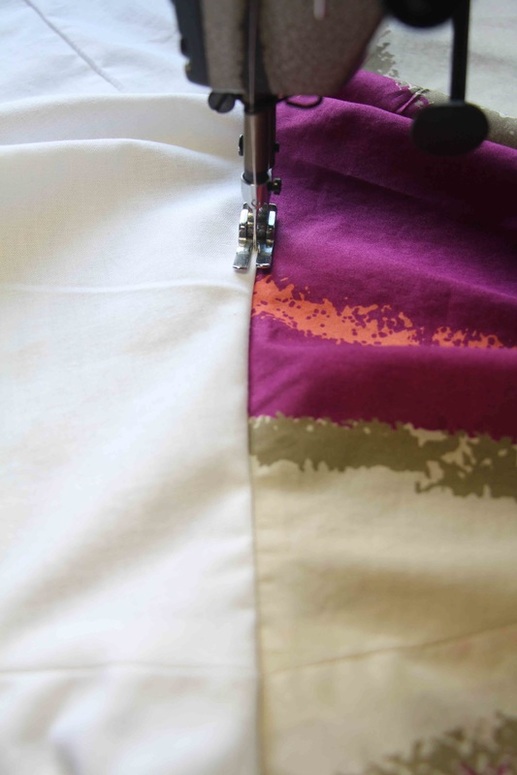
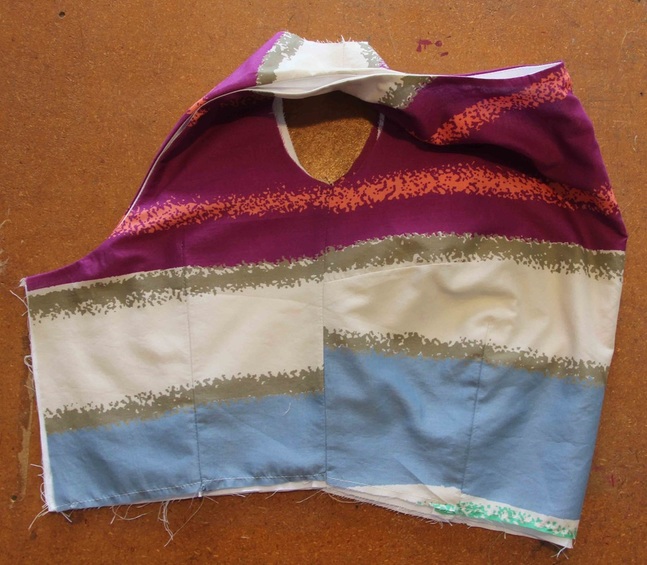
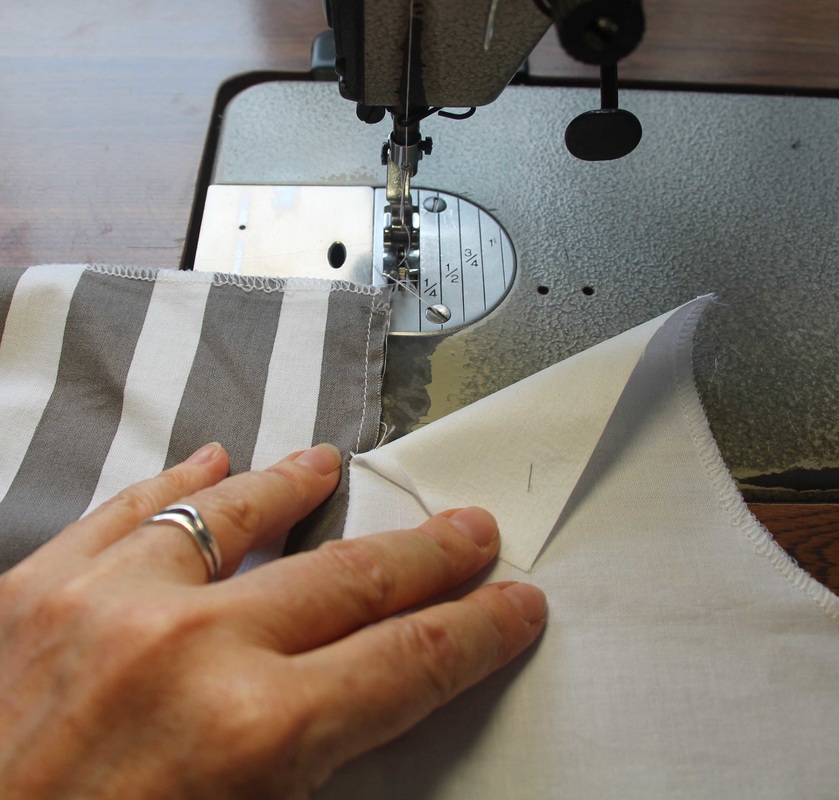
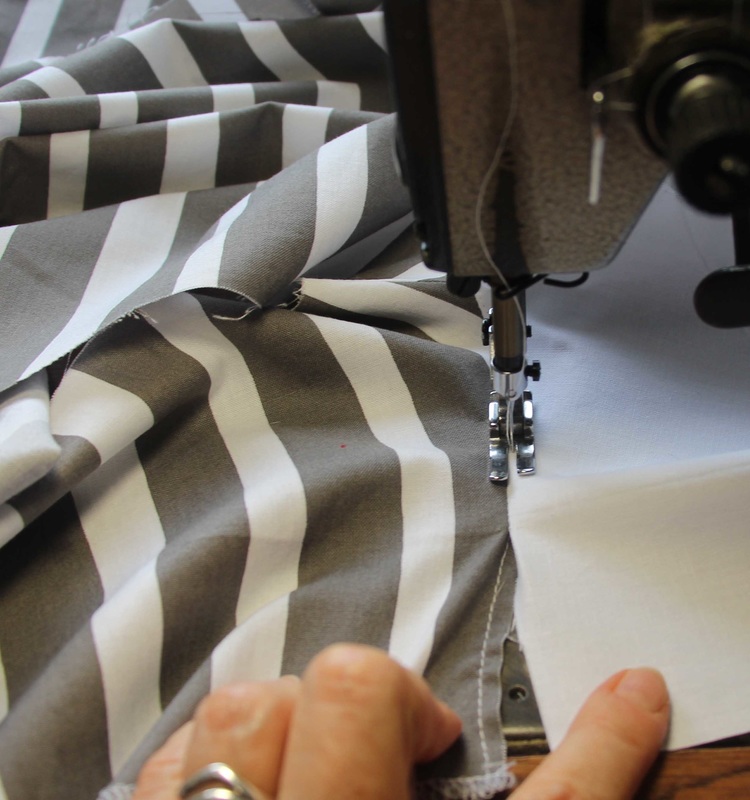
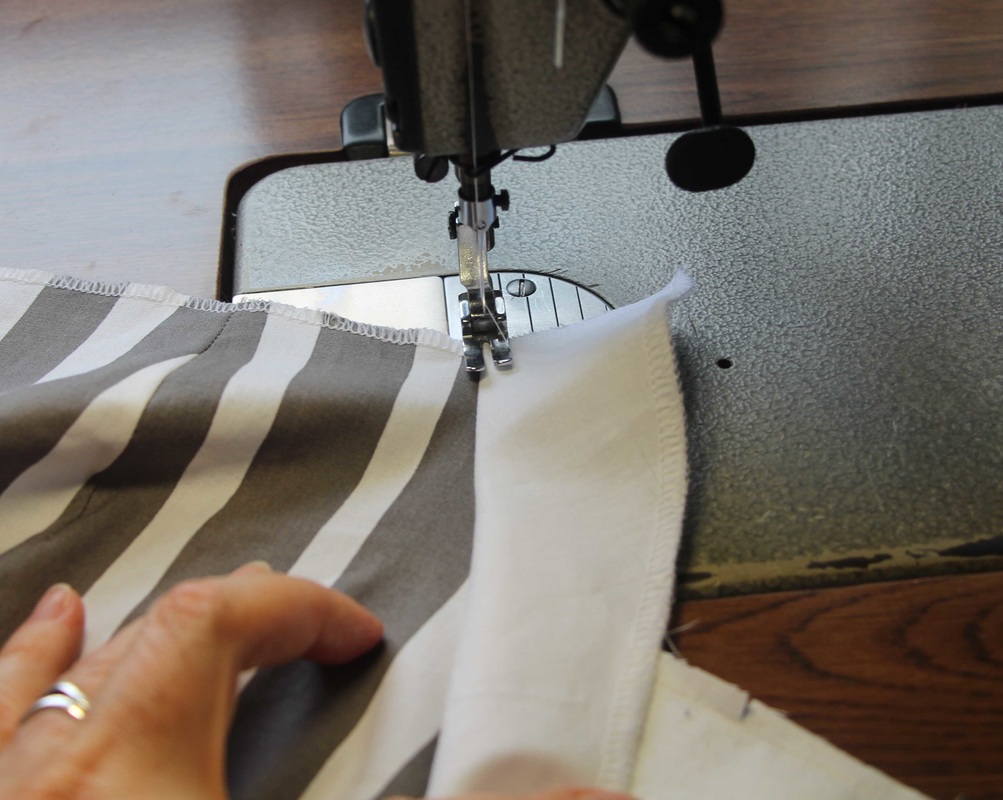
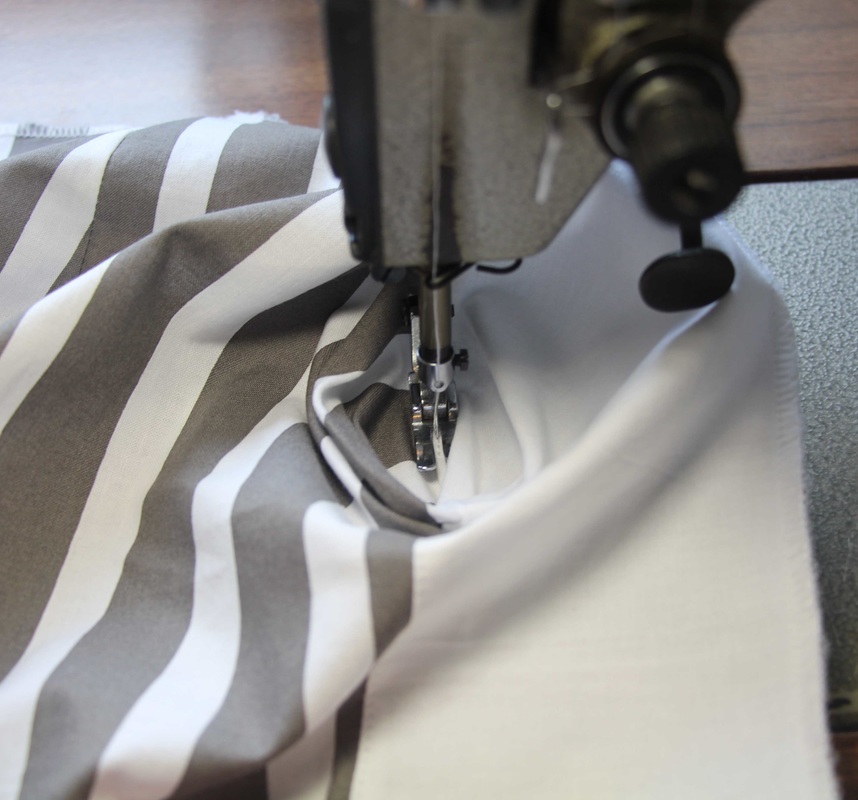
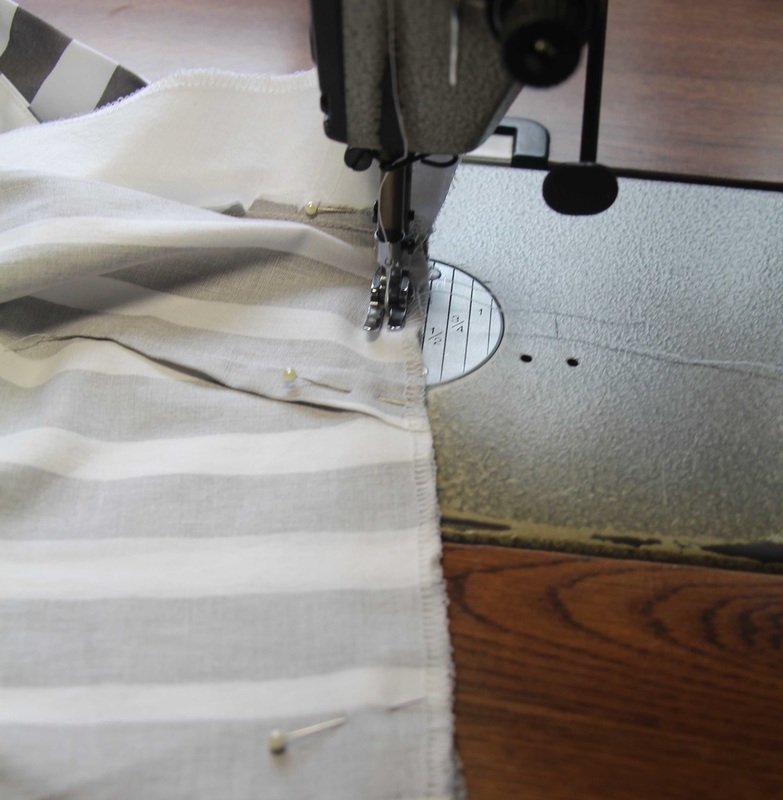
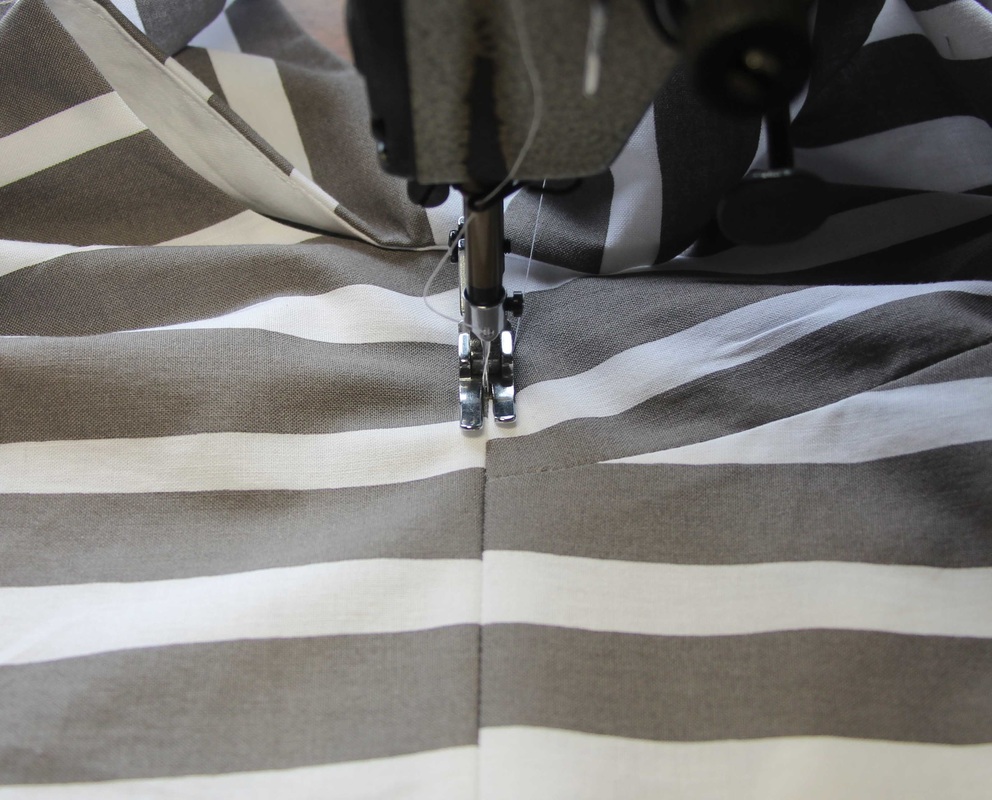
Step 5 - Now sew the side seams of the bodice main fabric and press seam open.
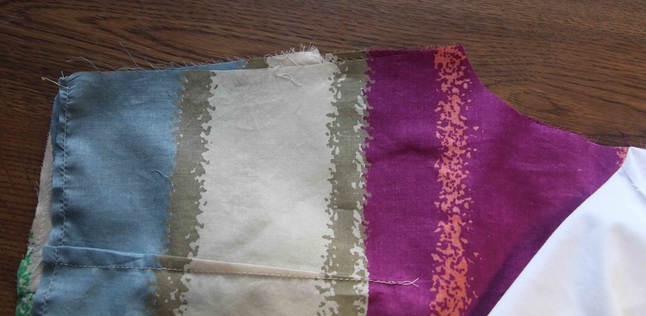
Step 6 - Then sew the lining side seams and press open.
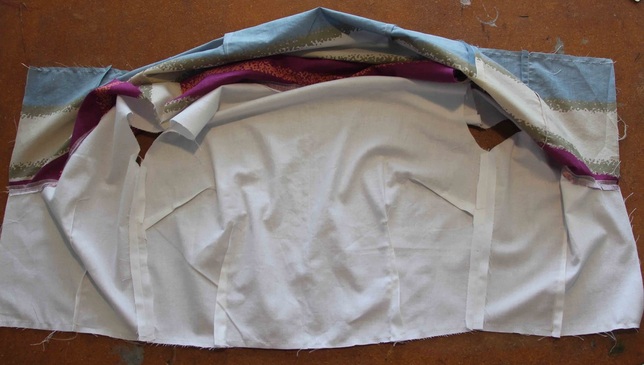
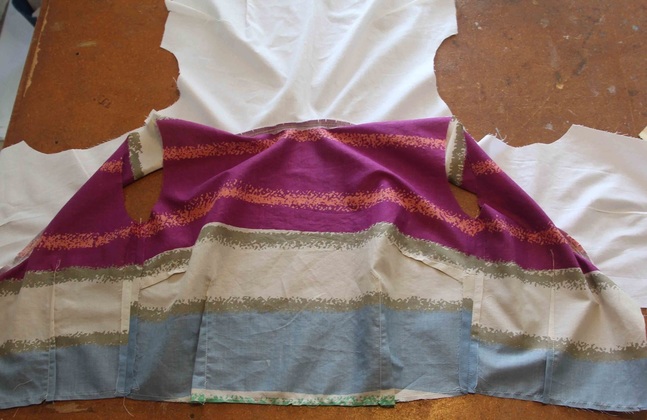
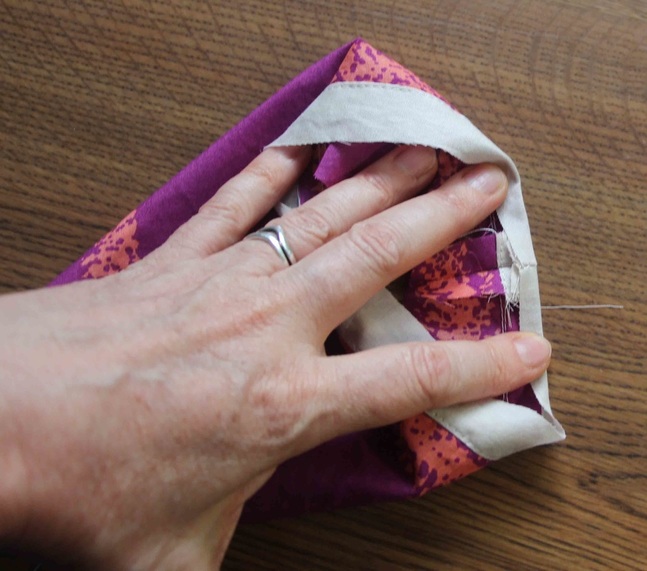
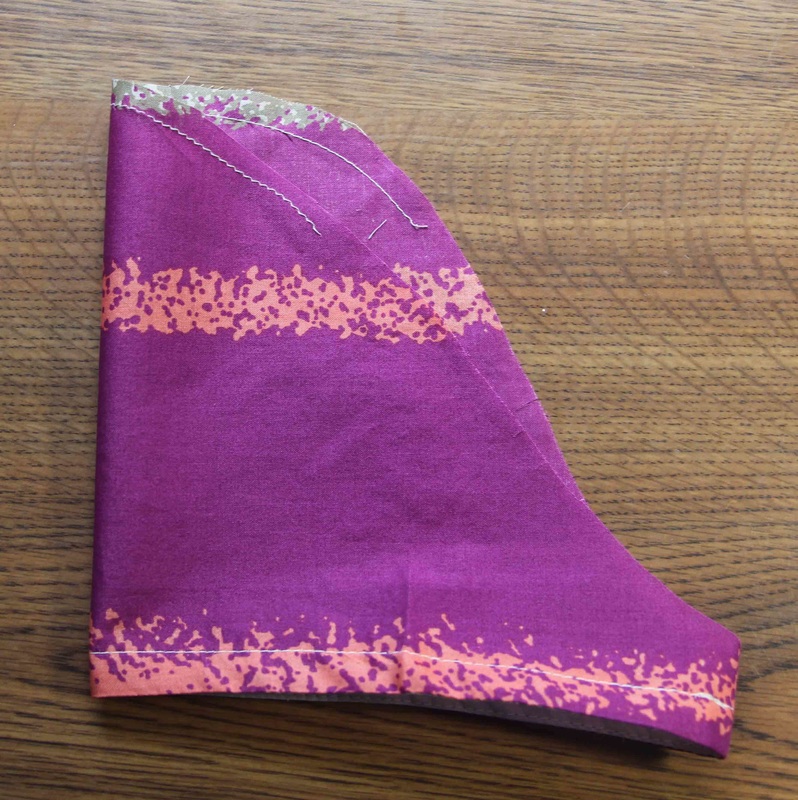
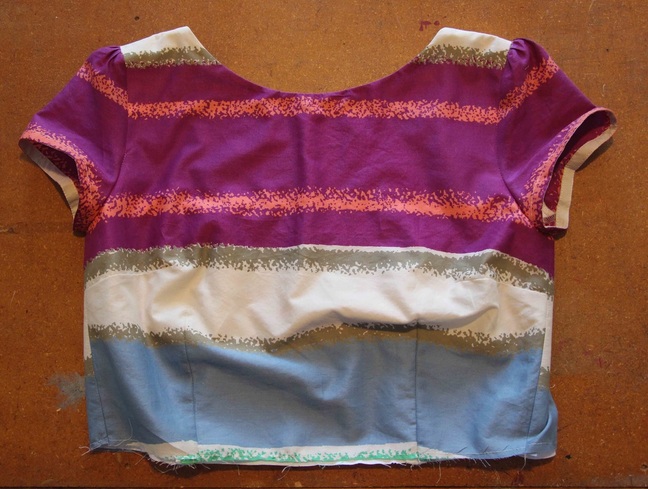
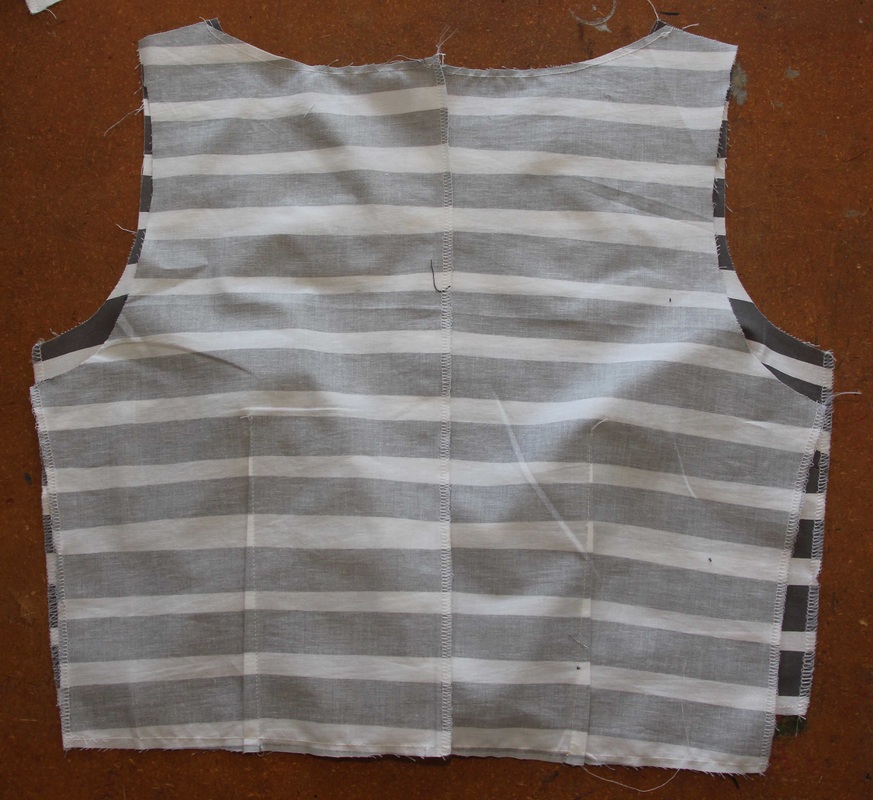
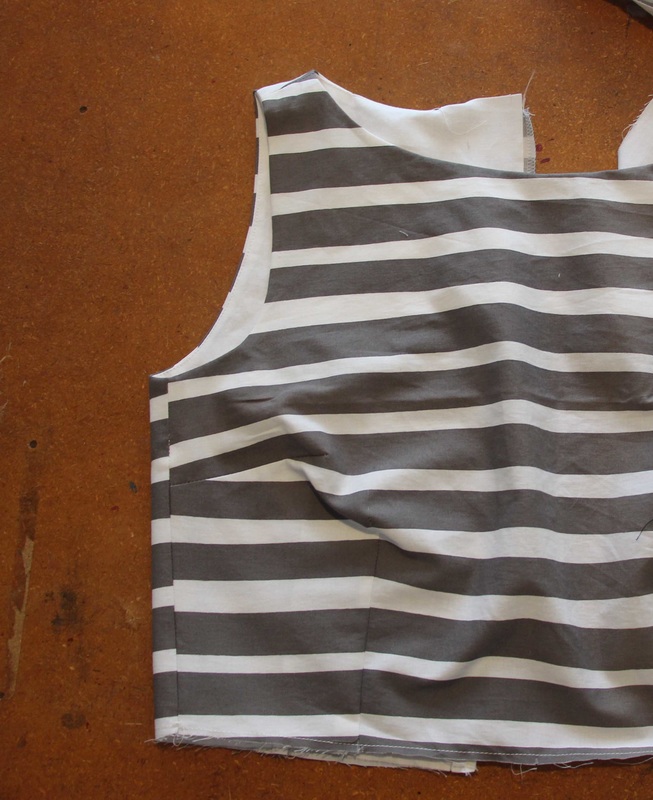
Step 7 - Your lined bodice is now ready for the sleeves.
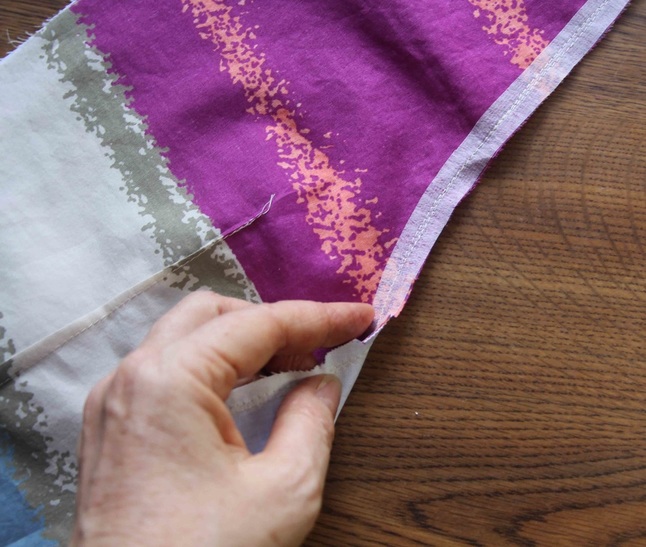
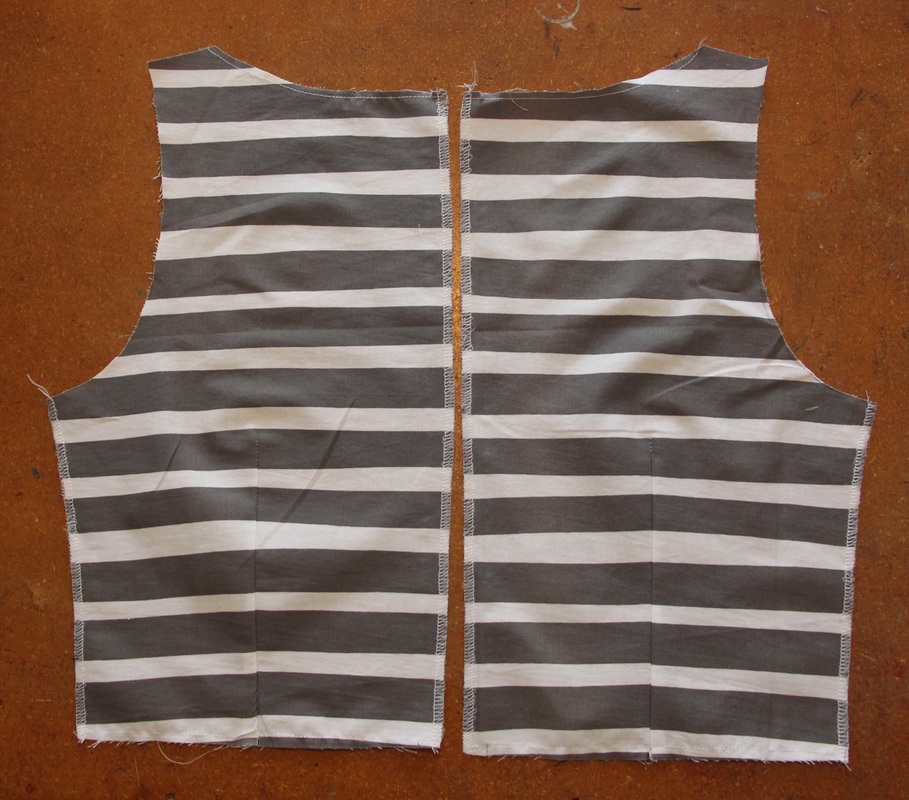
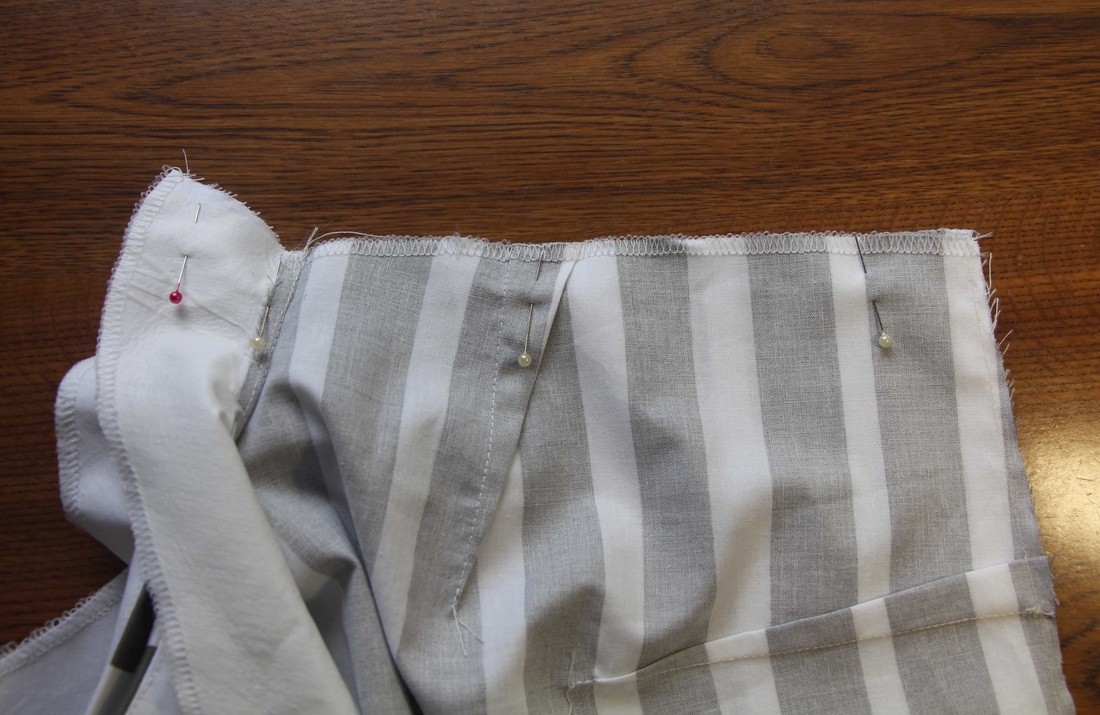
I just wanted to show you the side seam with the stripes lined up. The stripes are lined up from the bust dart up. That way the sleeve will line up to the front and back armhole.
Attaching the Sleeves
Step 1 - For this tutorial I decided to make a cap sleeve and as the hem is curved I added a facing to the sleeve hem.
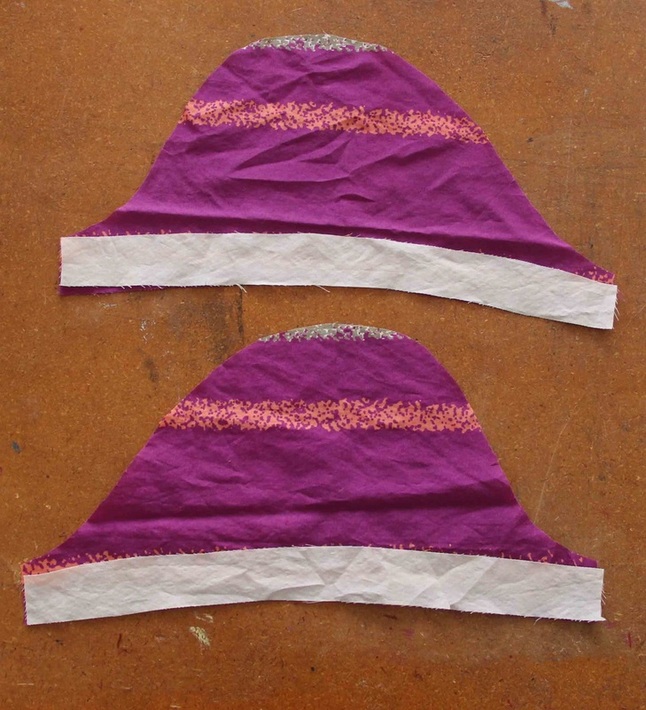
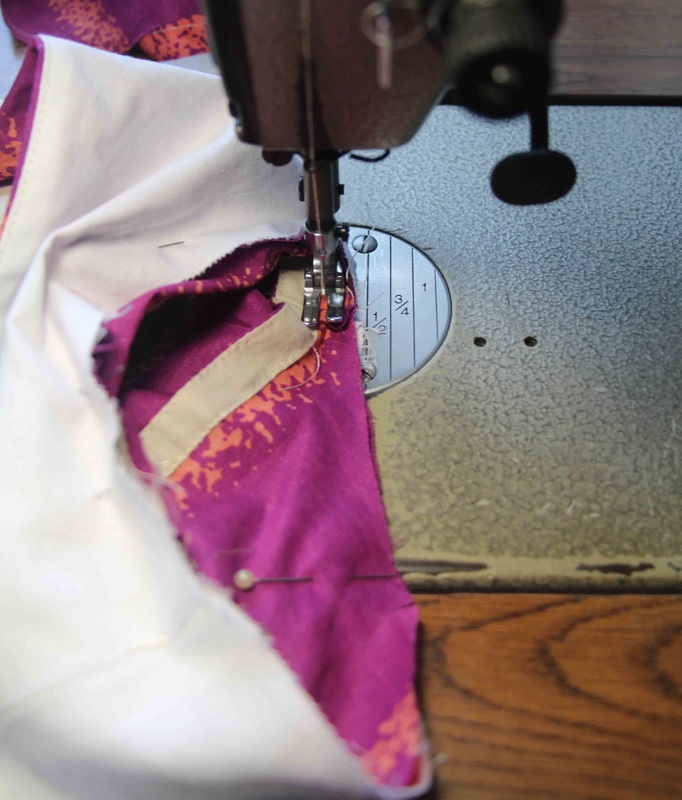
Step 2 - Sew the facing onto the right side of the sleeve hem - 1cm/3/8" from the edge. Then understitch the facing.
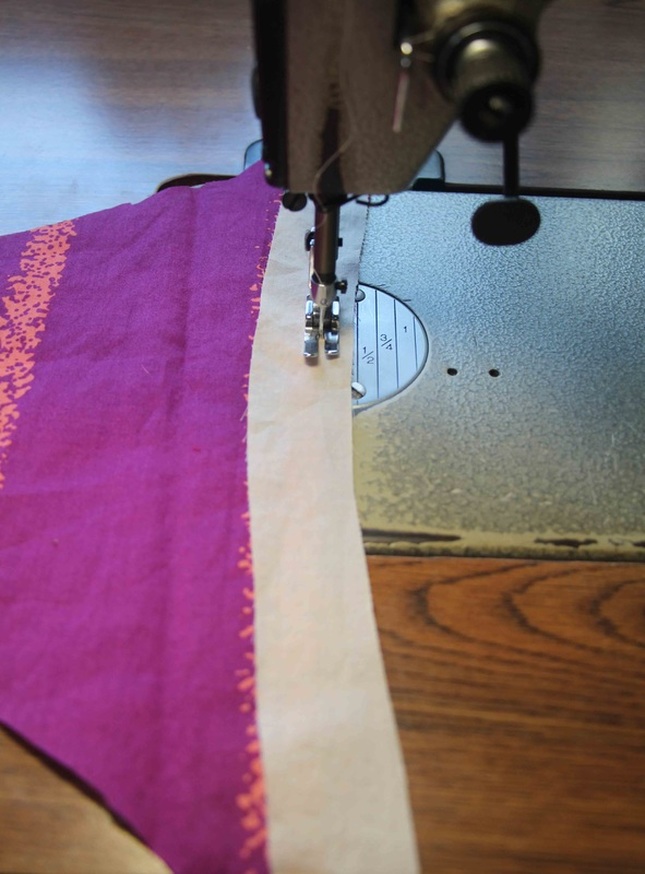
Step 3 - With the facing out flat and not turned back sew the side seam 1cm/3/8" from the edge. Because I've got a small seam I decided not to overlock.
Press the seam open.
Press the seam open.
Step 4 - With the right side of the sleeve facing out, I then folded the facing hem in 6mm/1/4" and then 6mm/1/4" again. Start at the side seam to sew the facing edge.
Step 5 - With the right side of the sleeve side seam and the right side of the bodice side, pin to secure. Now pin the armhole notches and the sleeve head notch to the shoulder seam. Because I found the sleeve head a bit big I decided to have a gathered sleeve head.
Step 6 - Starting at the side seam, sew the armhole 1cm/3/8" from the edge. Overlock on the lined bodice side and the press the armhole with the seam facing toward the sleeve.
Now your lined sleeved bodice is finished and ready to attach the skirt.
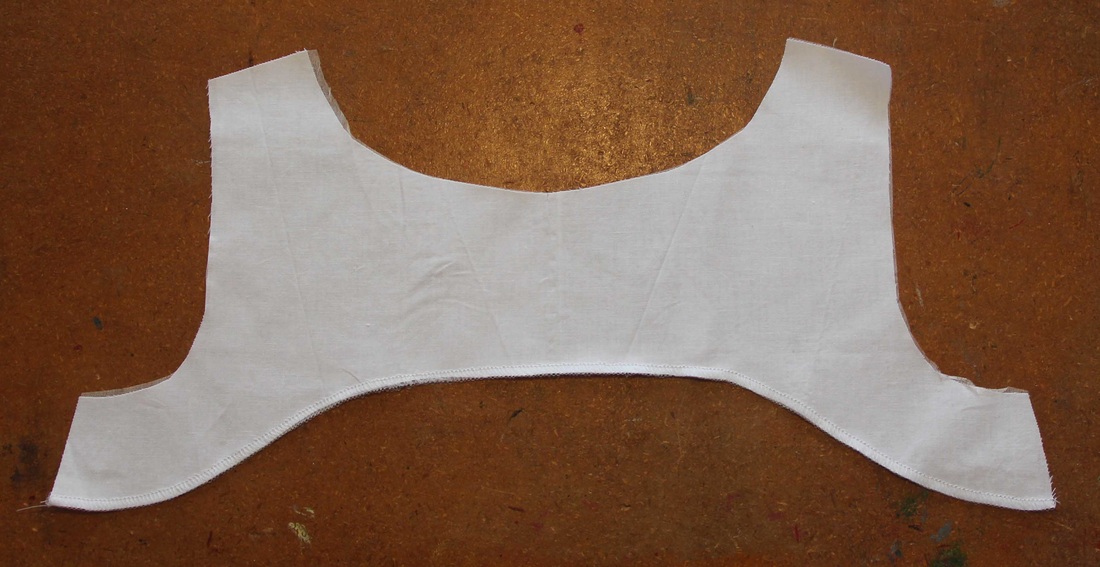
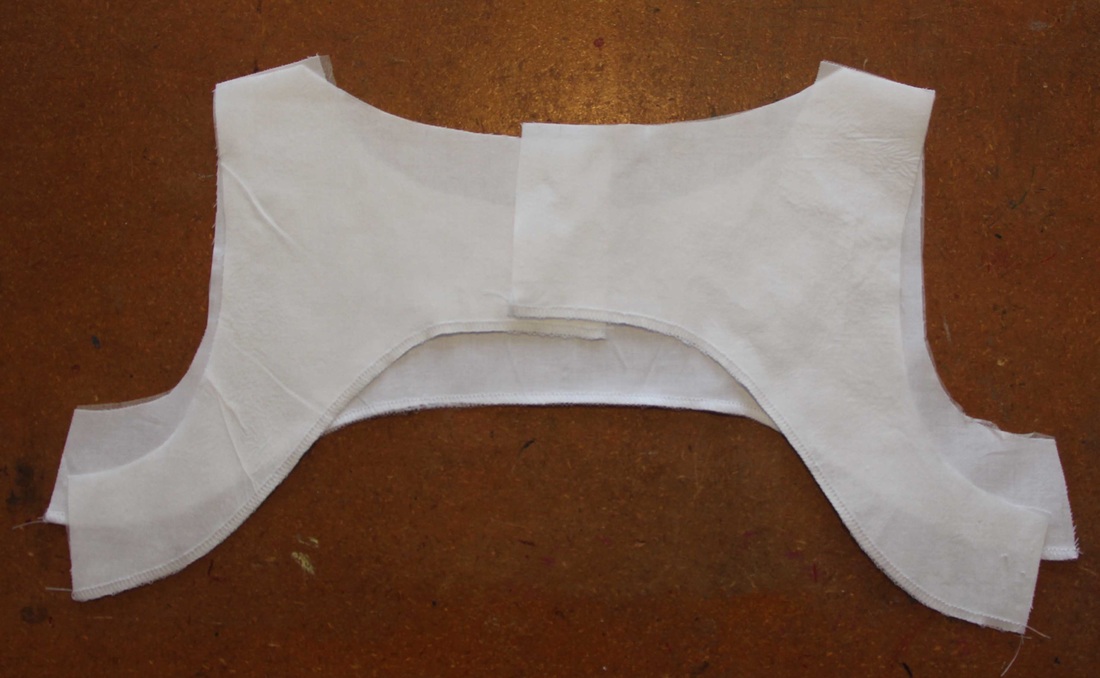
Attaching the Facing to a Sleeveless Bodice
Step 1 - Make sure you have the following steps done:
- Front darts sewn
- CF waist and neck marked
- Side seams overlocked
- Stay stitch sewn on the neck and the waist - 6mm/1/4" in from the edge
- Back darts sewn
- Side seams and CB seams overlocked
- Stay stitch sewn on the neck and waist - 6mm/1/4" in from the edge
- Interfacing ironed onto the back facing
- The lower edge of the facing overlocked
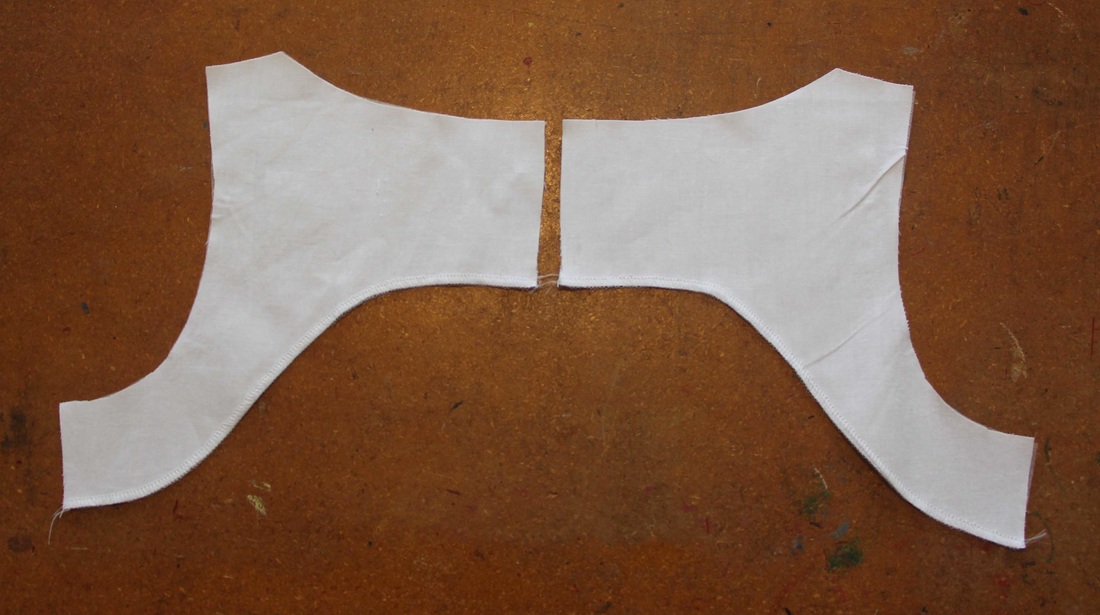
- The interfacing ironed to the front facing
- The lower edge of the facing overlocked
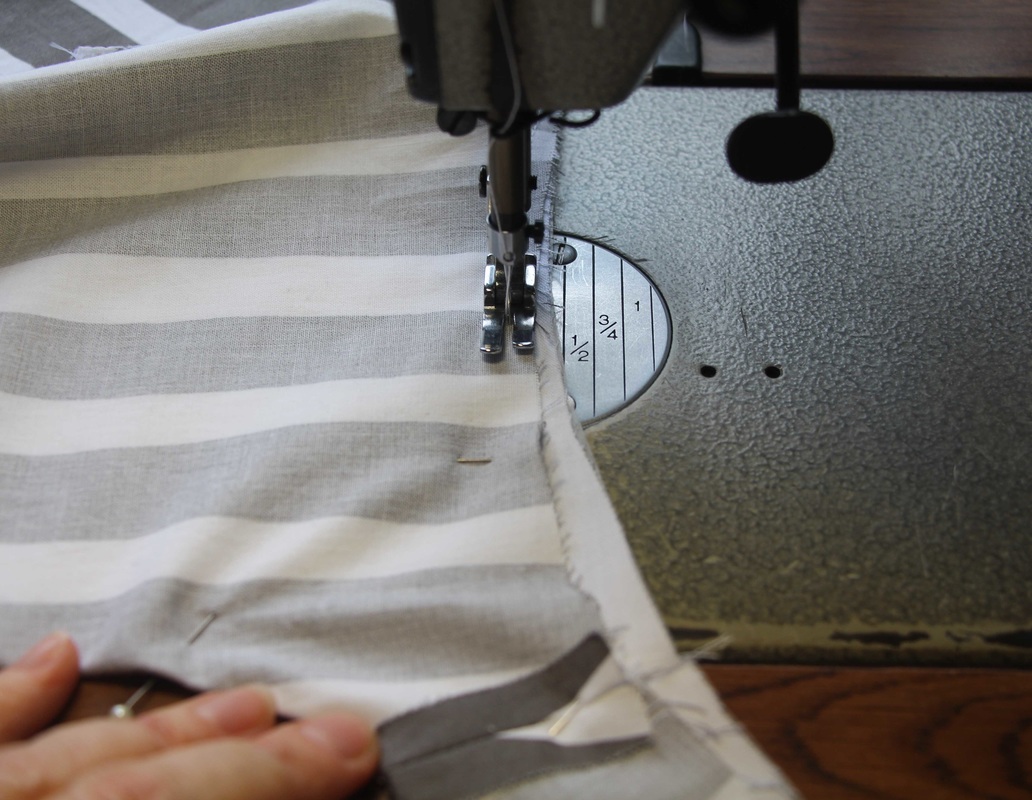
Step 2 - With right sides together sew the shoulder seams of the bodice - 1cm/3/8" in from the edge. Press seams open.
Step 3 - With right sides together sew the shoulder seams of the facing - 1cm/3/8" in from the edge. Press seams open.
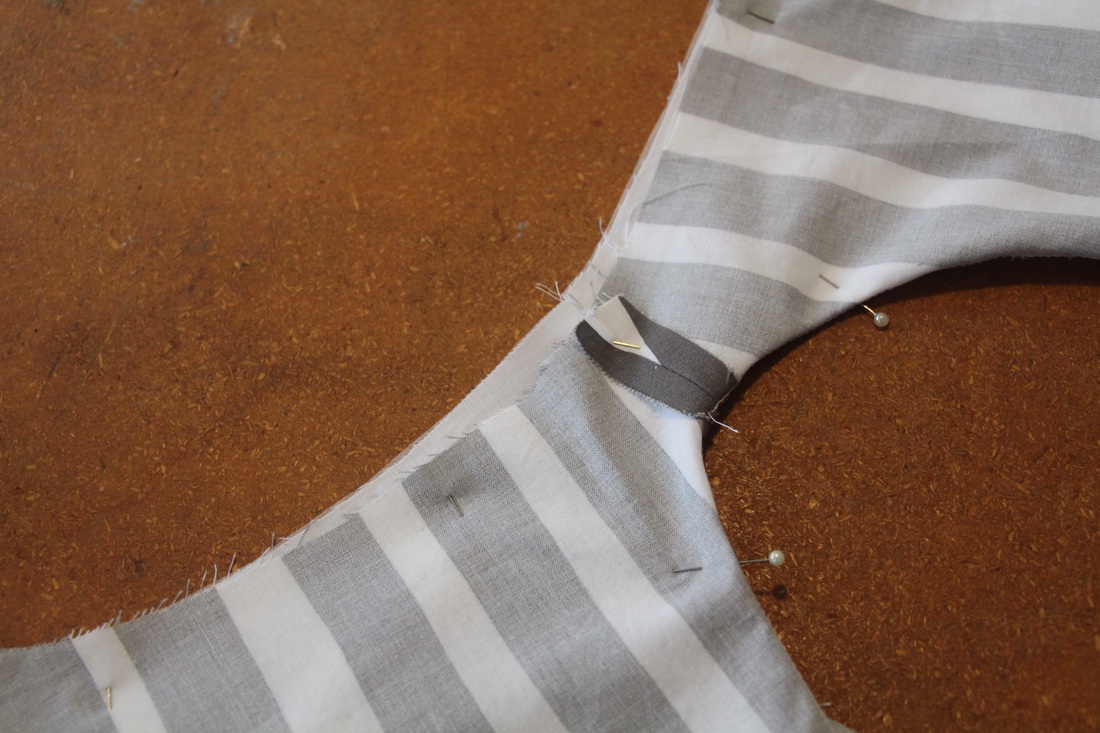
Step 4 - With right sides together of the facing and the bodice pin the neckline in place making sure you match the shoulder seams and the CF notches. The first and last pins will be 5cm/2" from the CB.
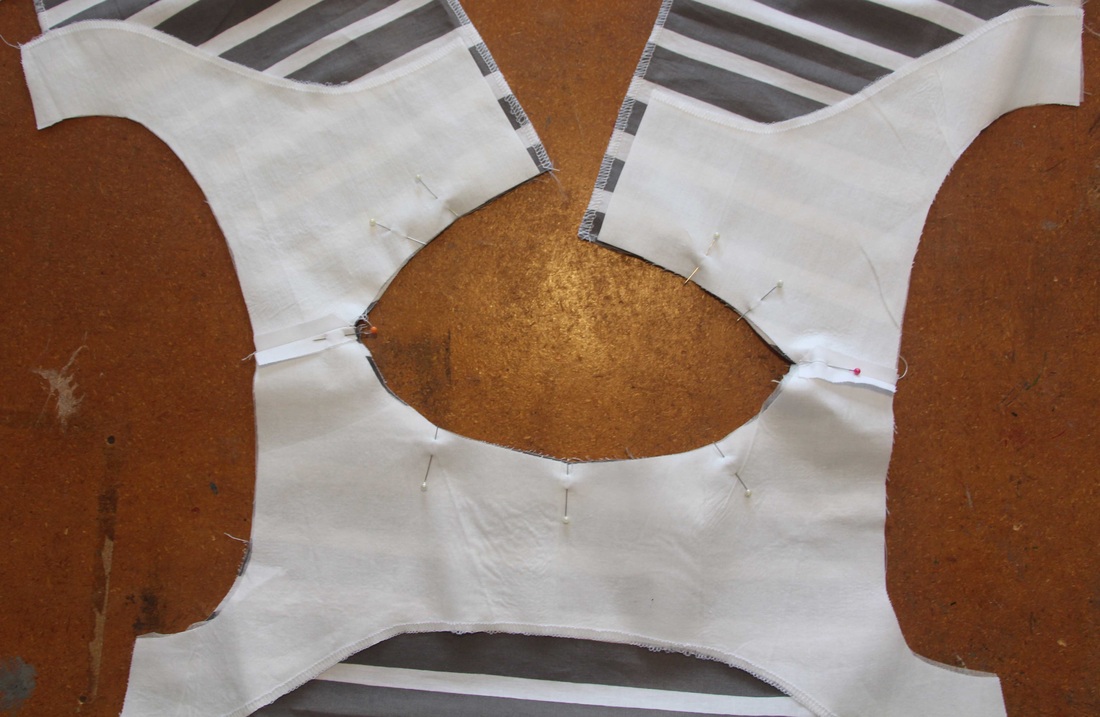
Step 5 - Sew the neck seam 6mm/1/4" in from the edge. Start and finish the seam at the first and last pin. Nick into the neck seam ever 2.5cm/1".
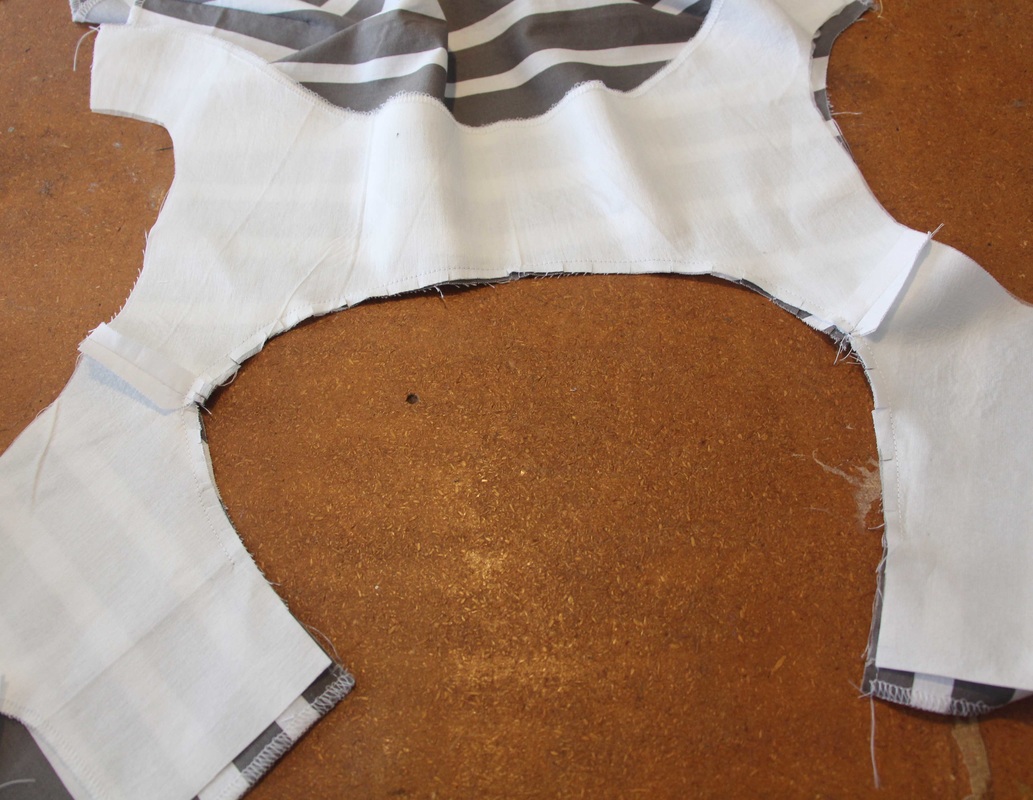
Step 6 - Turn your bodice to the right side and understitch the facing with the seam underneath turned toward the facing.
Step 7 - Now have the bodice and the facing with right sides together. Make sure you have the neck seam turned toward the facing side and pin in place. Now pin the armhole.
You'll notice that when you turn the armhole to the other side you'll see that the facing will sit over the bodice. That is totally fine.
You'll notice that when you turn the armhole to the other side you'll see that the facing will sit over the bodice. That is totally fine.

Step 8 - Sew the armhole on the bodice side so that you can see the facing - if it's sticking out further than the bodice. Sew a seam of 6mm/1/4".
Step 9 - Trim away the facing and then nick into the seam every 2.5cm/1".
Step 10 - Starting at the side seam, understitch the facing as far as you can go. Then start at the other side seam and understitch the facing as far as you can go.
Step 11 - Now turn the back bodice through to the front.
Step 12 - Repeat Steps 7 - 11 to the other armhole.
Step 13 - With right sides of the side seams/facing together sew a seam of 1cm/3/8". Press seams open and fold the facing side seam onto the bodice side seam.
Step 13 - To secure the facing sew in the side seam a few stitches back and forth. This is done on the bodice side.
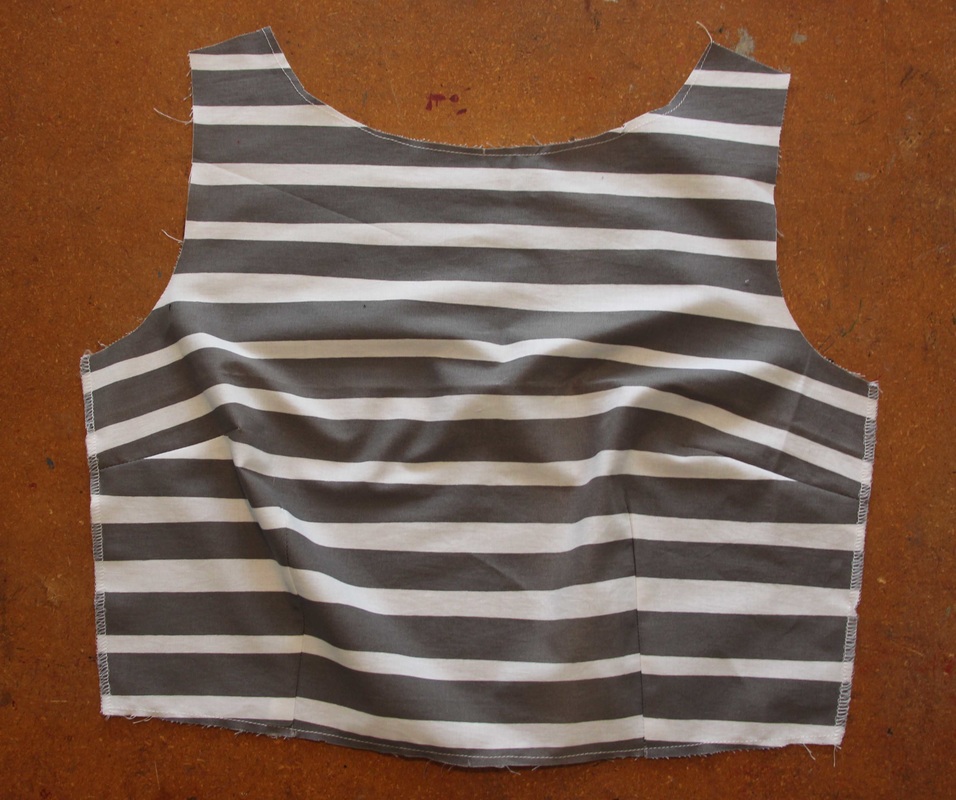
Your Sleeveless Bodice with facings is now finished and ready to attach the skirt.
That's it for today
Your bodice is now ready to attach the skirt.
In Lesson 6 you'll be attaching your skirt with side seam pockets.
In Lesson 6 you'll be attaching your skirt with side seam pockets.


The MiSS FOX DRESS SEW-A-LONG
Welcome - What You'll Need
Lesson 1 - How to Measure Yourself Correctly & Cut & Sew Your Toile
Lesson 2 - How to Fit Your Toile & Fitting Issues
Lesson 3 - Transferring Your Toile Adjustments to Your Pattern
Lesson 4 - Cutting Out and Sewing Your Bodice
Lesson 5 - Attaching the Bodice Lining or Facing
