Lesson 4 - Cutting and Sewing your Unlined/Lined Bodice
Woohoo! The hard part is over. Now we get to the fun part - making your dress from your gorgeous fabric. You've done all the alterations to your pattern and you've checked that all seams match and that what you've done to the bodice neck you need to do the same for the facing! RIGHT? GOOD!
Let's cut into your fabric!
Let's cut into your fabric!
Here's What You'll Achieve Today
- cutting your bodice and facings
- fusing the interfacing on your bodice and facings
- sewing the bodice together
- sewing the bodice lining (optional)
- attaching the facing
- sewing the side seams
Cutting your Bodice and Facing Patterns
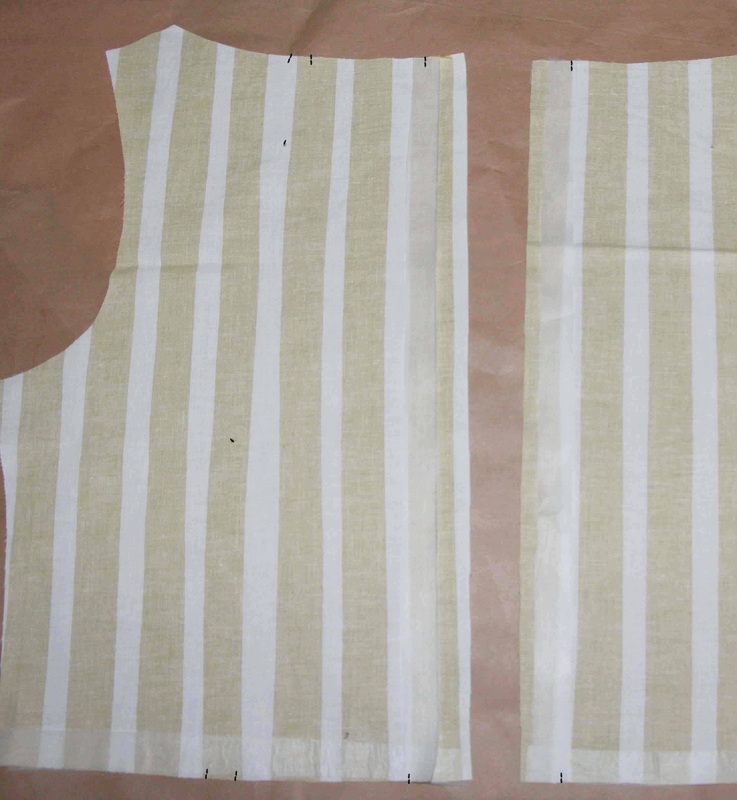
Front Skirt

|
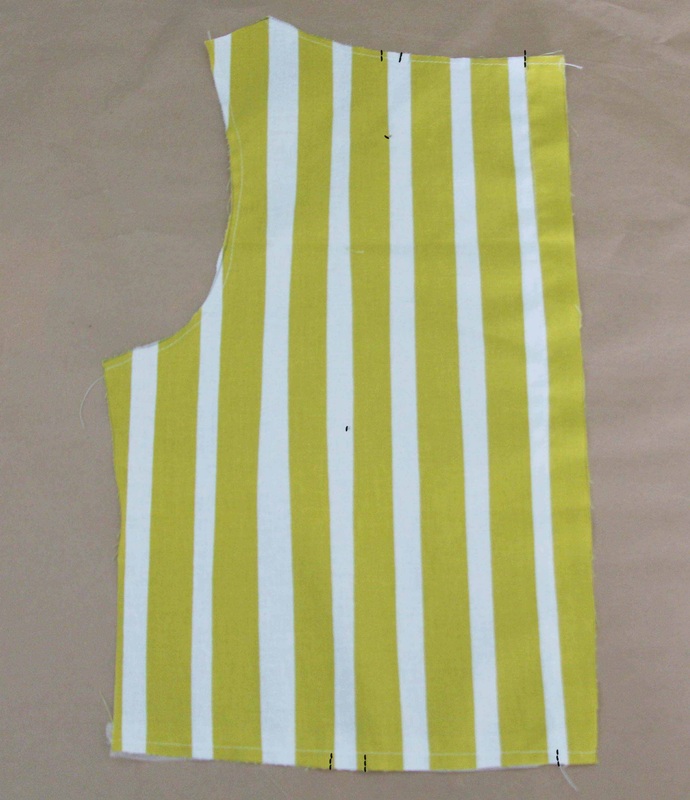
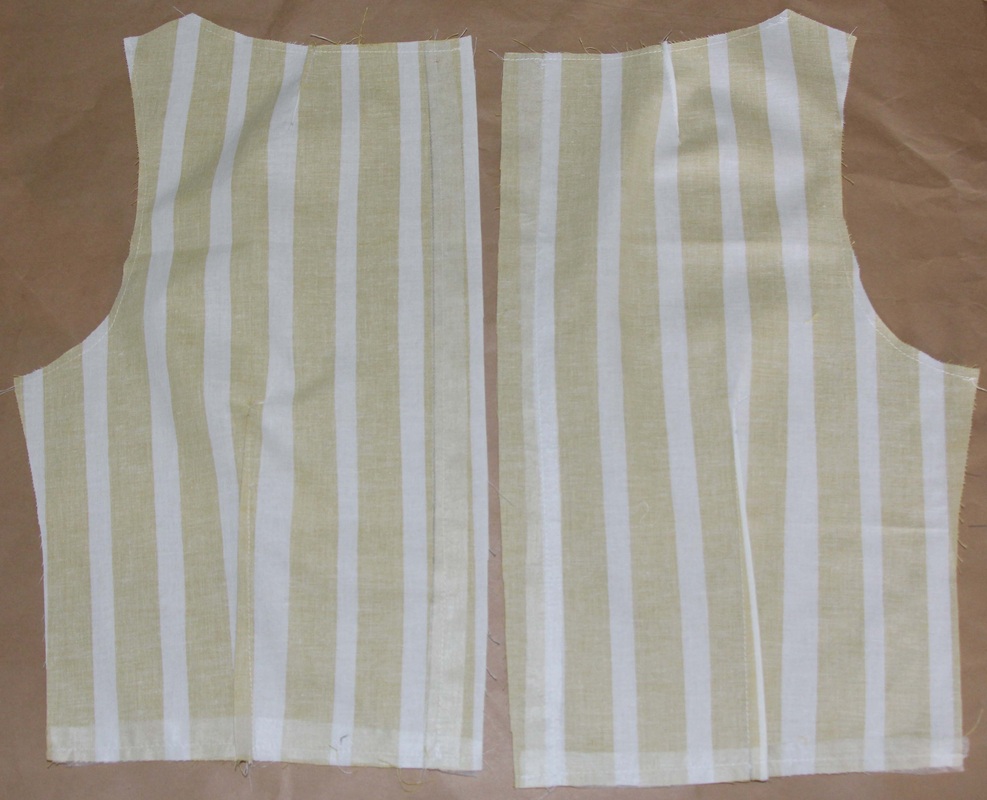
1. When you've cut your bodice out it's time to transfer all the notches from the pattern to the fabric. You can mark your notches with chalk, invisible pen or nick with scissors. I prefer and have always marked my notches with scissors.
|
|
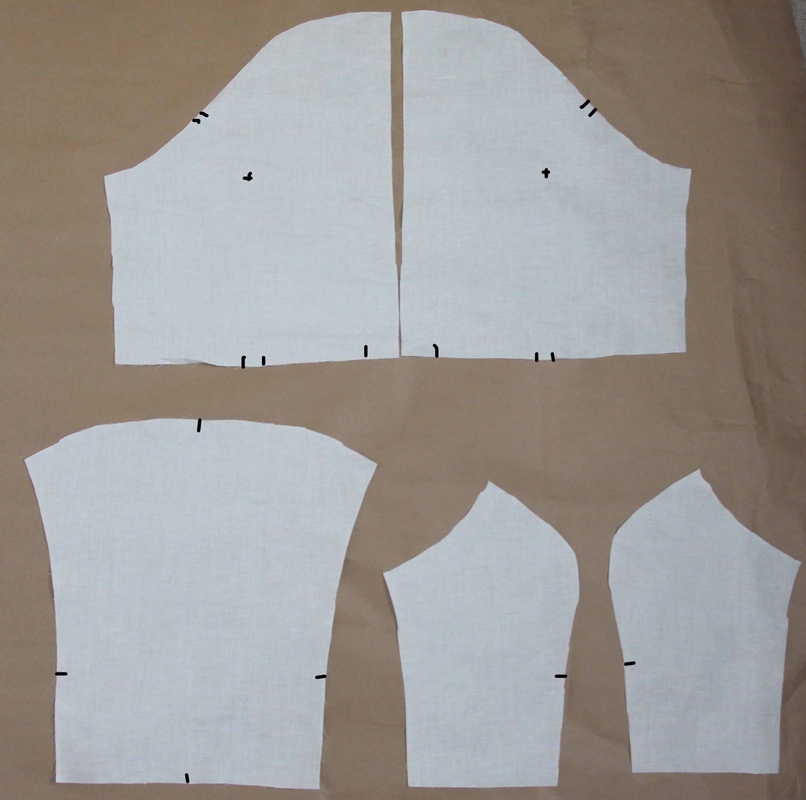
2. Mark your notches on the Front Side panels.
|
|
|
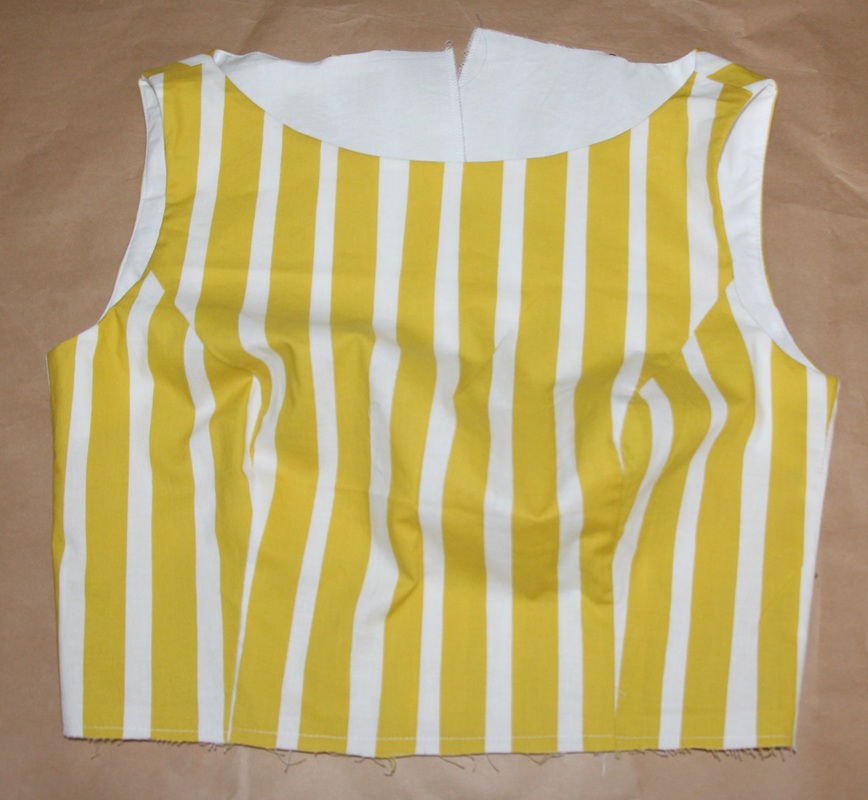
3. Mark your notches for the Back Bodice.
|
Fusing the Interfacing to your Bodice and Facings
|
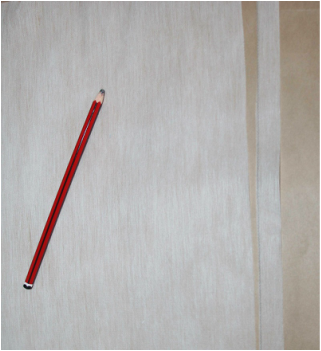
If you can't get hold of Fusible Stay Tape you can make your own.
|
|
|
1. Make sure you've cut out all the Interfacing as per the pattern instructions.
|
|
2. Fuse the strip interfacing to the waist of the CF panel - on the wrong side.
|
|

|
3. Fuse the strip interfacing to the waist of the Front Side Panels - on the wrong side.
|
|
4. Fuse the strip interfacing to the waist of the back bodice and also down the CB seam making sure the fusing starts and ends on the CB seam notches.
|
|
Sewing the Bodice together
|
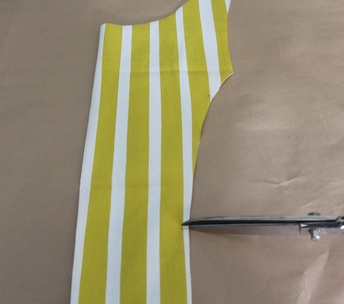
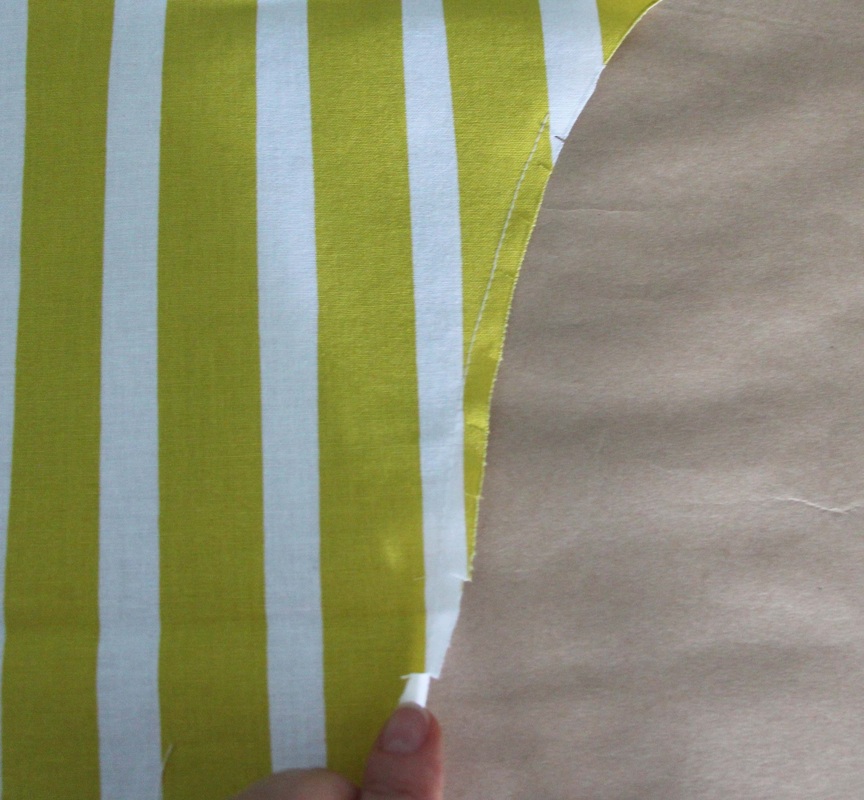
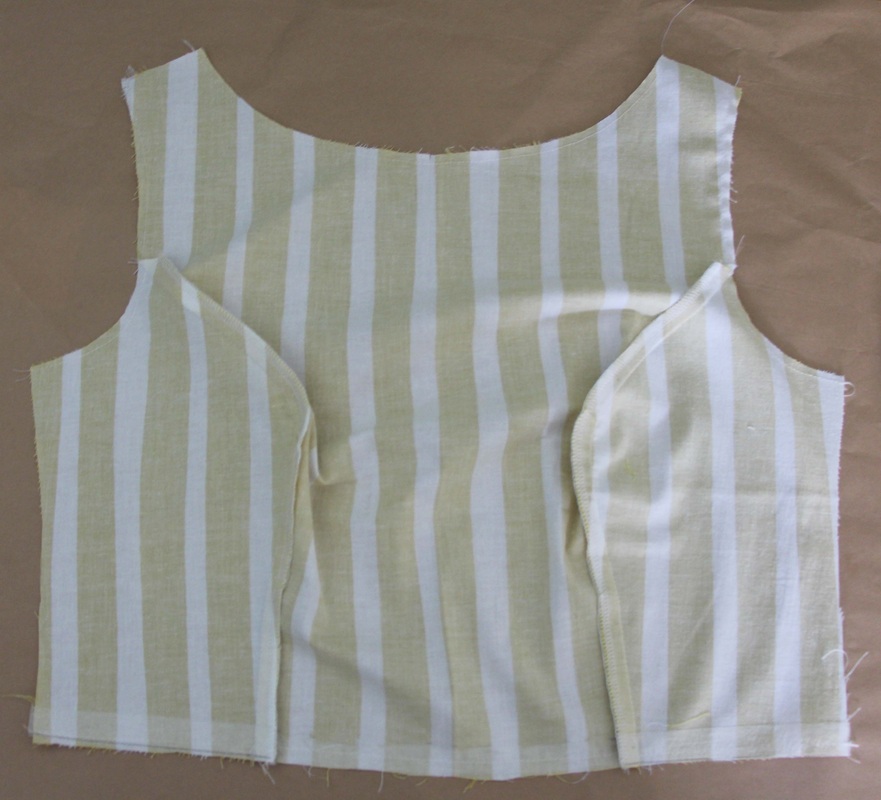
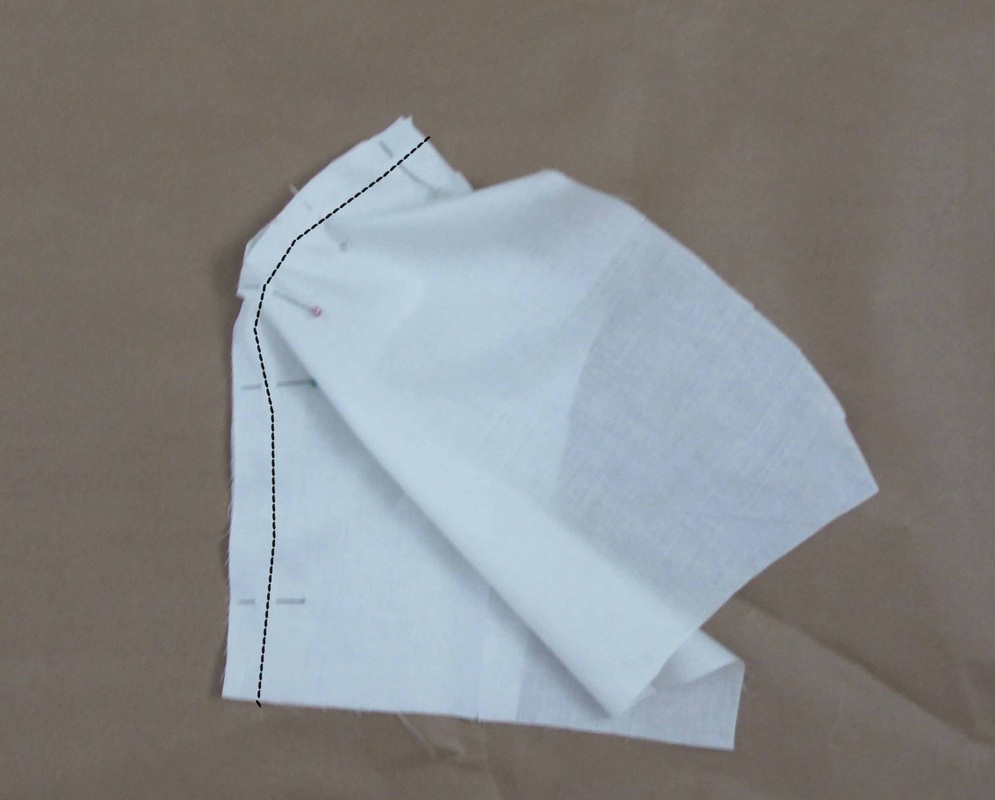
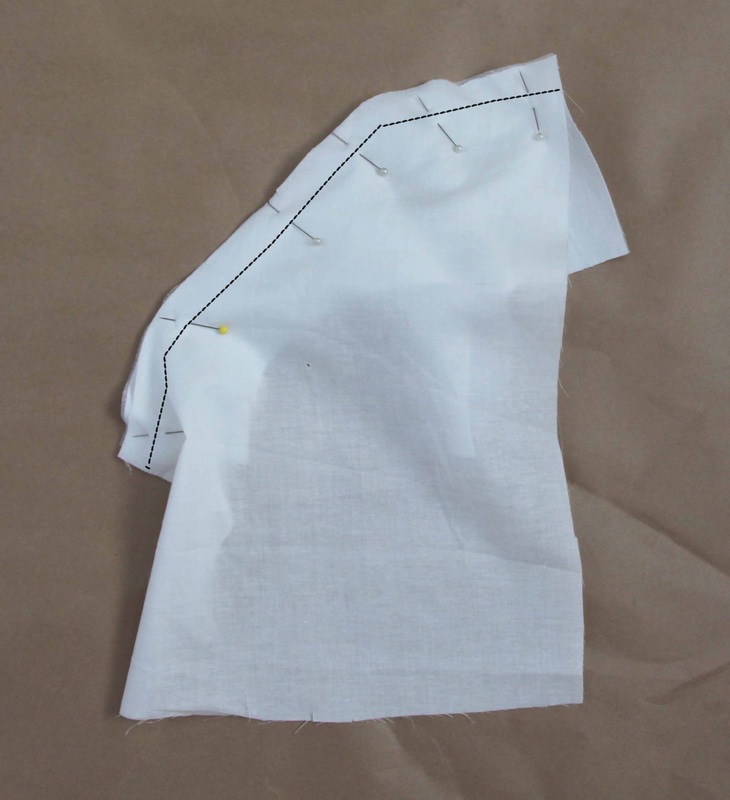
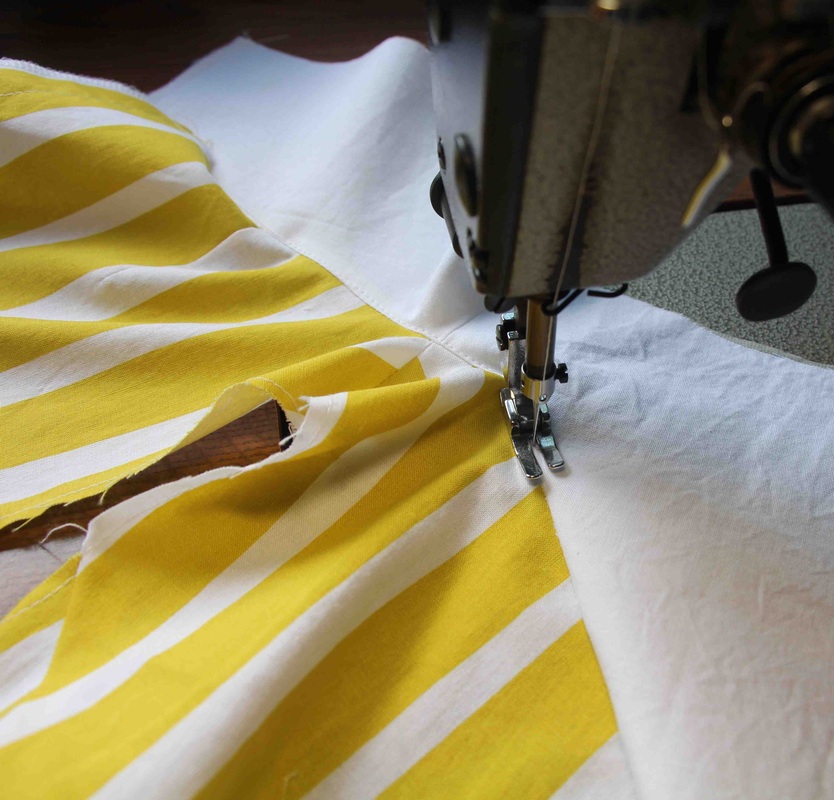
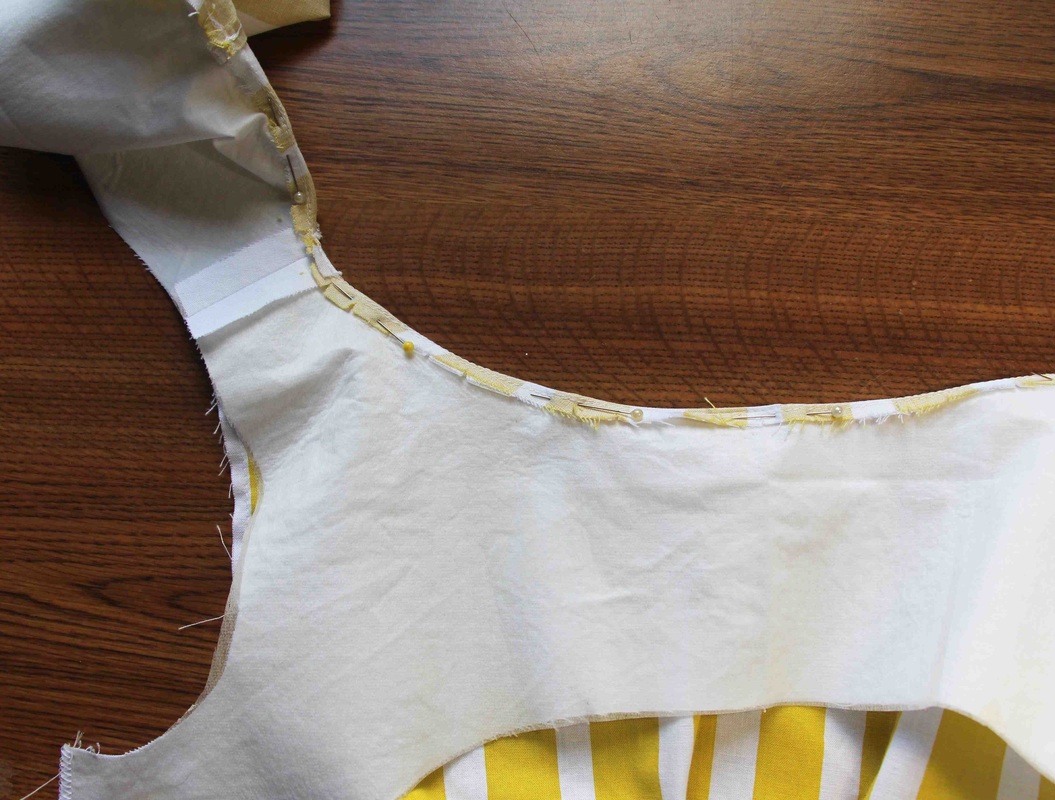
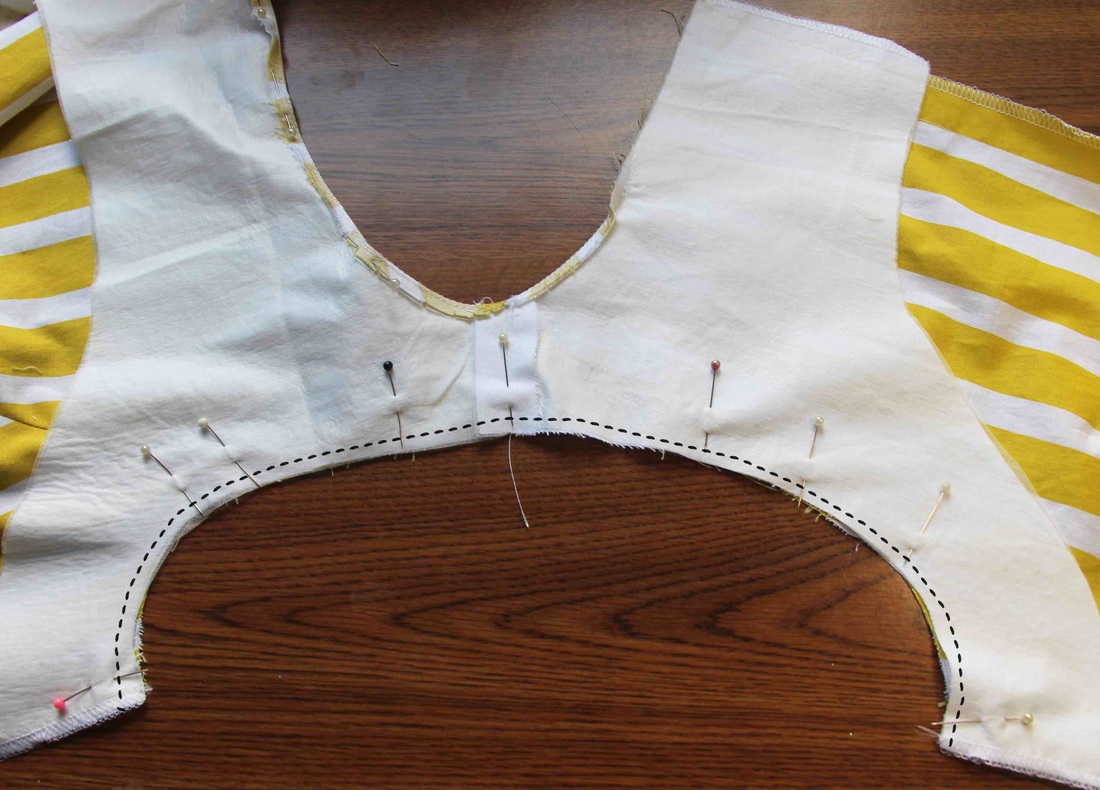
1. Clip into the CF panel between the notches on the outer curved seams.
|
|
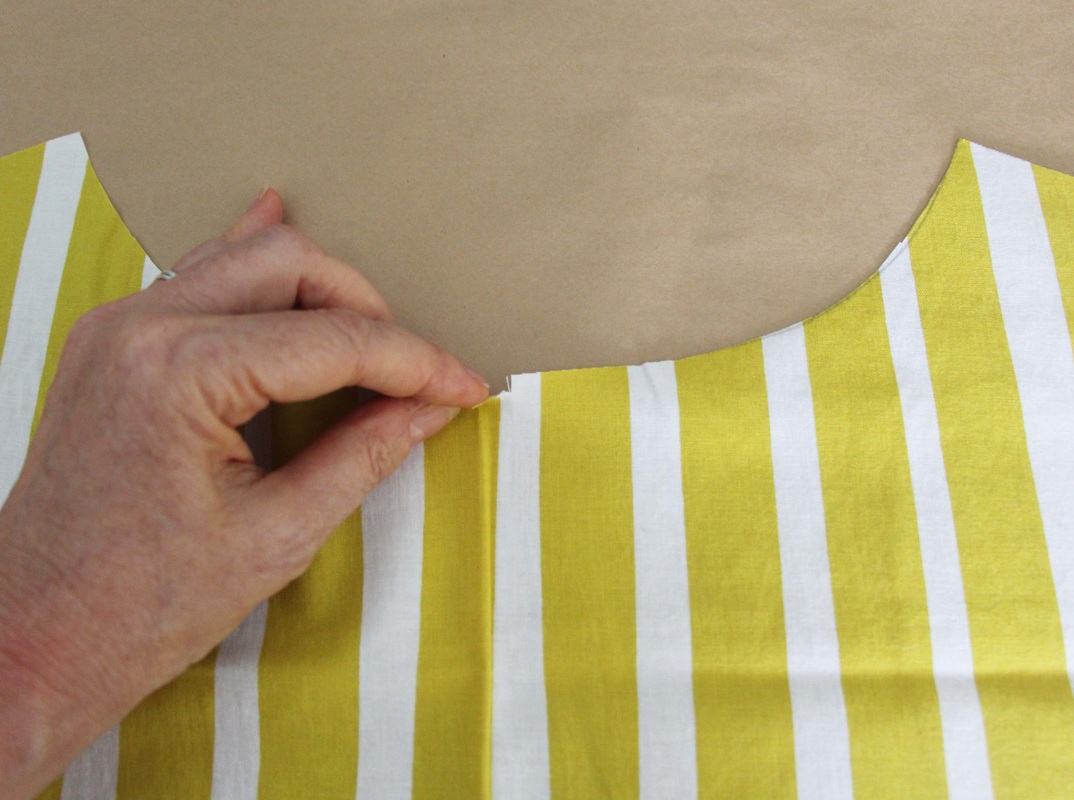
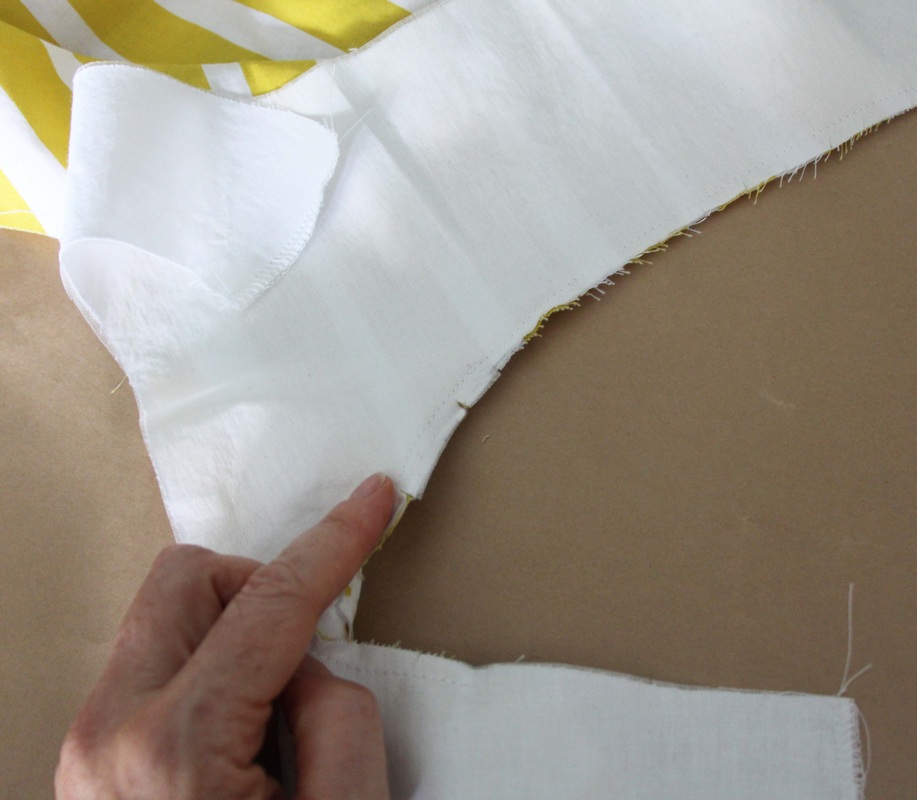
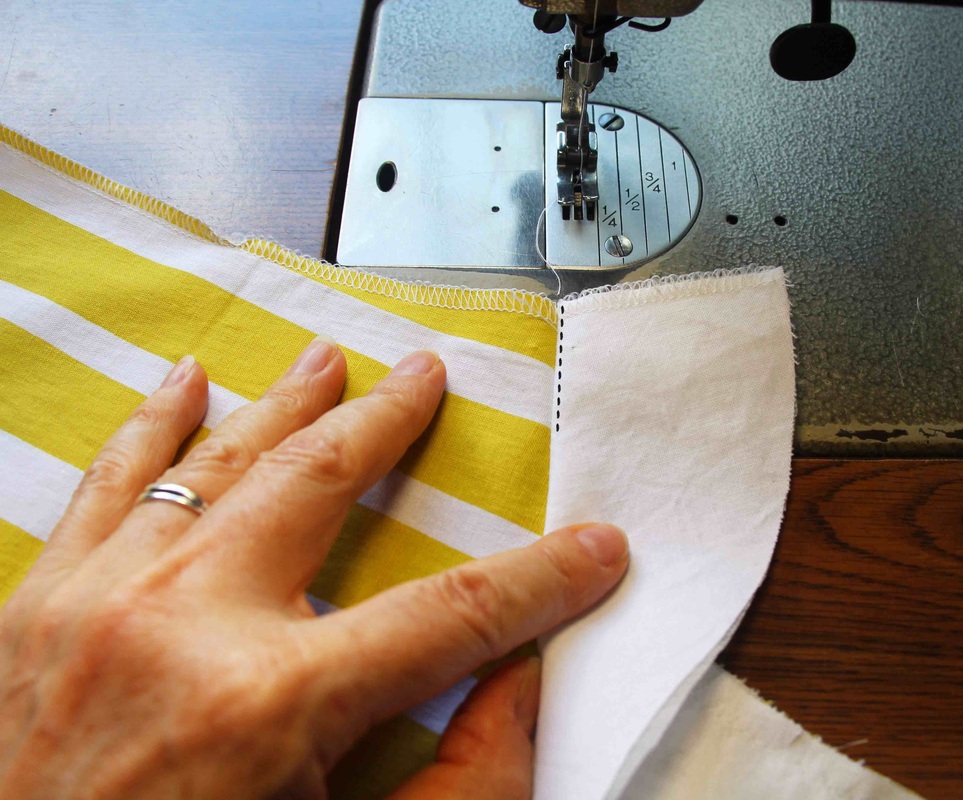
2. With right sides together pin the CF pane and the Front Side panels, matching the notches. Stitch a seam 12mm/1/2" in from the edge.
The photo below is the underneath side of the photo to the left. Repeat on the other side panel. 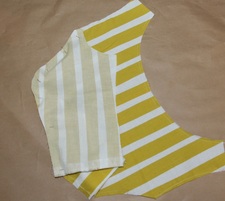
|
|
|
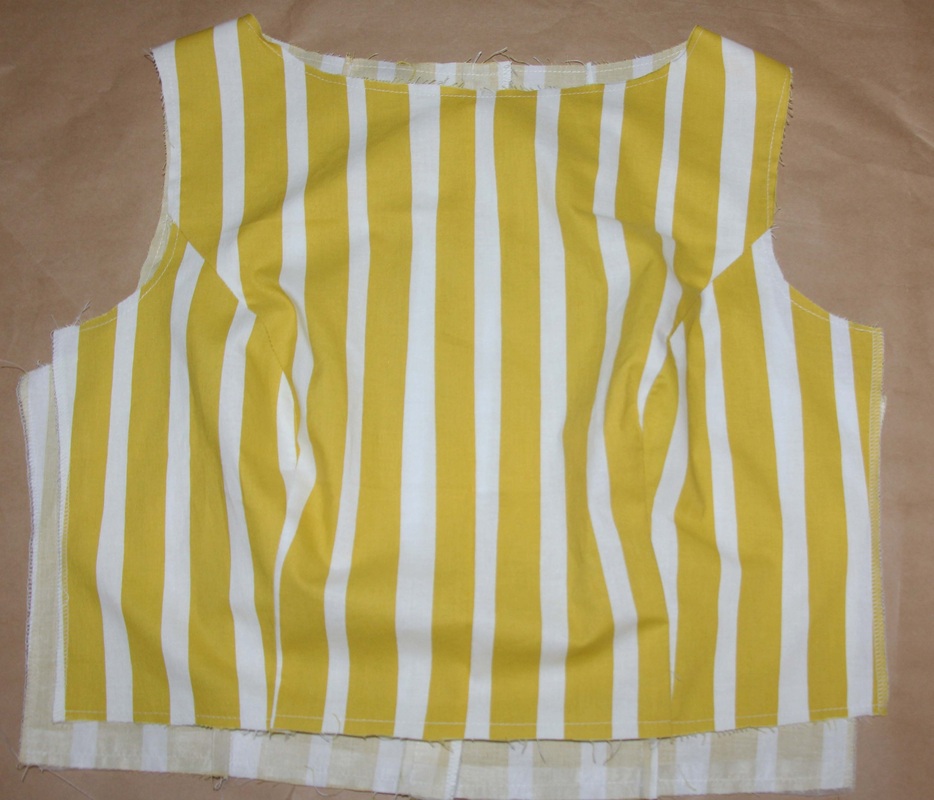
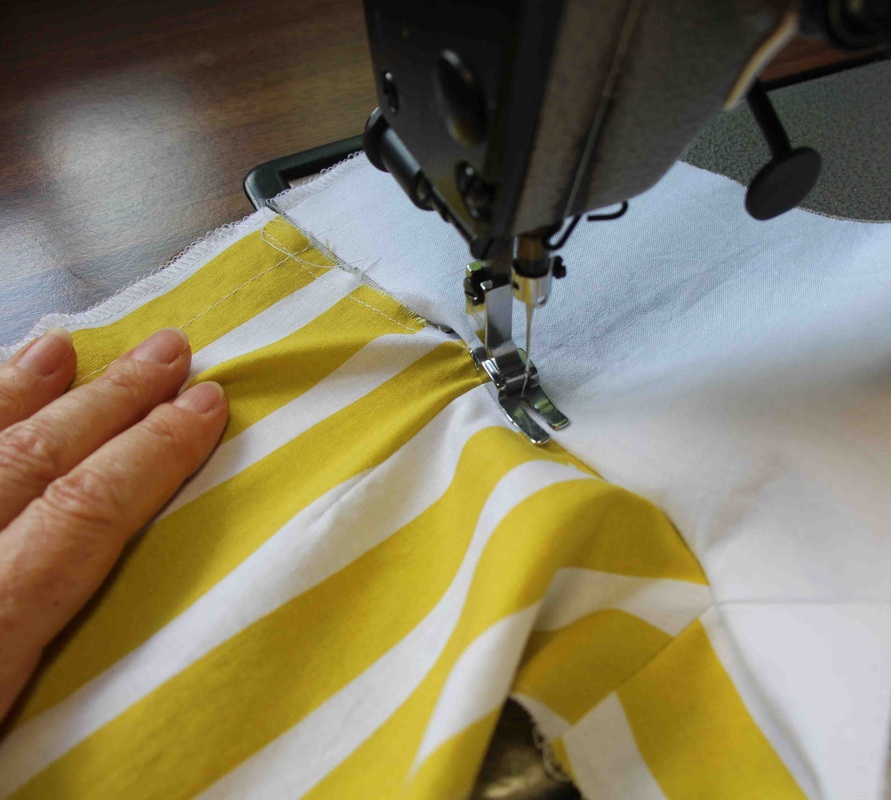
3. Stitch the back neck and waist dart making sure you match the notches.
Press darts to the side seams. If this dress is unlined you can now overlock/serge the side seams and CB seams. |
|
|
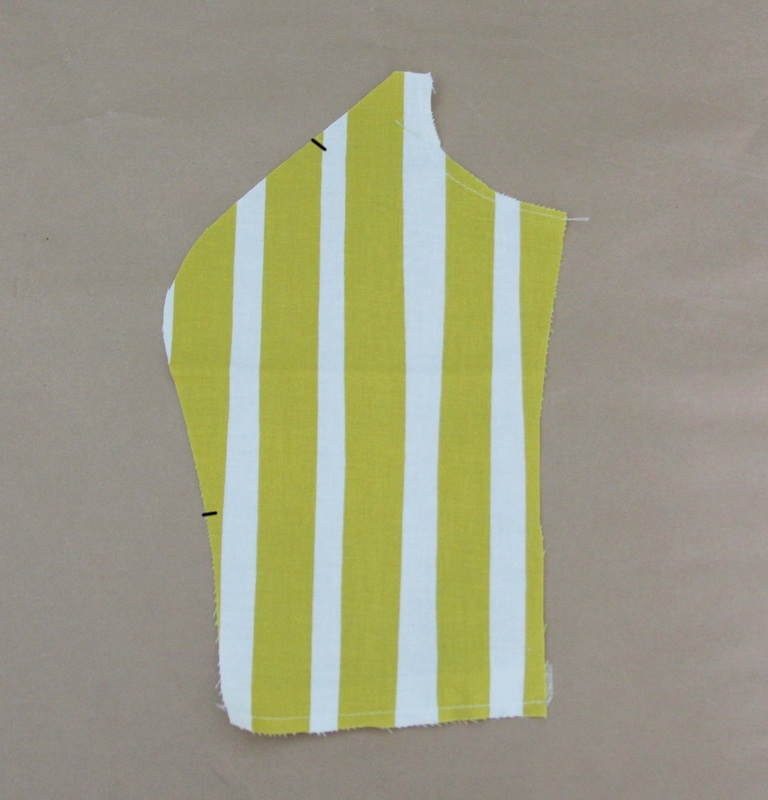
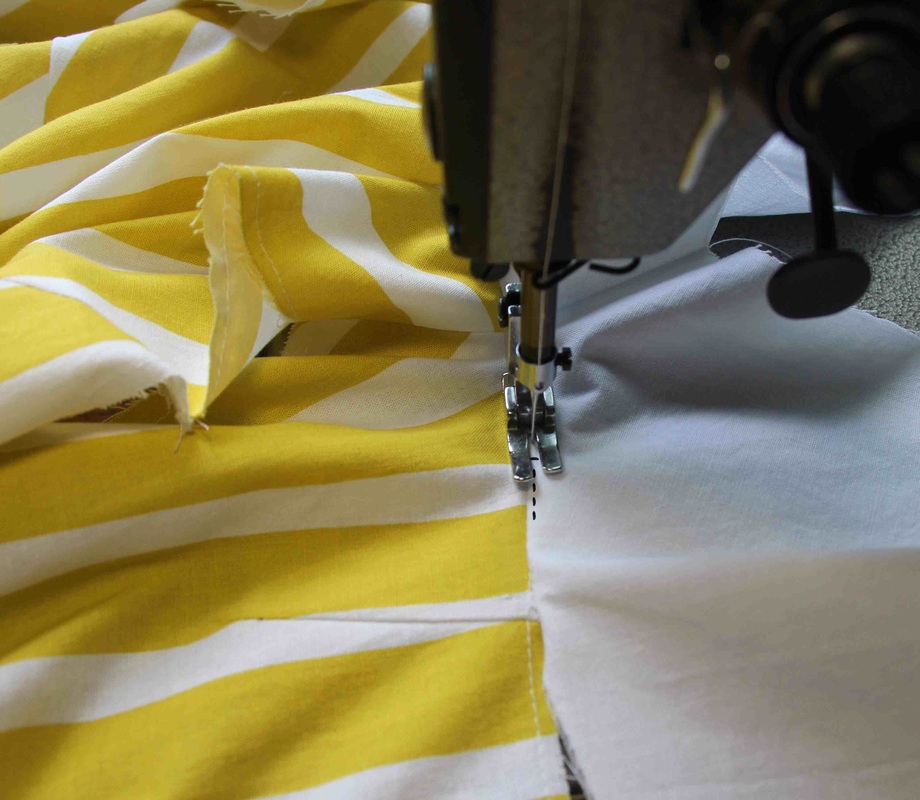
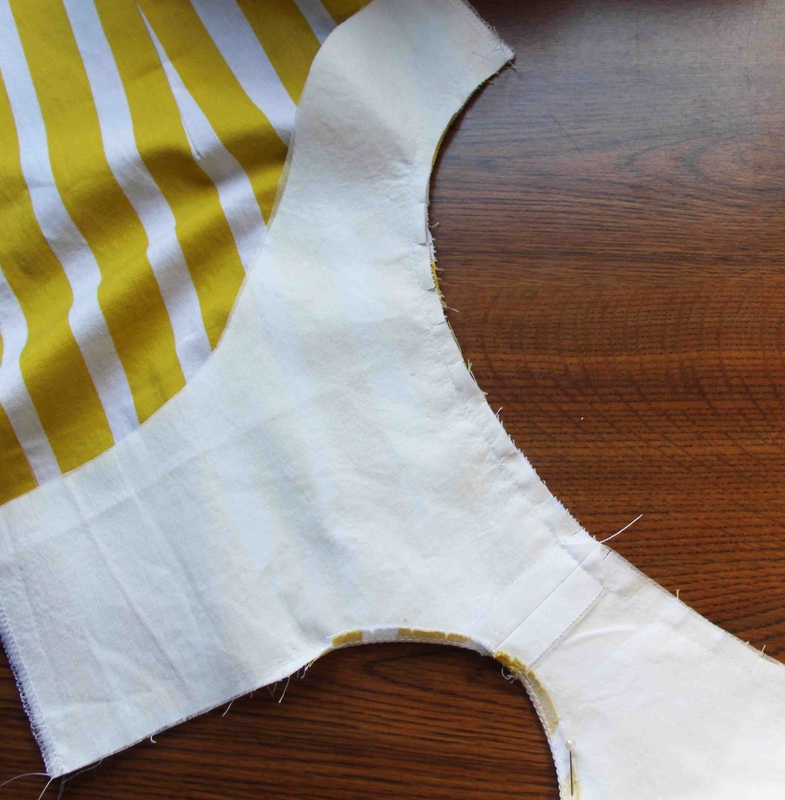
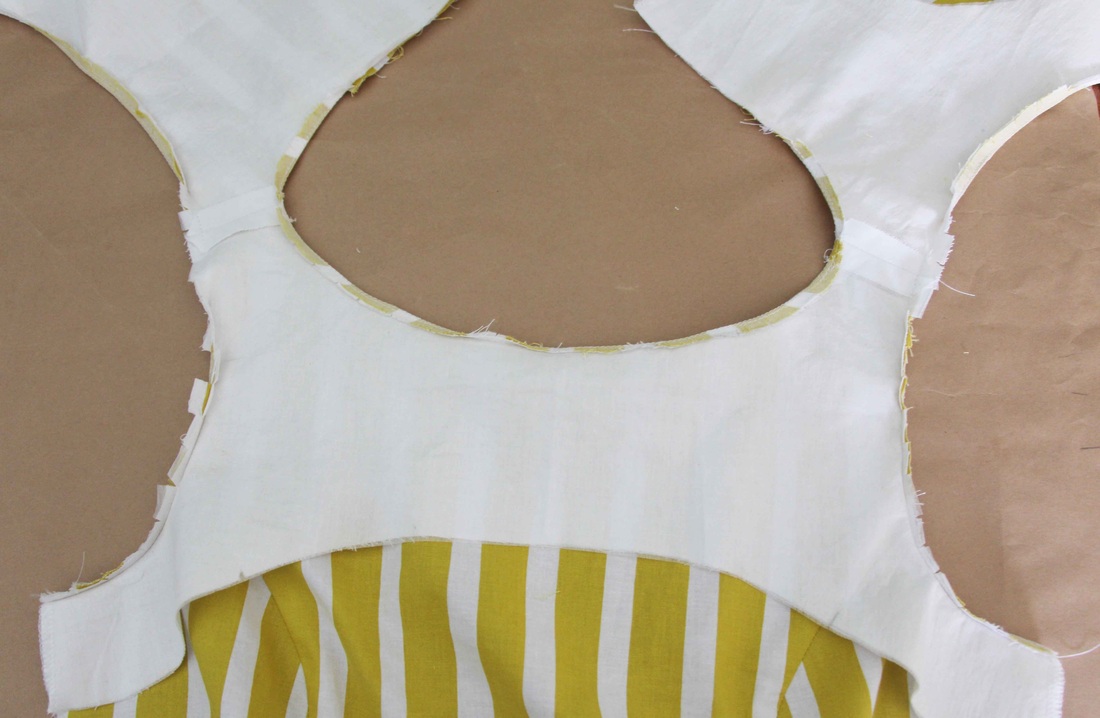
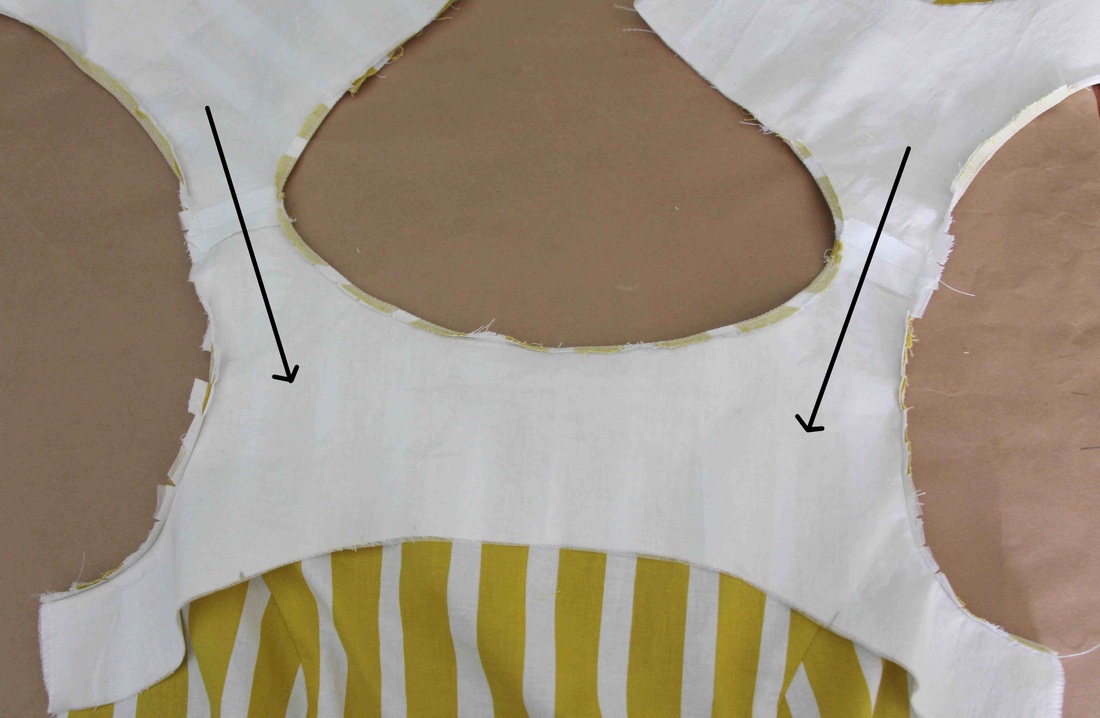
4. Press seams to the CF.
If this dress is unlined you can now overlock/serge the centre and side seams. |
|
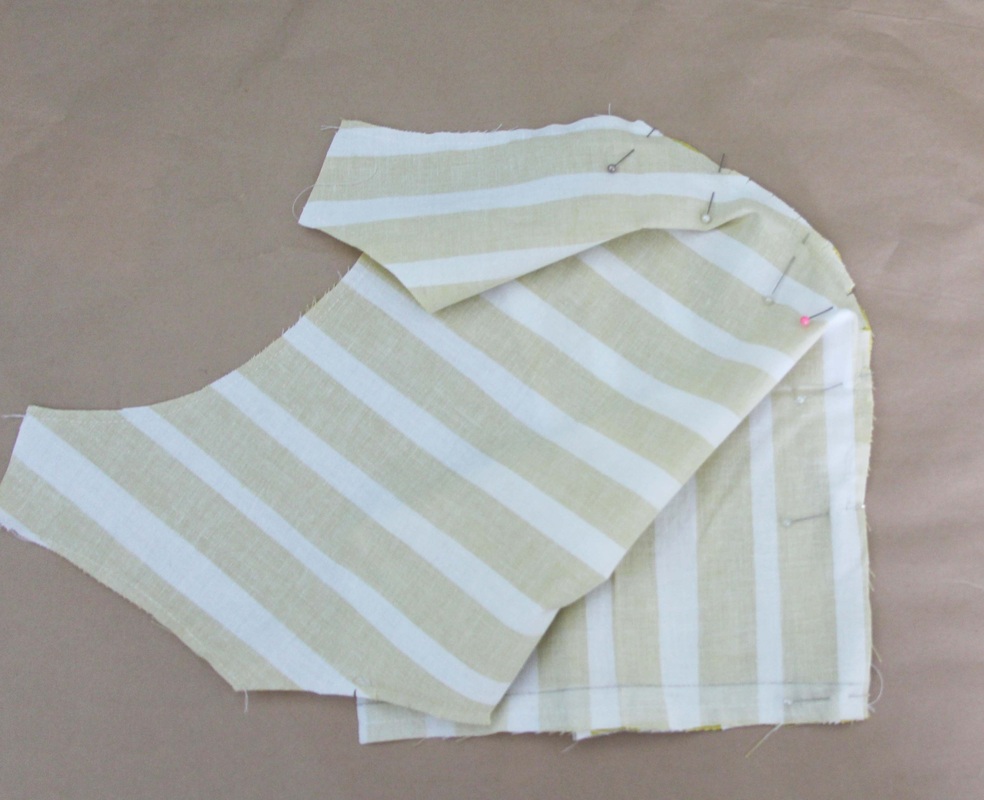
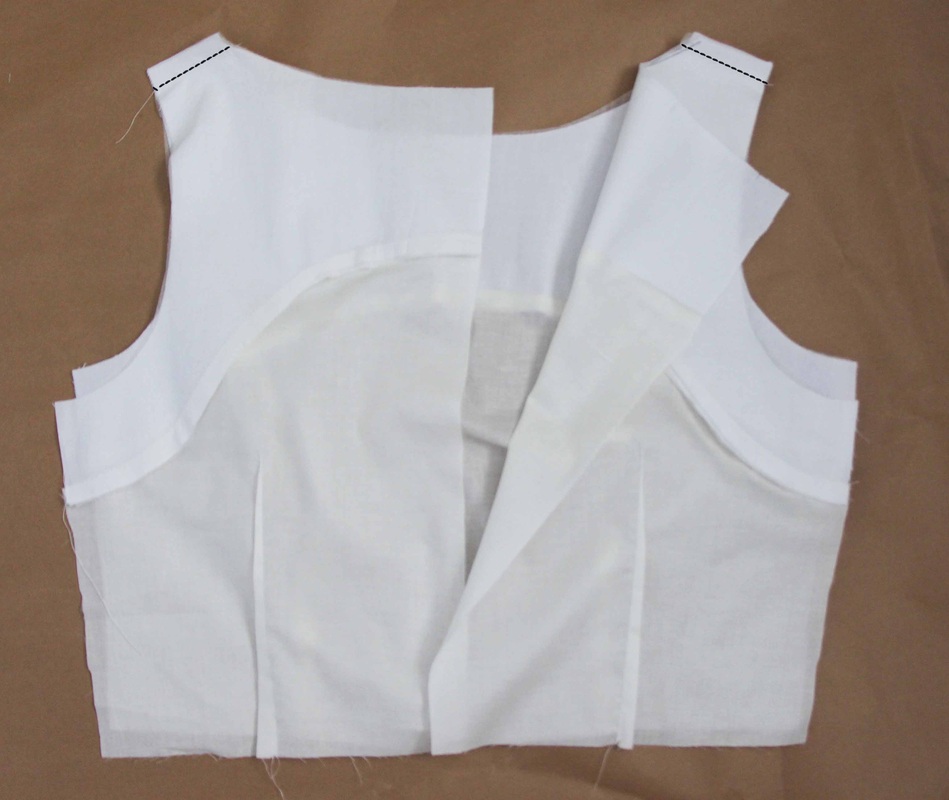
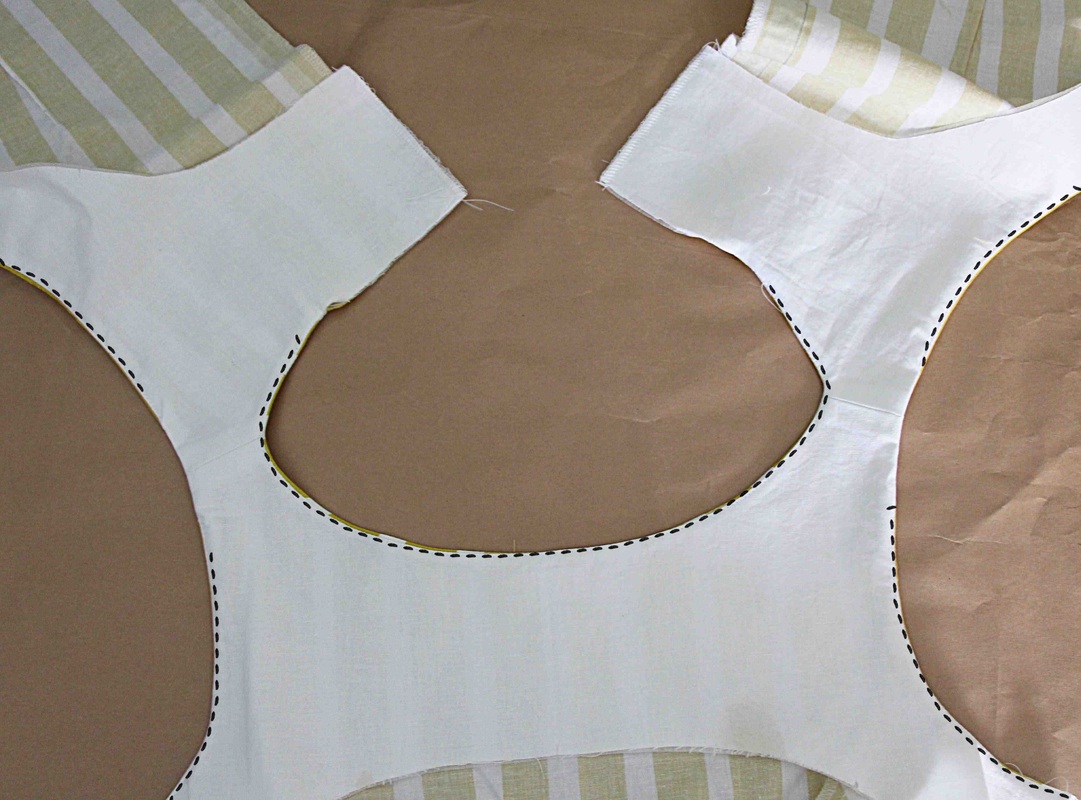
5. With right sides together of the back and front bodice pin and sew the shoulder seams 12mm/1/2" in from edge.
Press seams open. |
|
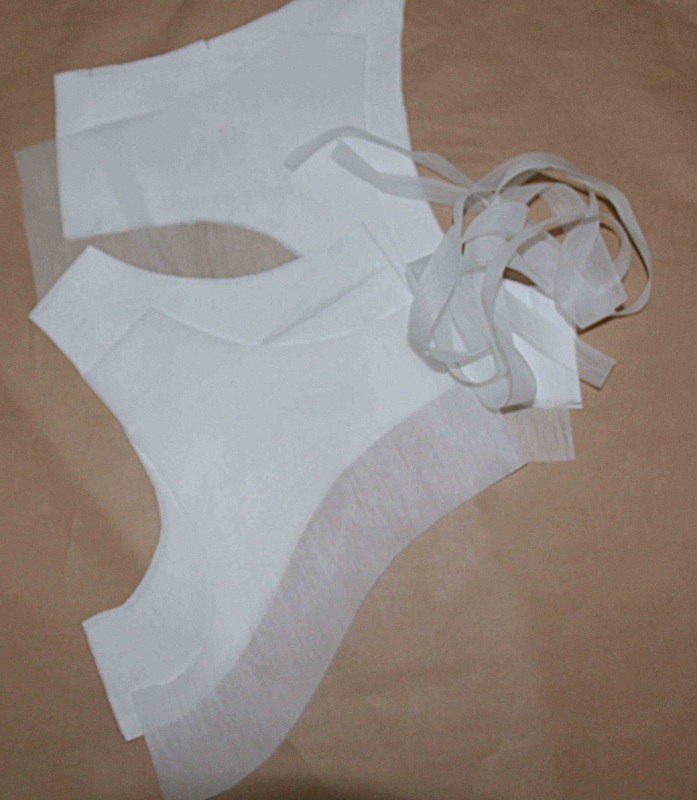
Sewing the Bodice Lining
|
1. After you've cut out your bodice lining pieces make sure you have marked all the notches.
|
|
Starting with the front lining pieces.
2. With right sides together of the CF and Front Side panels pin and stitch a 12mm/1/2" seam. Repeat on the other side. Press seams to the CF. |
|
|
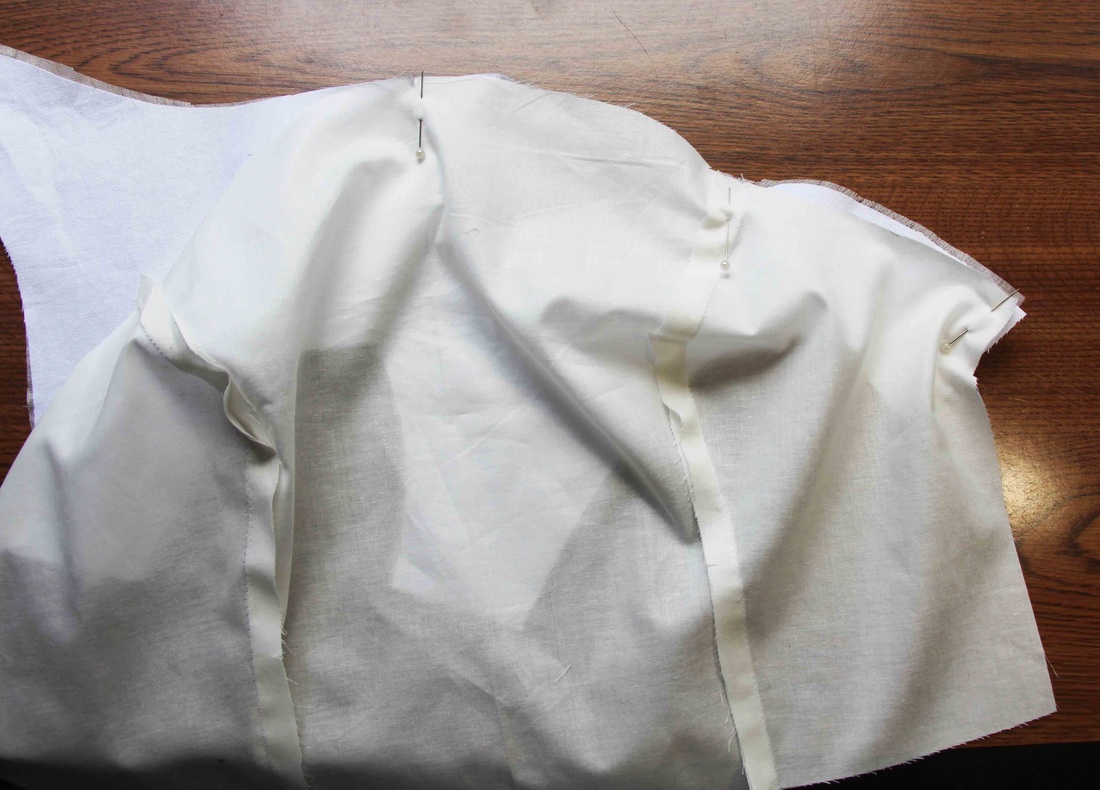
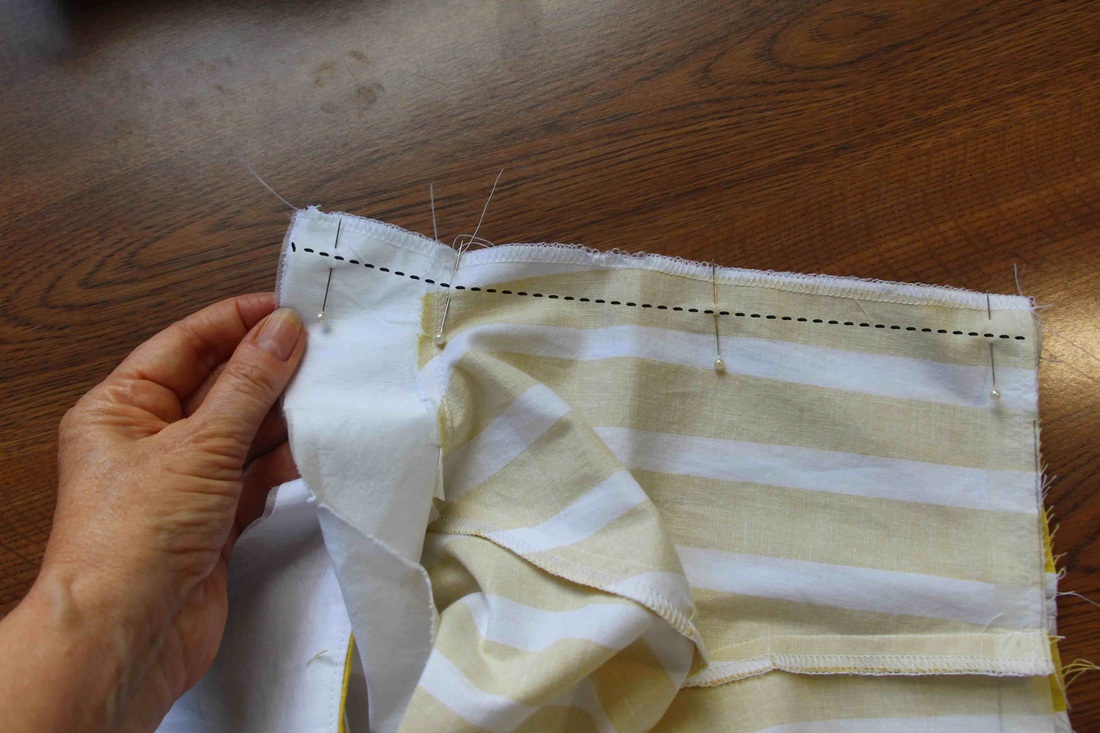
3. With right sides together pin the CF notches together on the facing and lining then pin together at the side seam and pin the facing notch with the lining panel seam.
|
|
4. Do the same on the other side of the lining and facing and then pin the rest of the lining and facing. Sew a 12mm/1/2" seam from the edge.
|
|
|
5. Press the facing seam down toward the waist.
|
|
Sewing the back lining and facing.
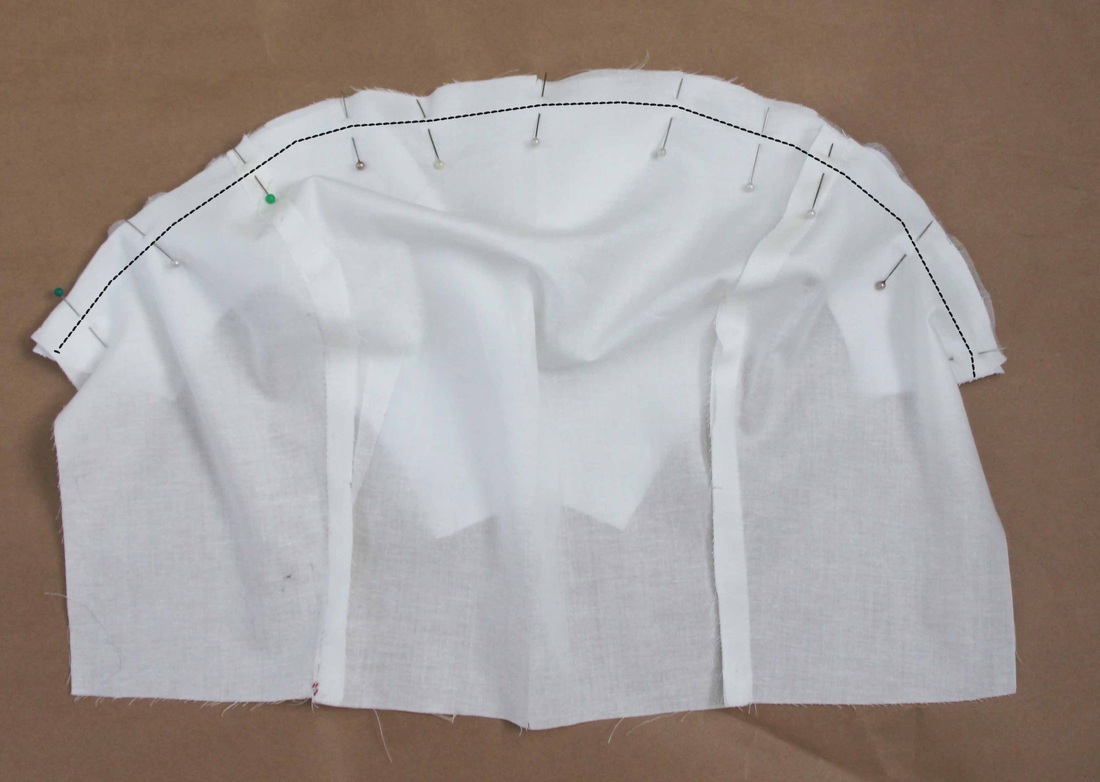
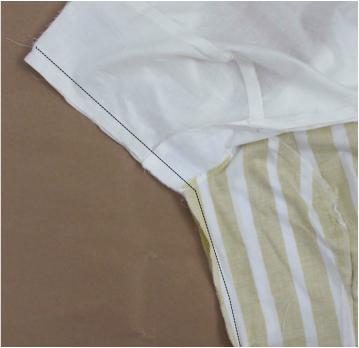
6. With right side together pin and sew the back facing and back lining together 12mm/1/2" in from edge. Make sure you match up the notches first then pin together at the side seams and the pin together the CB seams then pin in between. |
|

|
7. Press the seam down toward the waist.
Then on the wrong side pin and sew the back waist dart matching the notches. Press dart to side seam. Repeat on the other side. |
Attaching the Facing to the Unlined and Lined Bodice
|
1. With right sides together of the back and front facings sew the shoulder seams 12mm/1/2" in from the edge.
Press the seams open. 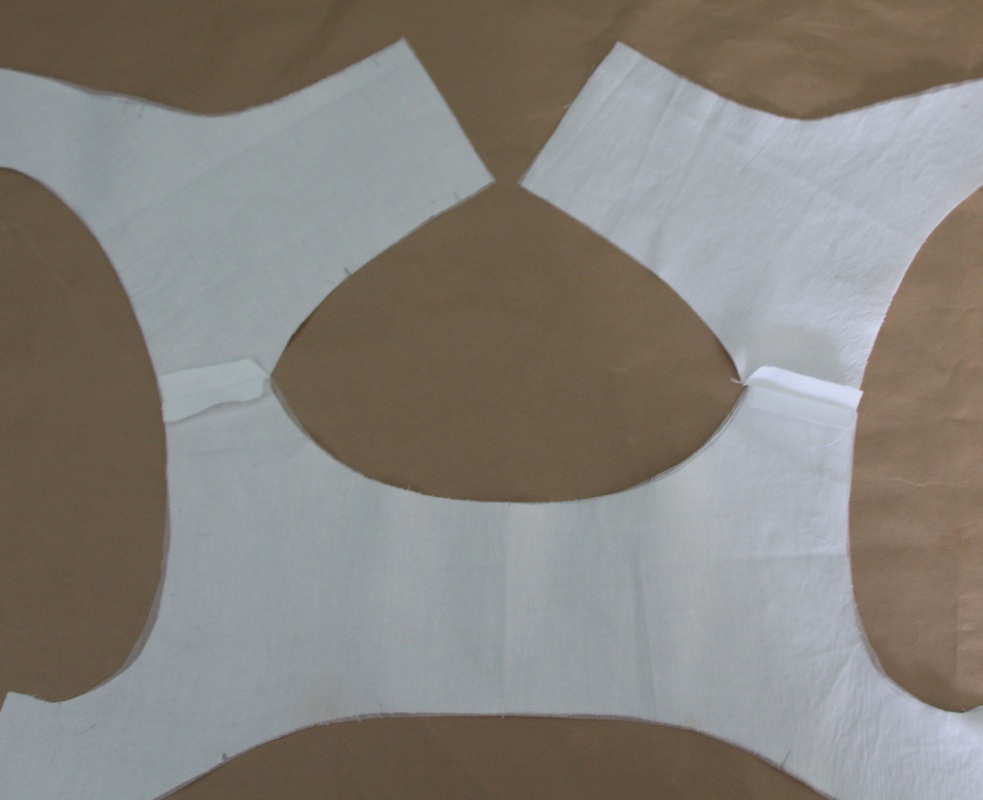
Unlined Bodice
|
Lined Bodice
|
|
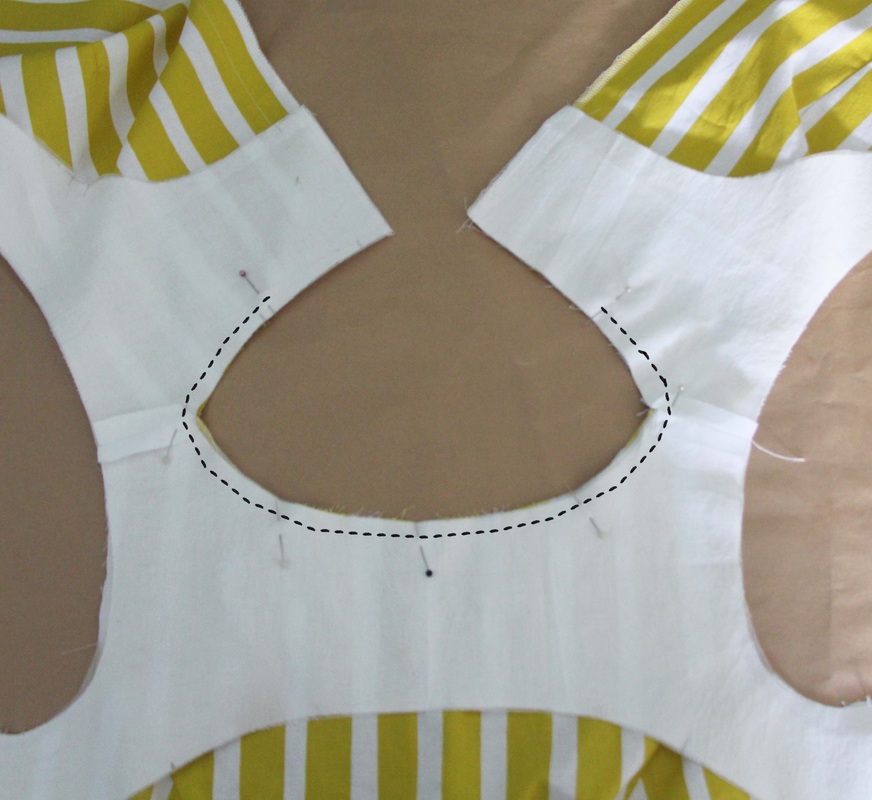
2. Place the right sides together of the bodice and the facing and pin the shoulder seams together first then pin the CF notches together and then pin the back neck dart and the back neck notch together.
Sew 6mm/1/4" in from the edge starting from just past the dart notch and finishing just past the other dart notch. |
|
|
3. Clip into the seam making sure you don't cut the stitching.
|
|
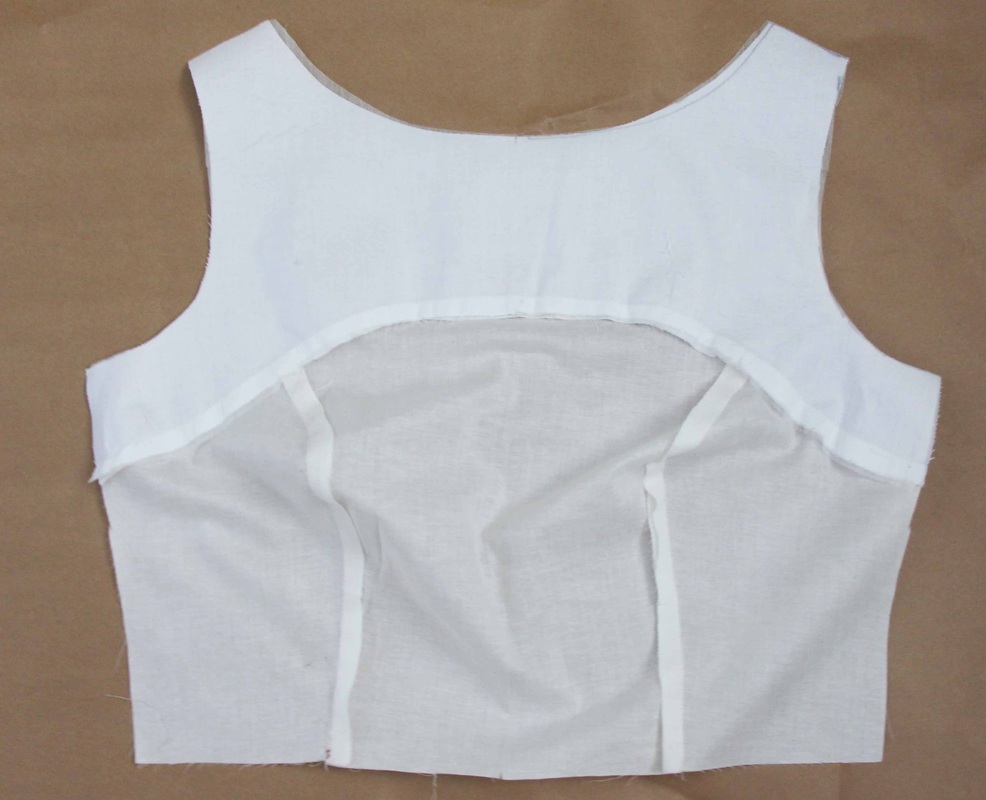
4. Turn the bodice to the right side and open out the bodice and the facing.
5. Starting a 1cm in from where the neckseam started understitch (a row of stitching close to the seam edge stitched on the facing) round the neck facing and finishing just before the neck seam ended. |
|
|
|
|
6. Turn to the right side and press the neck edge.
|
|
7. Now turn the facing over so that the right sides of the facing and bodice are together and pin round the neck edge to hold it secure.
|
|
|
8. At the armhole edge pin the facing and bodice together at the shoulder seams first then pin them together at the side seams and then pin the rest of the armhole facing.
9. Stitch 6mm/1/4" in from edge round the armhole edge stitching the facing and bodice together. |
|
10. Clip into the armhole seam every 12mm/1/2" making sure not to cut the stitching.
|
|
|
11. Turning the garment to the right side and starting with the front armhole facing - understitch the facing close to the edge and stitch as far as you can go.
12. Then repeat this step on the back armhole facing and also on the other side of the facing. |
|
|
15. So what's going to happen is you are going to pull the back facing through to the front.
16. Putting one hand in between the front facing and the bodice and with the other hand start pushing the back facing and bodice through the shoulder seams. Then repeat this step to the other back facing. |
|
17. And VOILA! this is how it will look. Simple, YES!
Notice that the armhole facing understitch didn't stitch right round the the facing. That's ok as there is no way you can understitch the facing right round. |
|
Sewing the Side Seams
|
1. Open the facing out away from the bodice and placing the right sides together of the front and back bodice pin at the armhole seam first making sure the front and back armhole seam are together then pin the rest of the seam.
2. Stitch 12mm/1/2" in from edge. |
|
|
3. The lined bodice side seam is stitched in the same way.
|
|
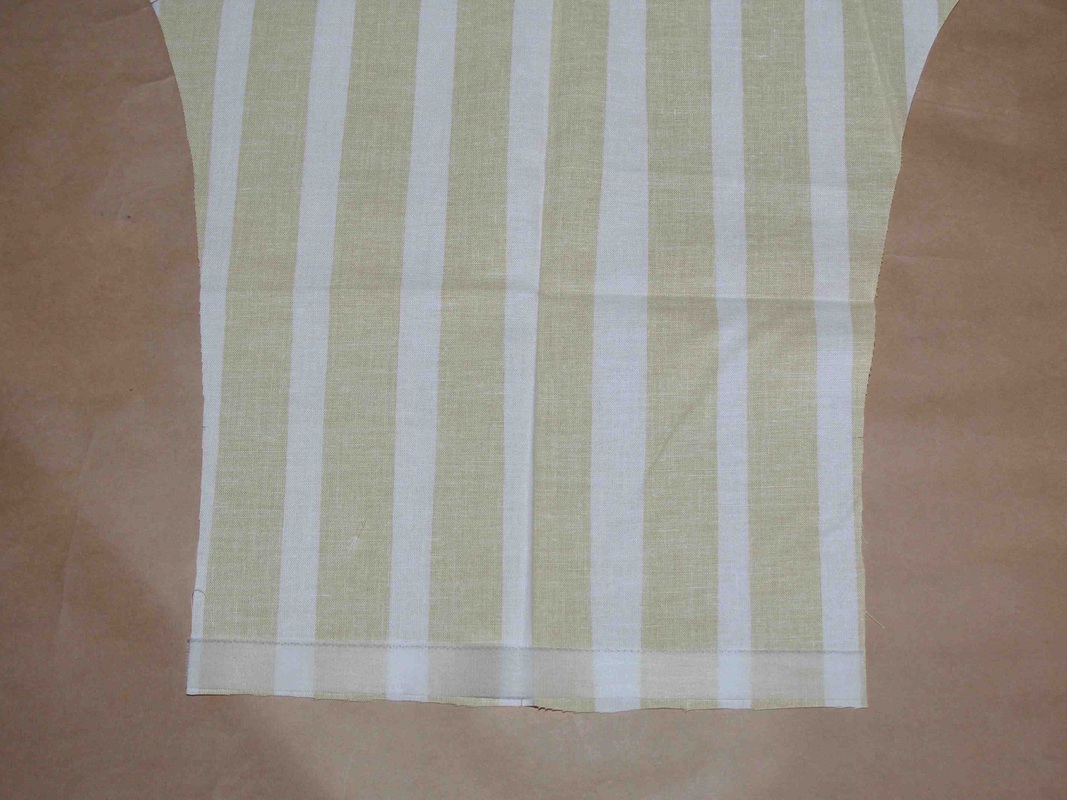
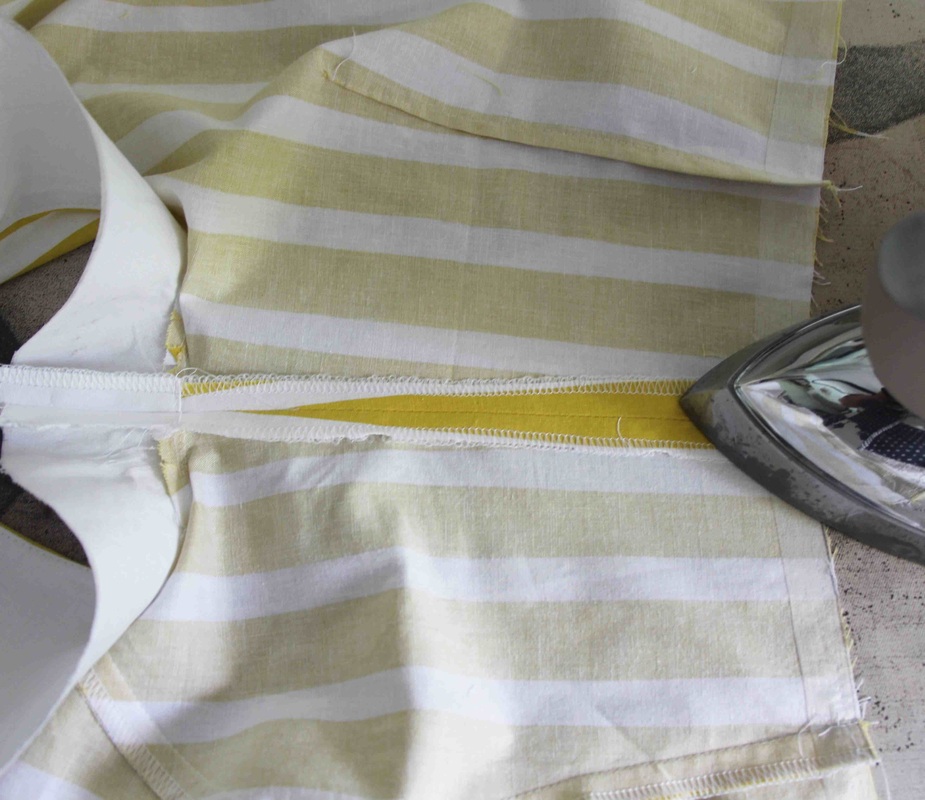
4. Press seams open.
If you are sewing the unlined version now is the time to overlock/serge round the bottom edge of the facing and also the CB seams. If you are sewing the line version now is the time to overlock/serge the CB seams of the facing and the lining. |
|
|
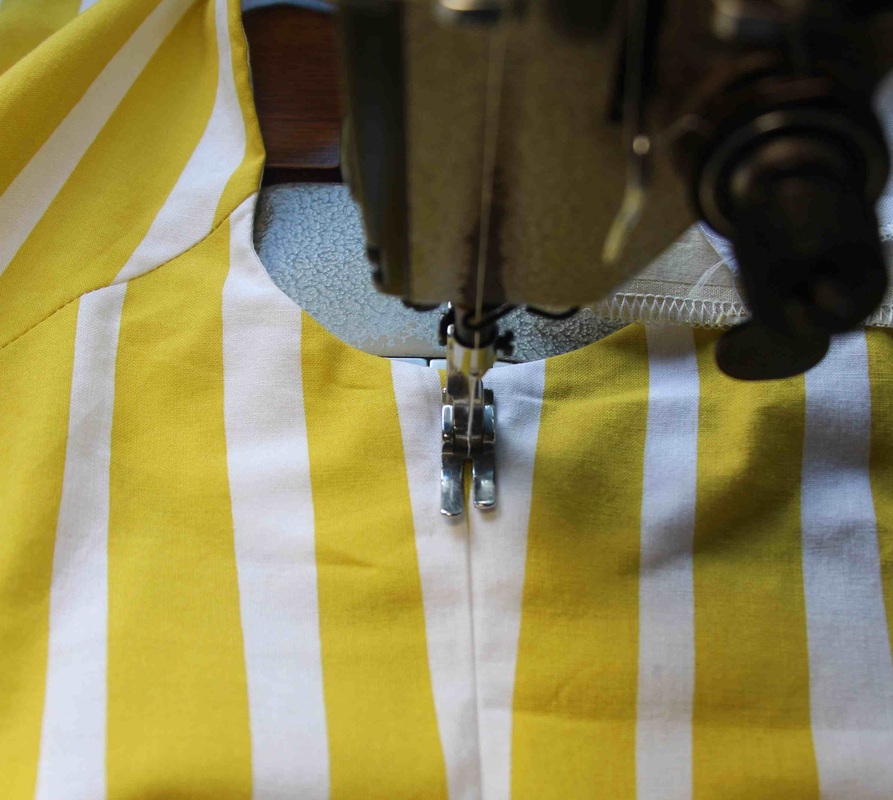
5. Turing the bodice to the right side and with the bodice and facing together ditch stitch in the seam. You'll be stitching through the bodice and the facing. This is to hold the facing in place to stop it from creeping through to the outside when you are wearing the dress.
|
That's it for Today
You've had another big day of sewing and hopefully you are starting to see some beautiful results.
Take photos of your handiwork and post the photos in the facebook group so we can all OOoo! and AHHHH! and say how clever we are! Because we are!
Lesson 5 you'll be sewing the Pleated or Gathered skirt version and it will include the unlined and lined option.
Take photos of your handiwork and post the photos in the facebook group so we can all OOoo! and AHHHH! and say how clever we are! Because we are!
Lesson 5 you'll be sewing the Pleated or Gathered skirt version and it will include the unlined and lined option.


The MiSS AUDREY DRESS SEW-A-LONG
- Welcome to the MiSS AUDREY DRESS SEW-A-LONG - posted 1/12/14
- Cutting Out and Sewing Up Your Calico Toile/Muslin - posted 2/12/14
- Fitting Your Calico Toile/Muslin - posted 4/12/14
- Transfer Your Toile/Muslin alterations to your pattern - 6/12/14
- Cutting Out and Sewing Up Your Bodice - Unlined/Lined version - 8/12/14
- Attaching the Skirt - Unlined/Lined - Pleated/Gathers - 13/12/14
- Attaching the Invisible Zip - Unlined/Lined versions and sewing the hem - 16/12/14
- Finale! Showing off your Beautiful Dresses - 23/12/14
