Lesson 5 - Attaching Your Skirt - Pleated/Gathers - Unlined/Lined
Ok, now that your dress is starting to look like a dress let's keep going. We are almost there!
Here's What You'll Achieve Today
- sewing your pleated or gathered skirt
- sewing the lining (optional)
- attaching your skirt/lining to the bodice
- and getting your dress ready to attach you invisible zip
Sewing Your Pleated Skirt
Front Skirt
|
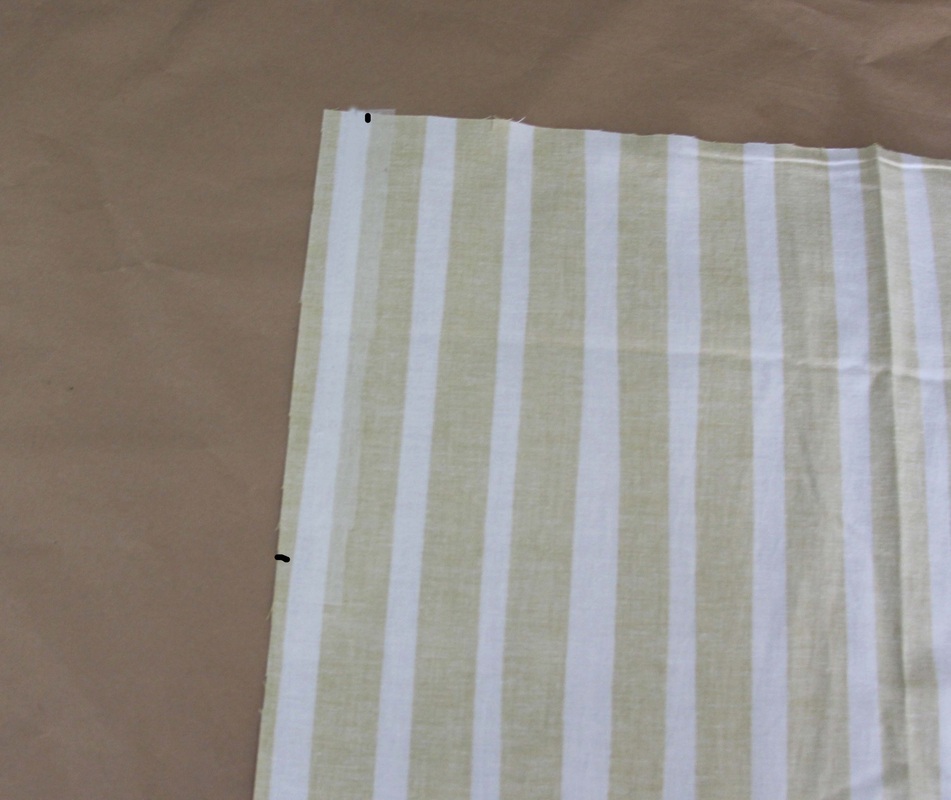
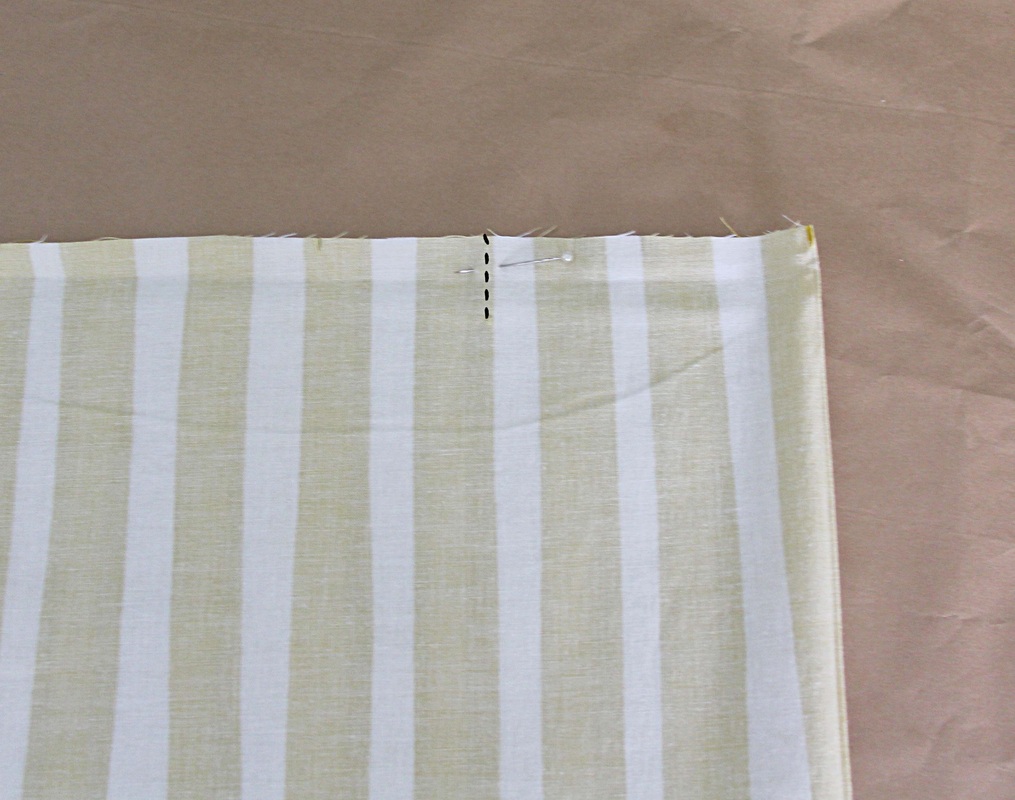
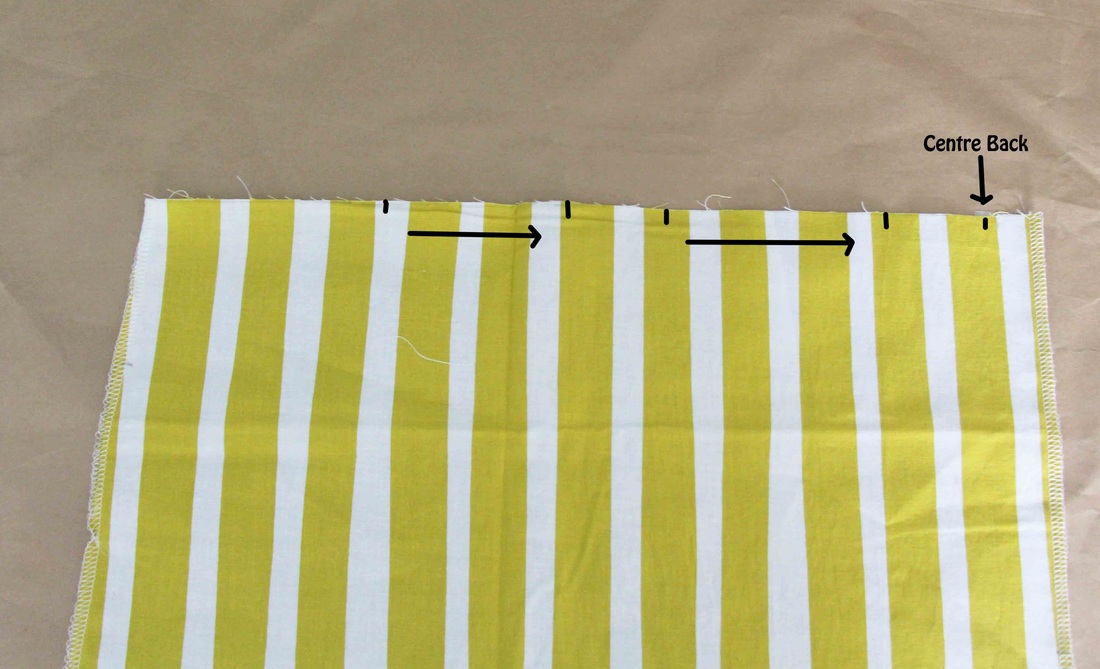
1. As you did with the bodice make sure you've marked all your notches, these include:
2. Fuse on the strip interfacing on the CB seam from the waist notch down to the zip opening notch. |
|
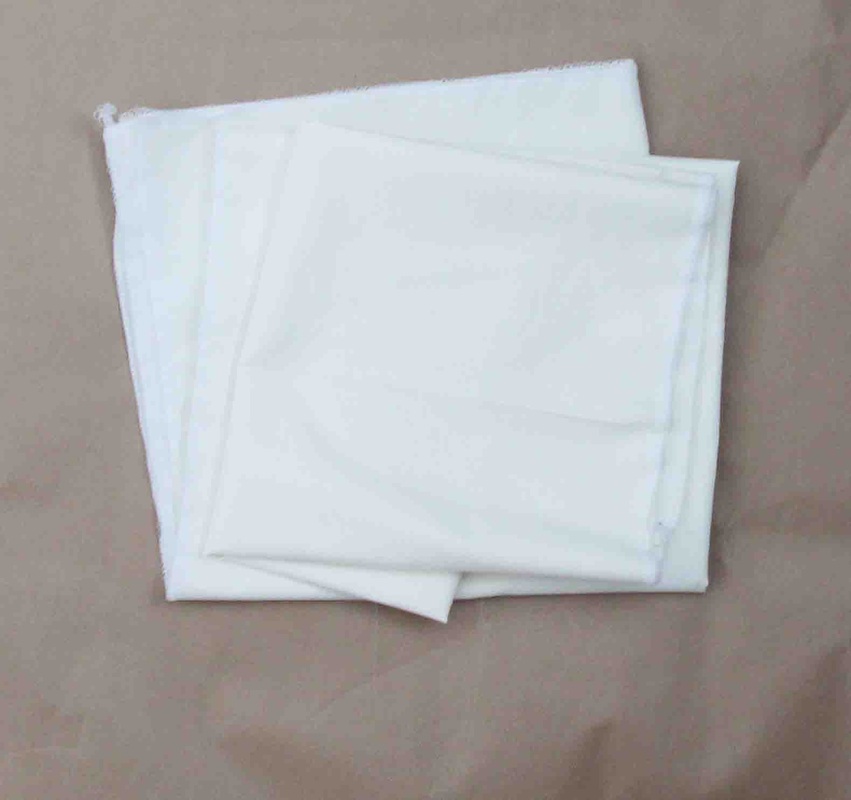
3. Overlock/serge all your pieces:
|
|
|
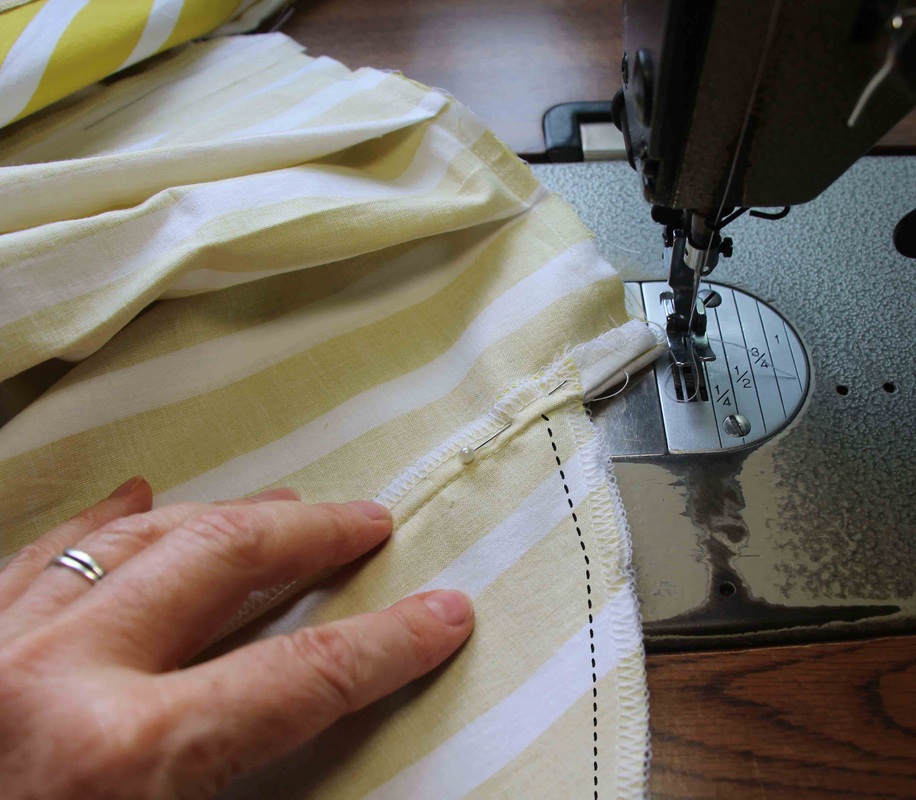
4. Starting with the front skirt and with the right sides together pin and sew the inverted pleat from the notch to the dot.
|
|
5. Turn the skirt piece to the right side and match the CF notch to the seam of the pleat and pin either side to secure.
You have now created your CF inverted pleat. |
|
|
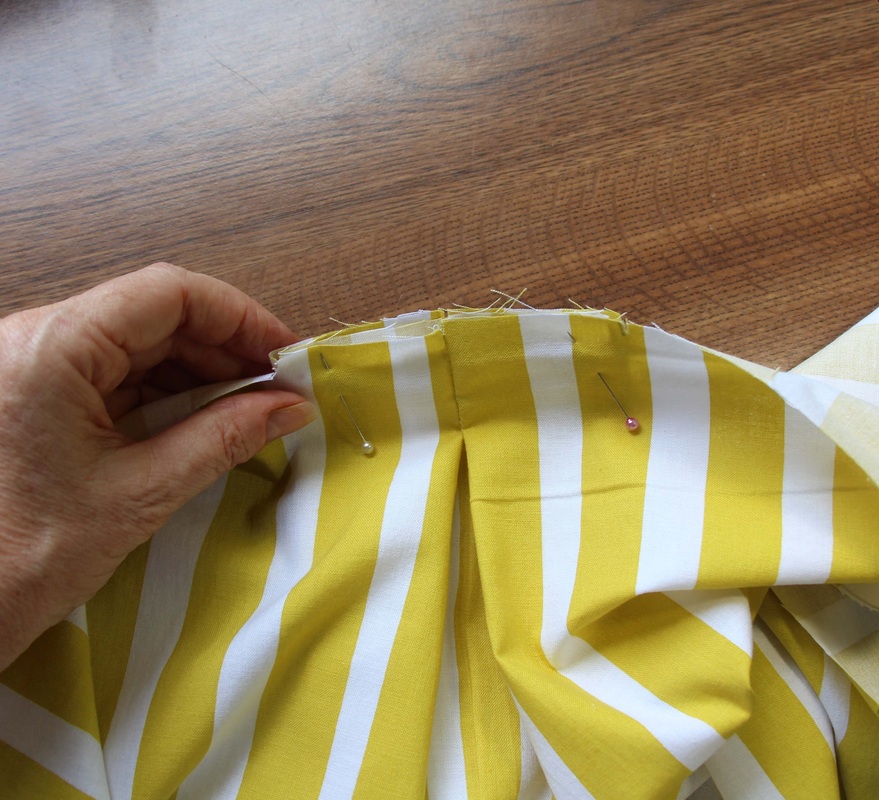
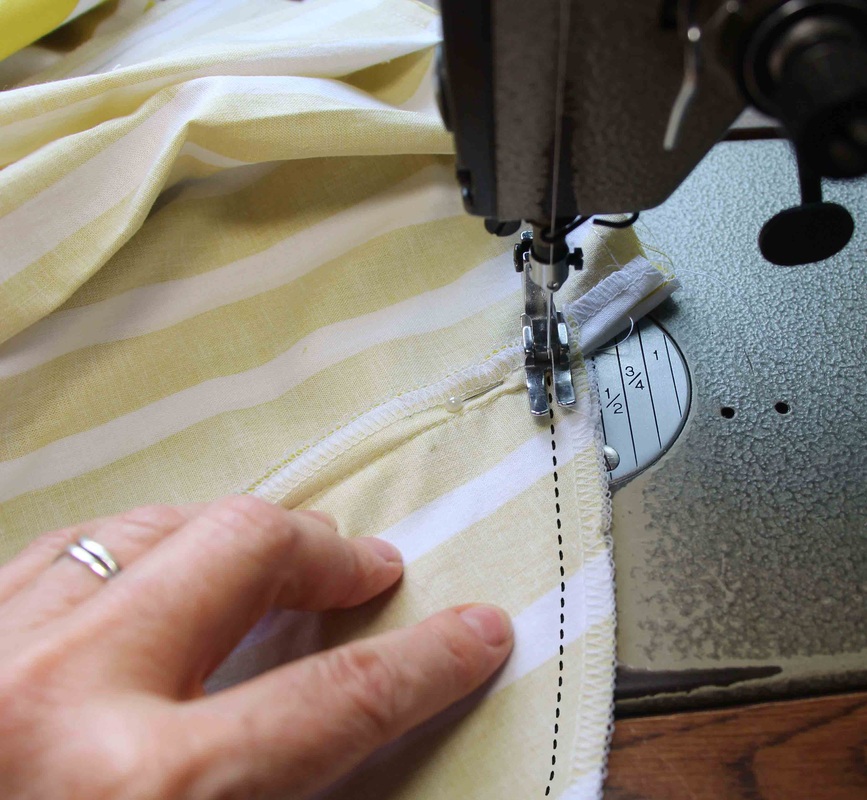
6. Fold the to outer pleats toward the CF and pin in place.
Repeat this step on the other side of the skirt. |
|
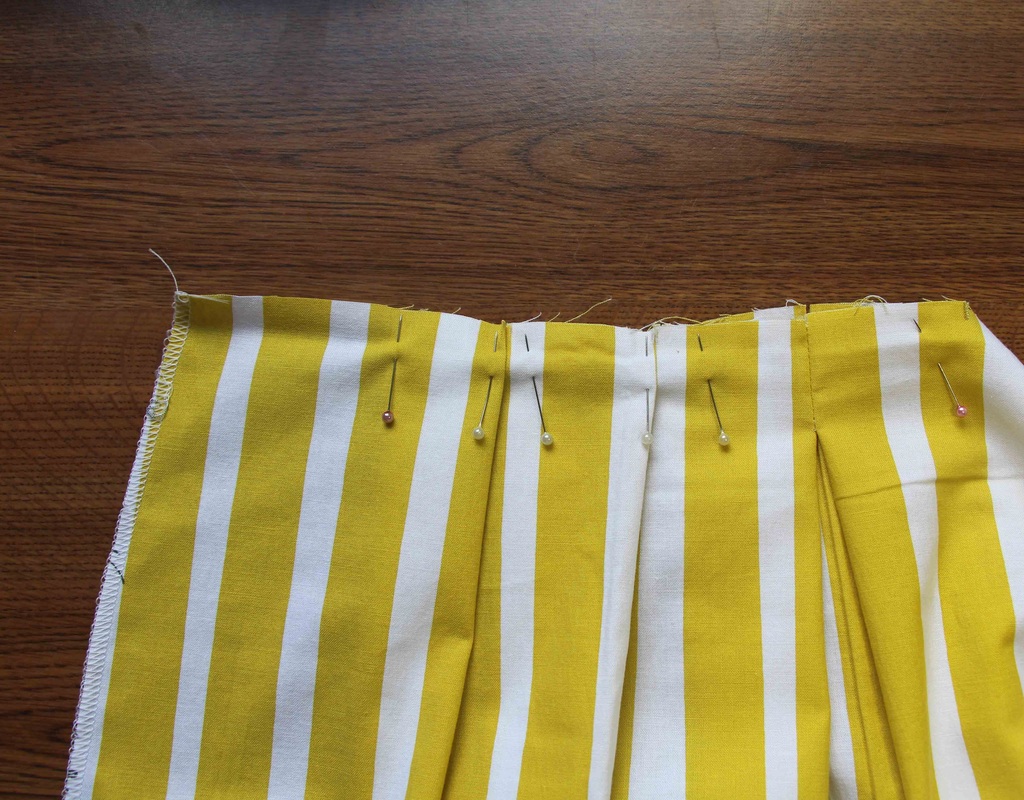
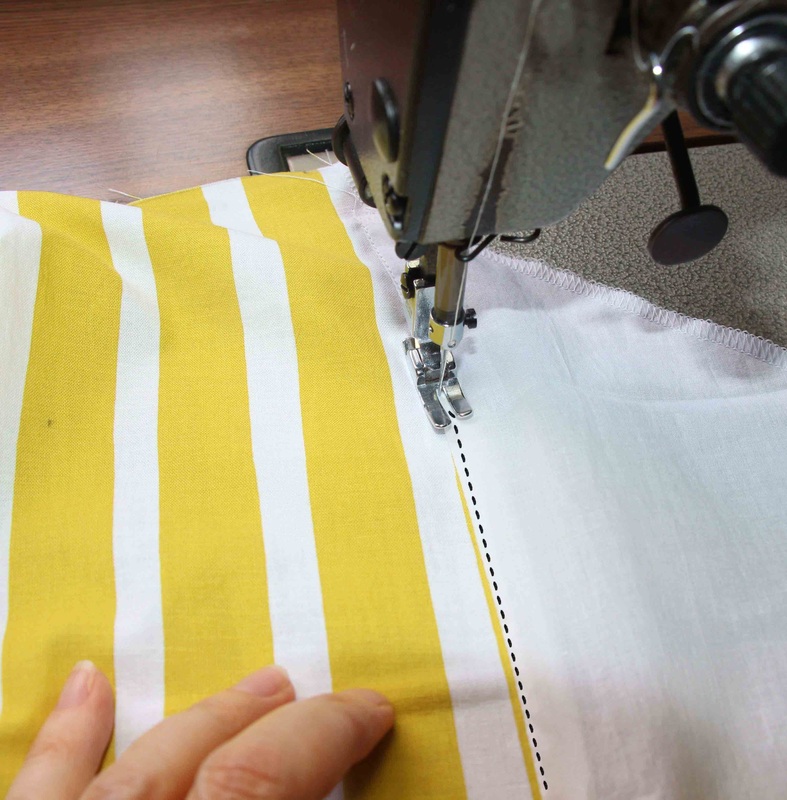
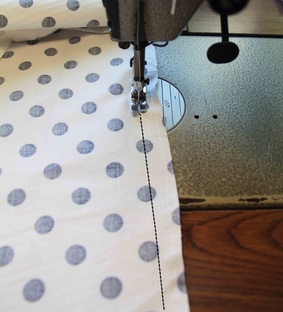
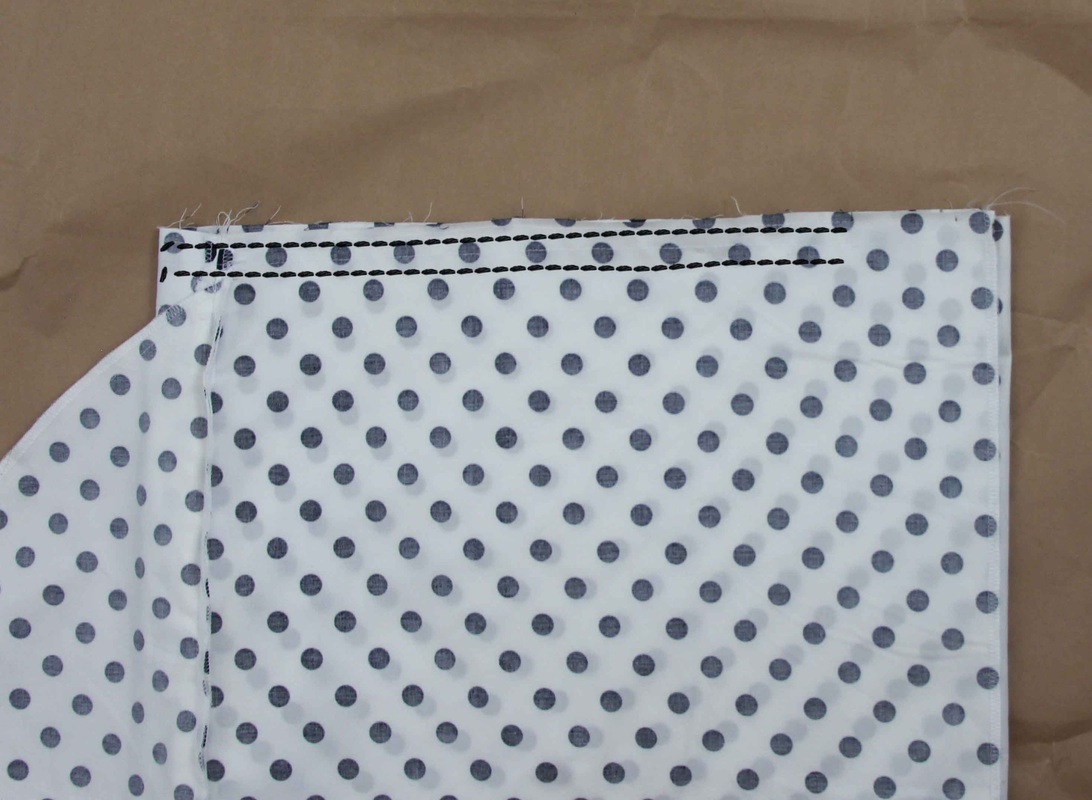
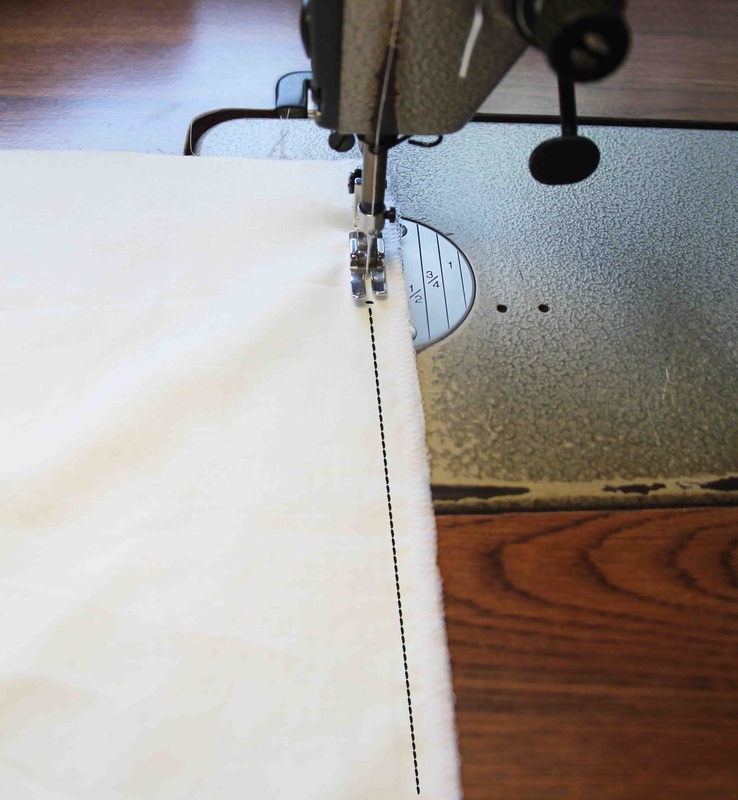
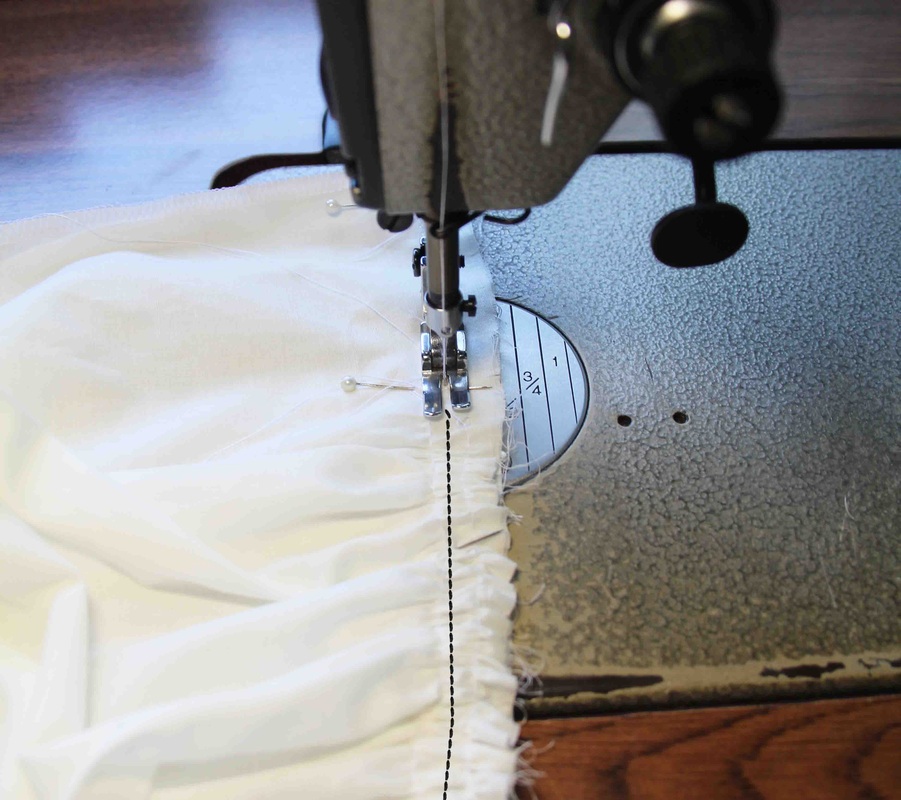
7. Then run a stay stitch 6mm/1/4" in from edge.
|
|
Back Skirt
|
1. With the right side of the fabric facing up fold the 2 pleats toward the CB seam.
2. Pin and run a stay stitch 6mm/1/4" from edge. Repeat these steps with the other back skirt. |
Attaching the Pockets to the Back Skirt
|
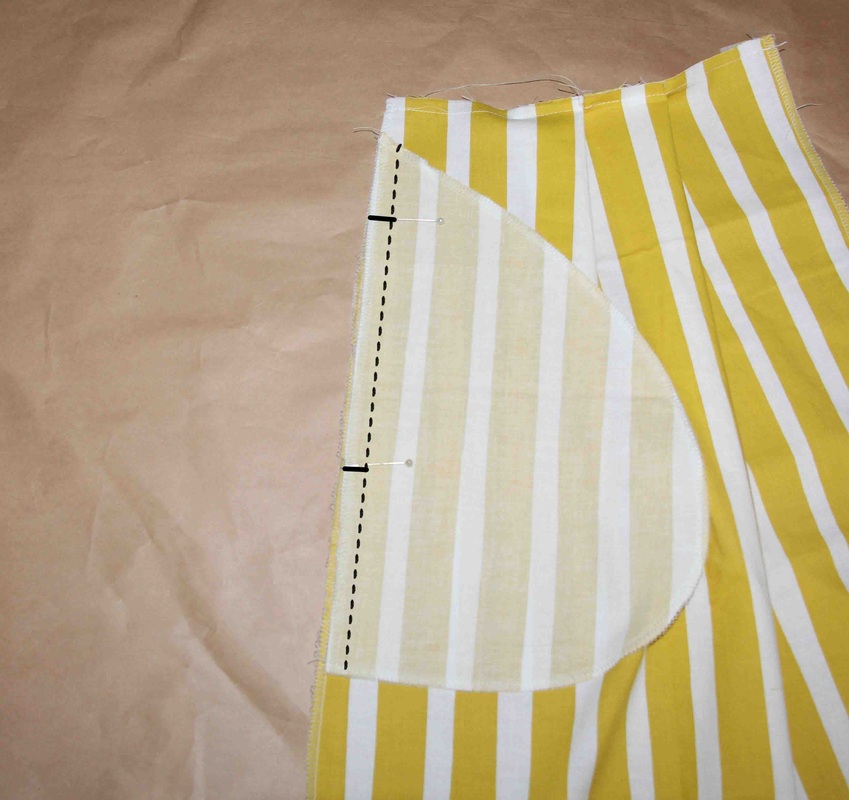
1. Take one of the pockets cut in the same fabric and with right sides together match up the pocket notches with the skirt pocket notches.
2. Pin in place then run a stay stitch the length of the pocket just under 10mm/3/8" from edge. Repeat these steps to the other side of the back skirt. |
|
|
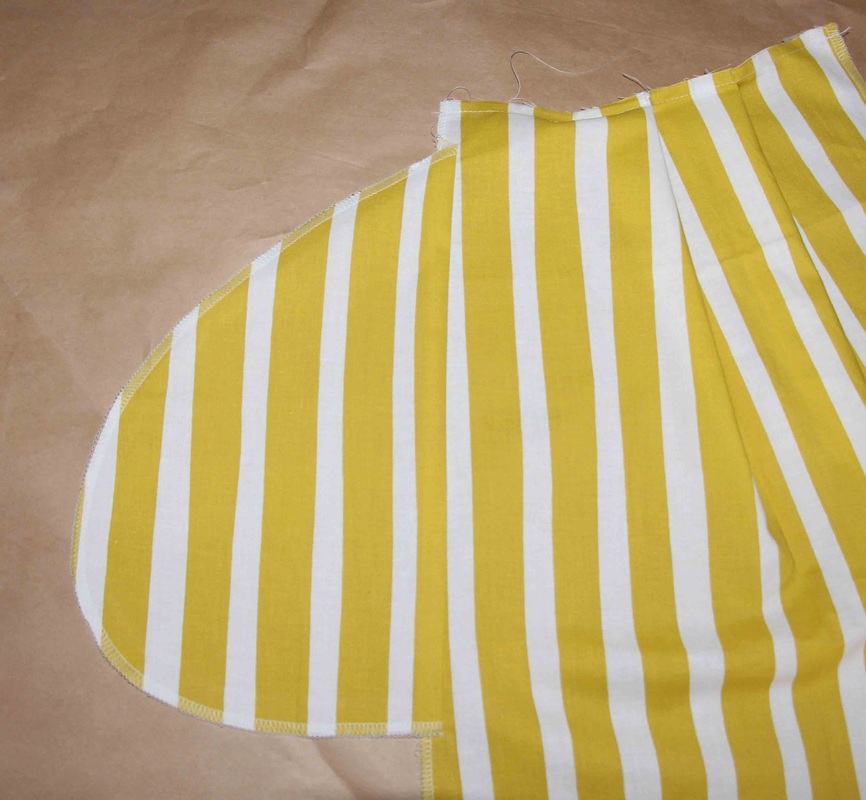
3. Press the pocket and skirt out flat.
|
Attaching your Pockets to the Front Skirt
|
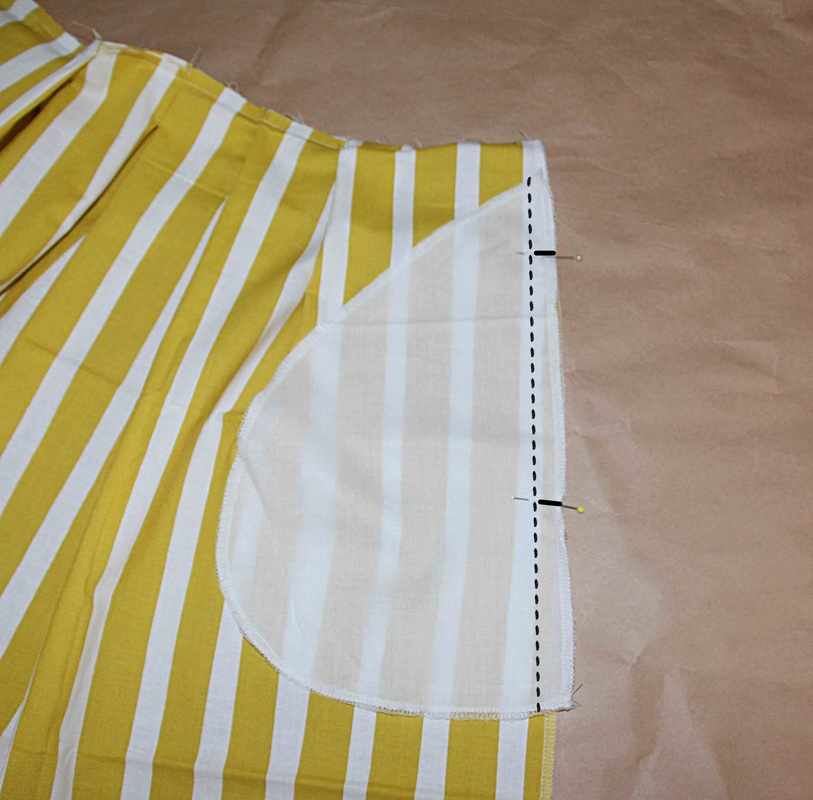
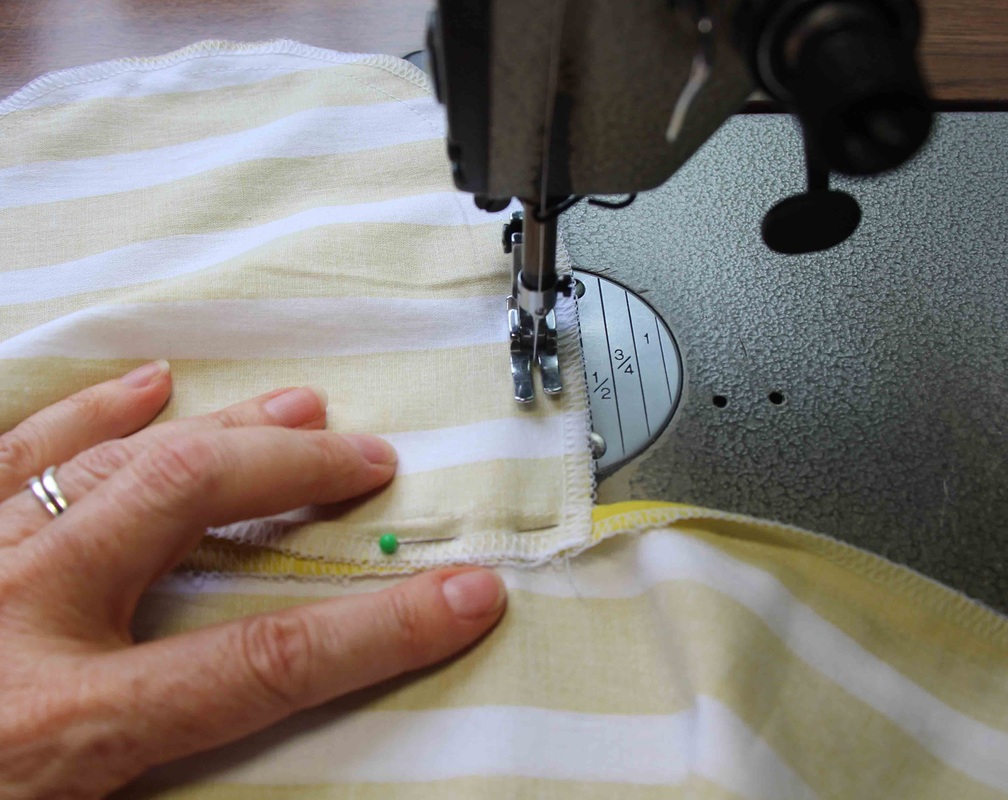
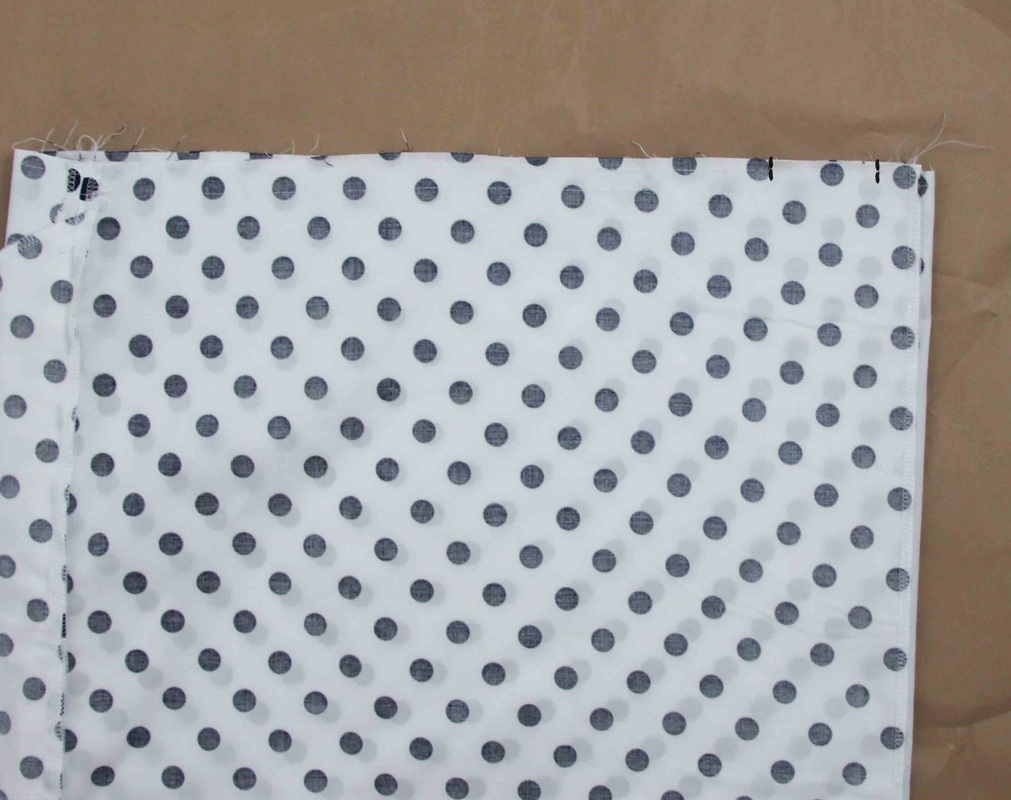
1. Using the pockets cut from the lining fabric and with right sides together. Pin the pocket to the skirt making sure the pocket and skirt notches match.
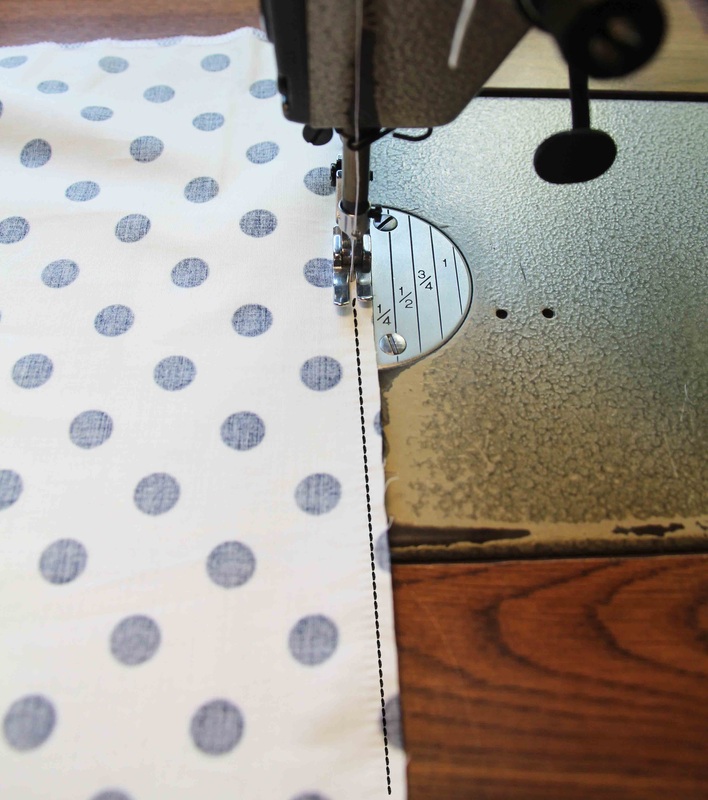
2. Sew a stay stitch the length of the pocket 10mm/3/8" in from edge. |
|
|
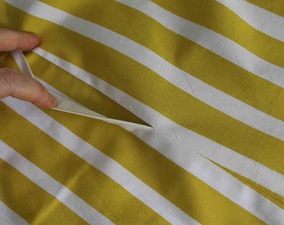
3. Turn the skirt to the right side and with pocket folded out sew a top stitch close to the seam the full length of the pocket. Make sure the seam underneath is facing away from the skirt.
|
Sewing the Side Seams
|
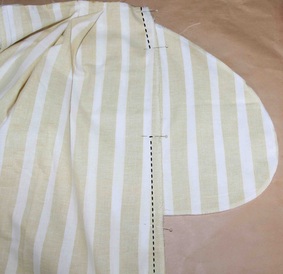
1. With the right sides together of the front and back skirts pin the skirts together leaving open the area between the 2 pocket notches. Make sure the pockets are out of the way.
2. Stitch down from the waist to the first notch 12mm/1/2" in from side seam edge. 3. Stitch down from the second notch to the hemline 12mm/1/2" in from side seam edge. |
|
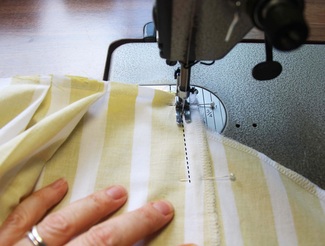
Stitching down from the waist to the first notch.
|
Stitching down from the second notch to the hemline.
|
Stitching the Pocket Bag
|
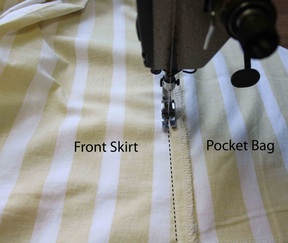
1. Starting at the top of the pocket bag pin the sides seams out of the way.
|
|
2. Sew round the pocket bag 12mm/1/2" in from the edge.
|
|
|
3. Continuing sewing till you get to the other end of the pocket bag and sew right up to the seam. Make sure you have pin your side seams out of the way.
Repeat these steps for the other pocket bag. |
|
4. Press the skirt side seams open.
|
|
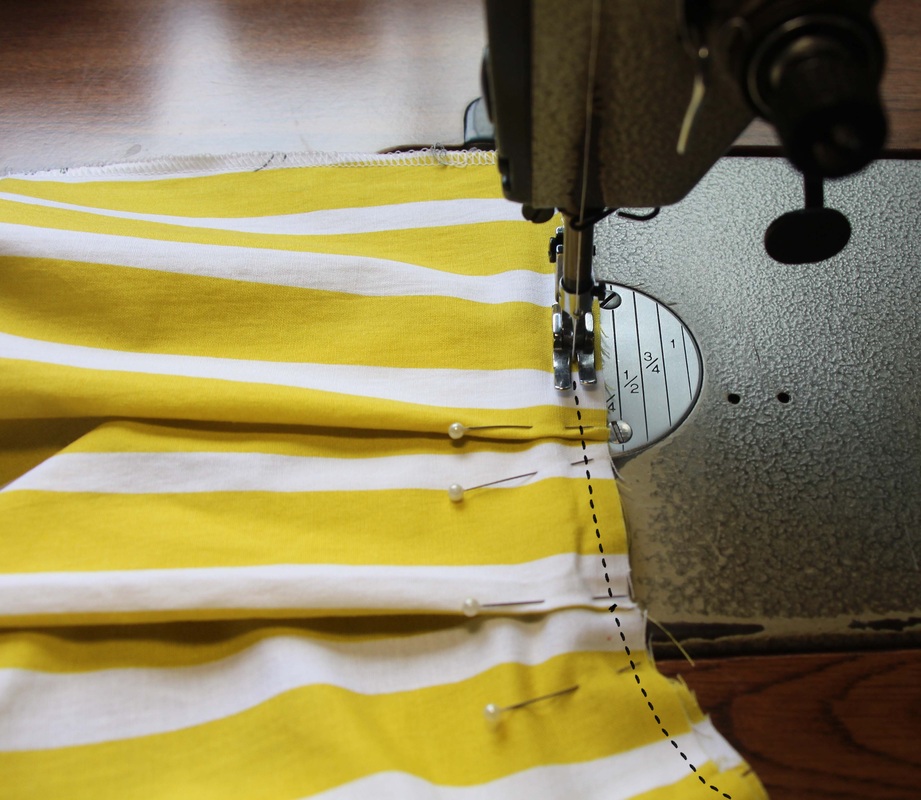
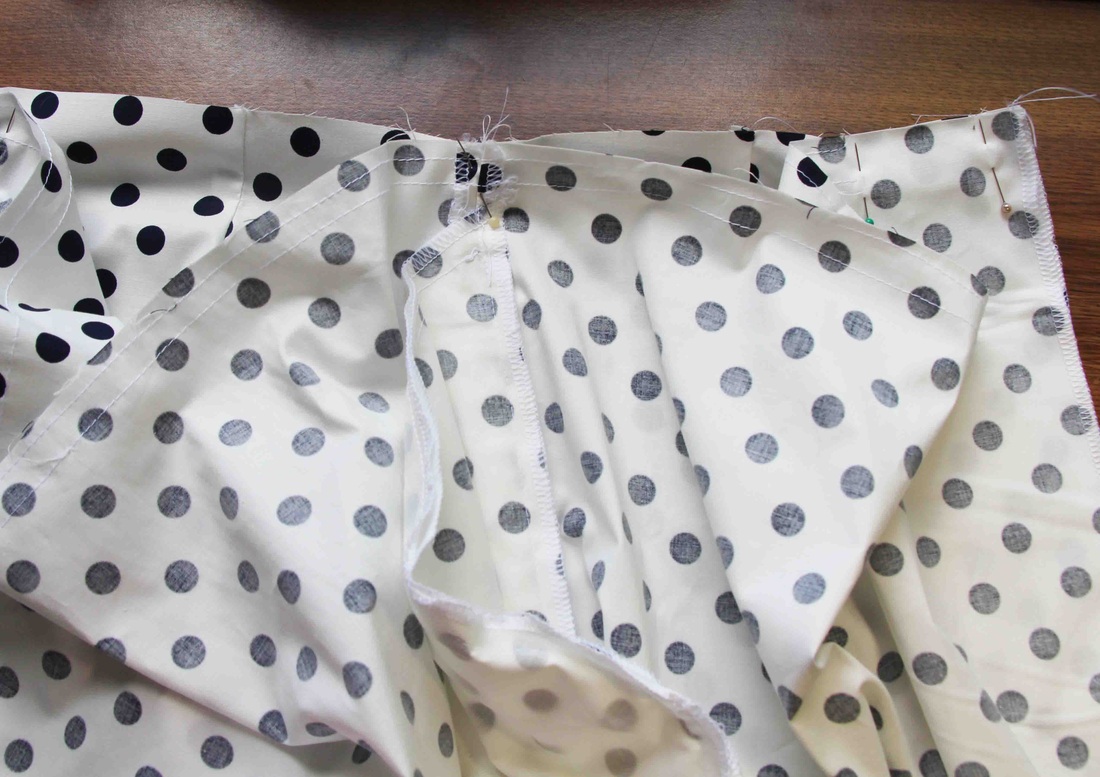
Attaching the Pleated Skirt to the Bodice
|
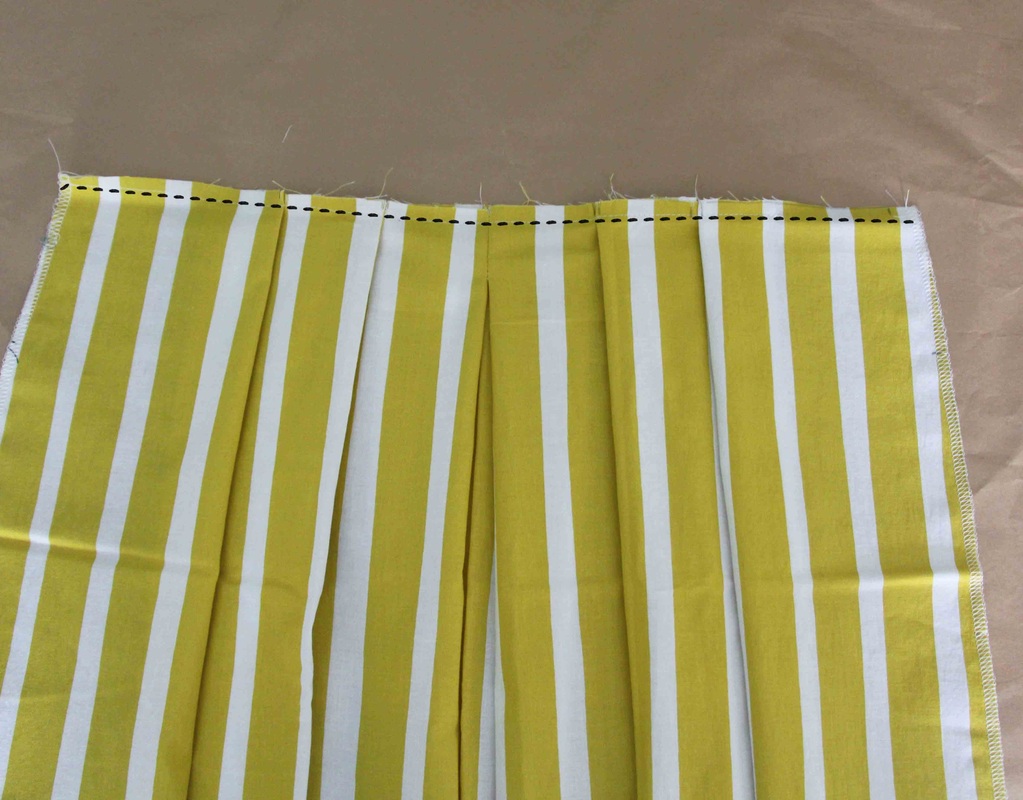
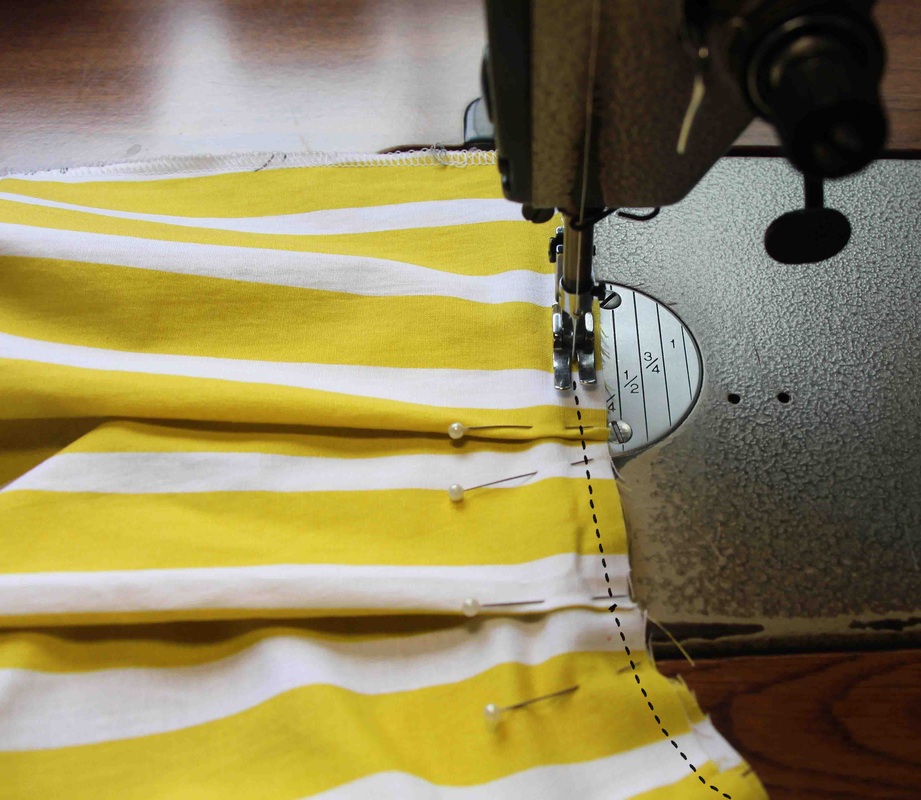
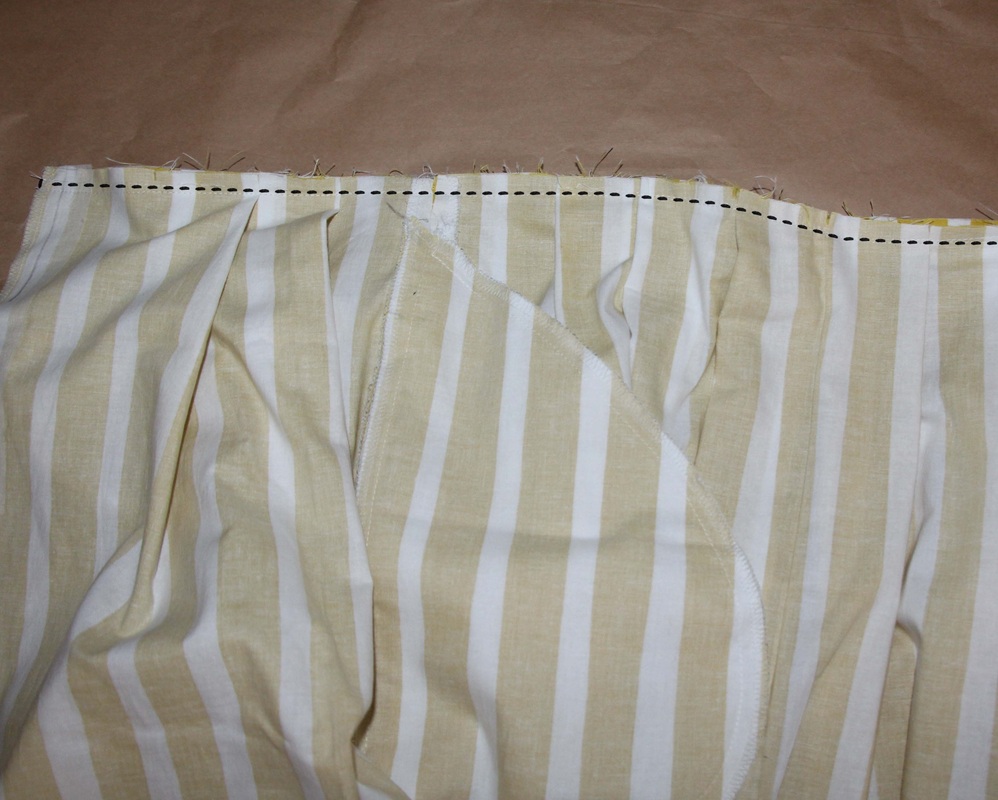
1. With the right sides together of the bodice and skirt pin the side seams of the bodice and skirt together first. Pin the CF of the bodice and skirt next and then pin the CB seams of the bodice and skirt last.
2. Now pin the rest of the skirt. 3. Stitch together 12mm/1/2" in from the waist edge. For the unlined version, now is the time to overlock/serge the waist seam. |
|

|
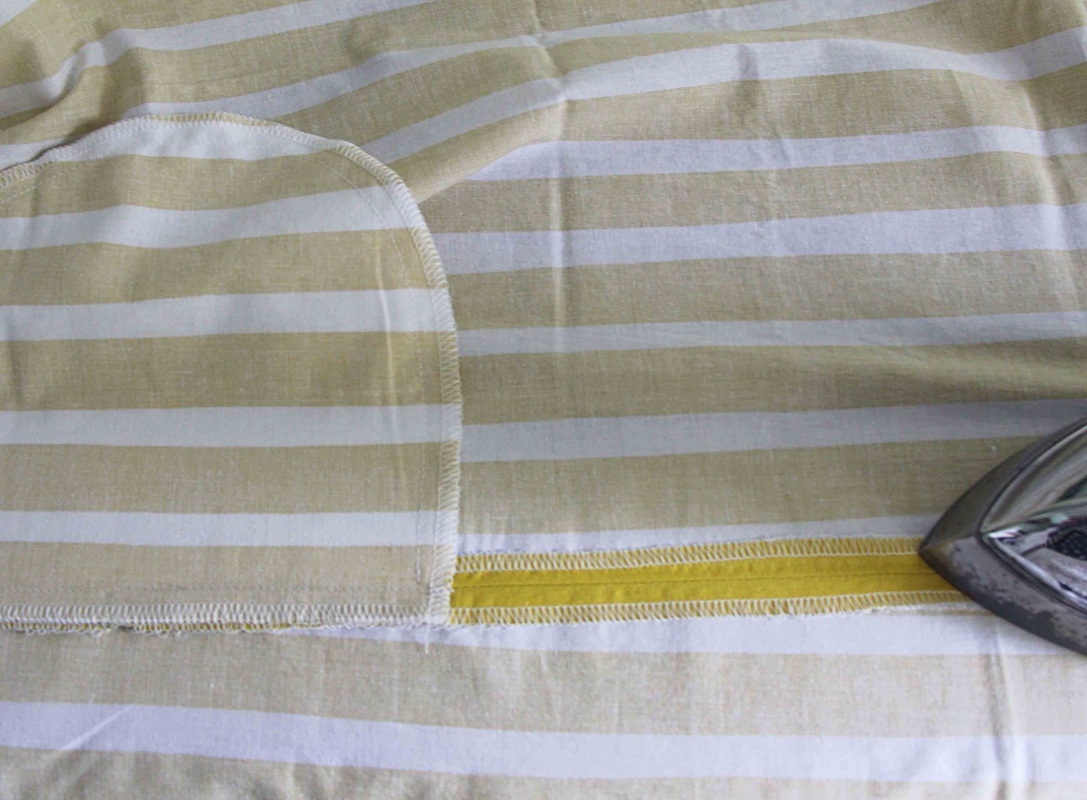
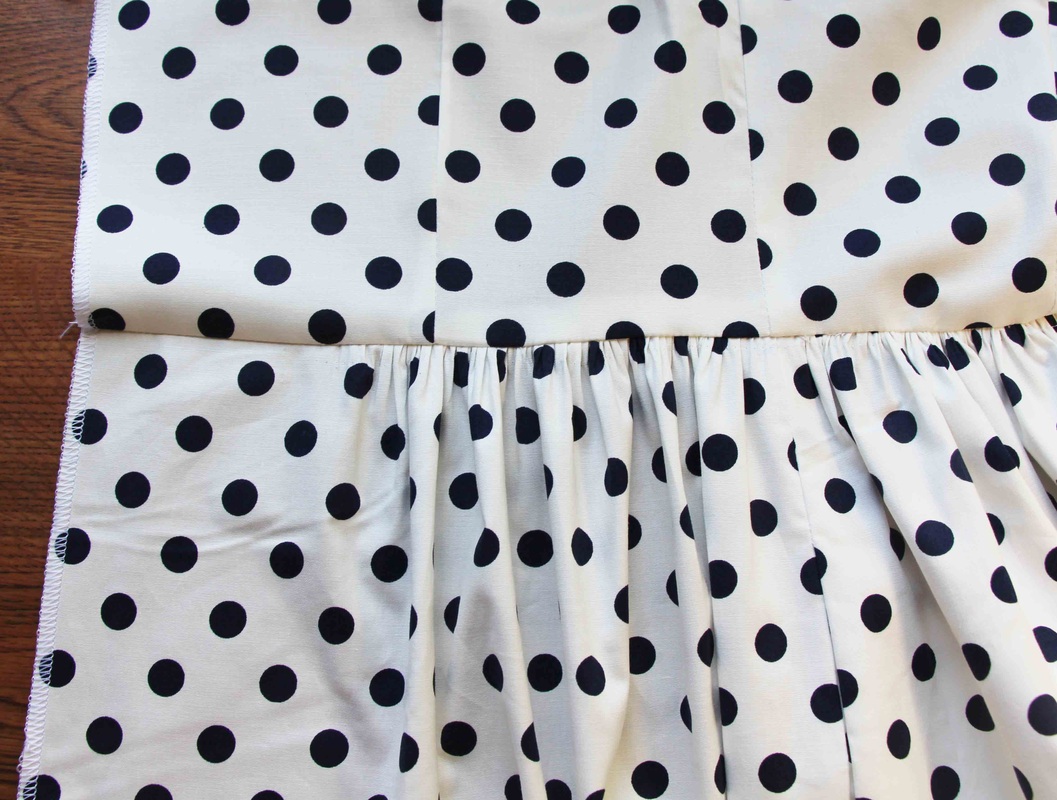
4. Turning the dress to the right side sew a stay stitch on the waist close to the seam on the Bodice. Make sure the seam underneath is facing up to the bodice.
|
Sewing the Gathered Skirt
|
You'll be using the same pattern used for the pleated skirt.
1. Mark the following notches:
|
|

|
2. Overlock/serge the following seams:
3. Attach the pockets the same way as explained for the Pleated Skirt above. |
|
I'm a bit 'old school' and like to sew my gathers with two rows of gathering stitch. That was I can control the gathers and make them sit evenly. But if you have a gathering foot that works well then use it.
4. Setting your stitch length to a gather thread the first row 6mm/1/4" in from the edge. Start the stitching from the next notch in from the CB notch and stitch to the same notch on the other back skirt. |
|
|
5. Stitch the second row 2cm/3/4" in from the edge and start and finish the same as the first row.
|
Attaching the Gathered Skirt to the Bodice
|
1. With right sides together of the bodice and the skirt pin the side seams of the bodice and skirt together then pin the CF of the bodice to the CF of the skirt. Then pin the CB seams of the bodice and skirt together.
|
|
|
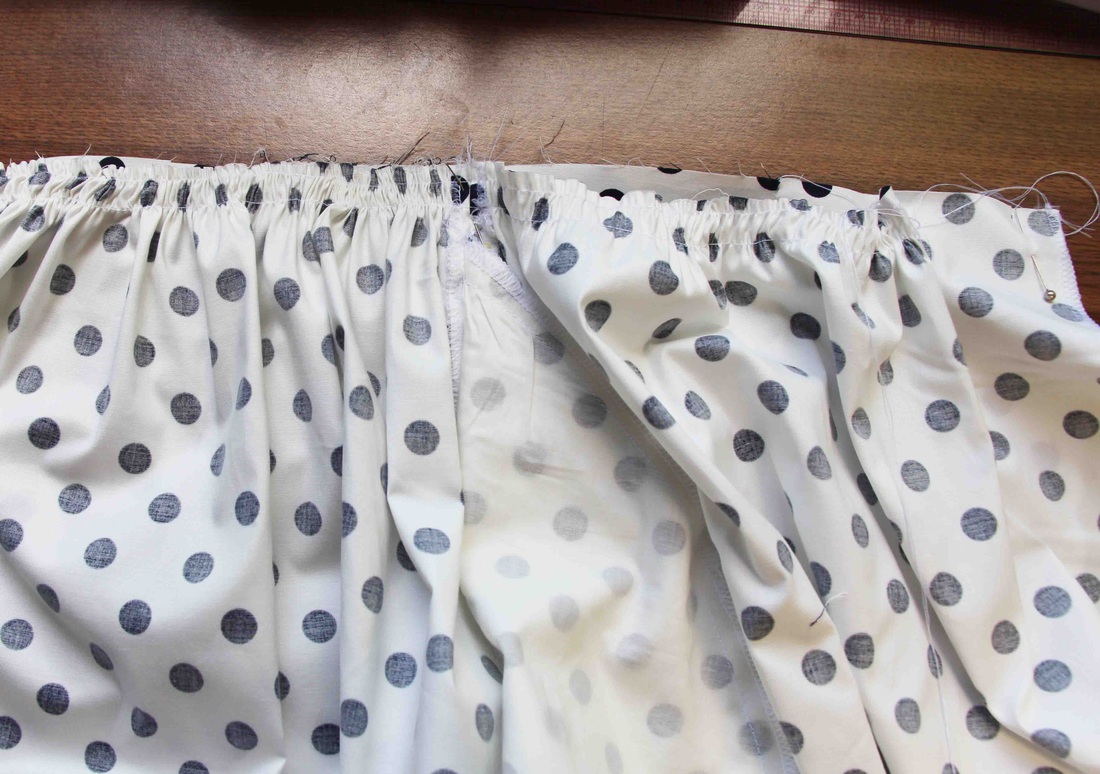
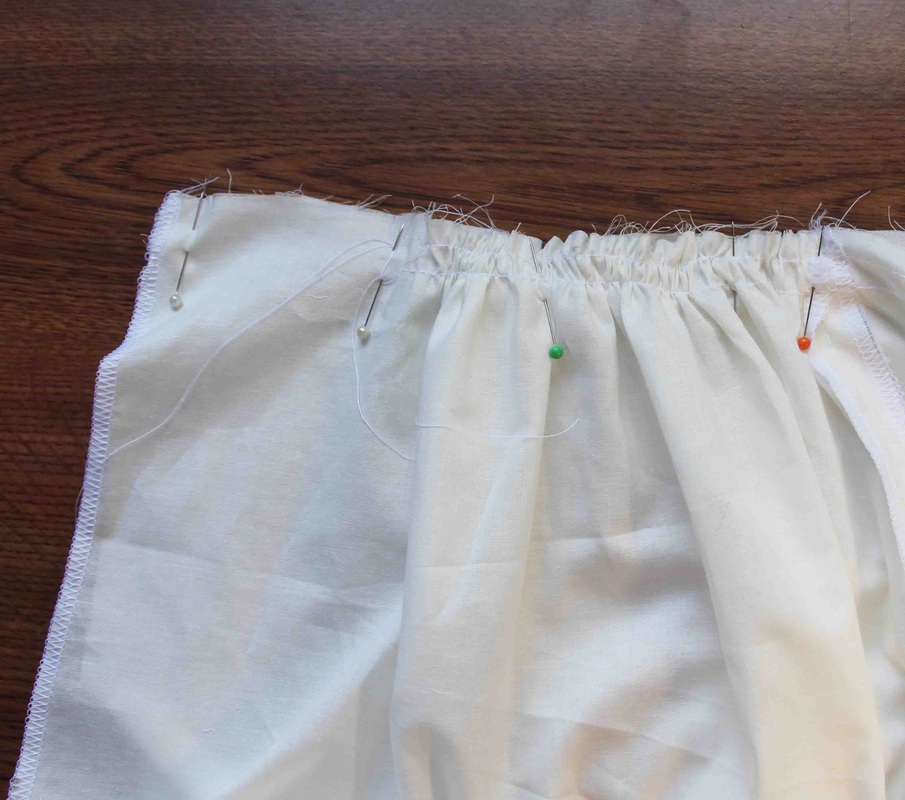
2. Now pull up both gathering threads from the CB to the CF being careful not to crack the stitches.
|
|
3. When you've finished gathering the skirt wrap the threads around the pin so they don't loosen.
|

|

|
4. Sew the seam together 12mm/1/2" in the the edge. You should be sewing in between the two gathering stitches.
For the unlined version, it's now time to overlock/serge the seam. |
|
5. When you turn your dress to the right side you will see one row of gathering stitch. Pull the stitching out.
|

|
|
6. You'll now be left with beautifully placed gathers.
7. Top stitch the seam on the bodice with the underneath seam turned up to the bodice. |
Attaching the Lined Skirt to the Lined Bodice
|
1. Overlock/serge the following pieces:
|
|
|
2. With the right sides together sew your sides seams of the front and back lining. Leave your CB seam open
|
|
For the Pleated skirt lining sew the pleats in the same way as the Pleated Skirt instructions.
For the Gathered skirt lining sew the gathers the same way for the Gathered Skirt instructions. 3. For my sample here I'll be sewing the Gathered Skirt version for the lining. 4. Attach your skirt lining to the bodice lining the same way you did for the main fabric. NOTE: The lining and the main fabric are separate....they are not sewn together |
|
That's it for Today
You are now finished attaching the skirt to the bodice and the skirt lining to the bodice lining (if you chose that option).
You are Oh! so close to finishing your dress!
Lesson 6 will be be installing the invisible zip and hemming your dress!
You are Oh! so close to finishing your dress!
Lesson 6 will be be installing the invisible zip and hemming your dress!


The MiSS AUDREY DRESS SEW-A-LONG
- Welcome to the MiSS AUDREY DRESS SEW-A-LONG - posted 1/12/14
- Cutting Out and Sewing Up Your Calico Toile/Muslin - posted 2/12/14
- Fitting Your Calico Toile/Muslin - posted 4/12/14
- Transfer Your Toile/Muslin alterations to your pattern - 6/12/14
- Cutting Out and Sewing Up Your Bodice - Unlined/Lined version - 8/12/14
- Attaching the Skirt - Unlined/Lined - Pleated/Gathers - 13/12/14
- Attaching the Invisible Zip - Unlined/Lined versions and sewing the hem - 16/12/14
- Finale! Showing off your Beautiful Dresses - 23/12/14
