Lesson 3 - Transferring your Calico Toile/Muslin Alterations to your Pattern
Now that you've made all the alterations to your Toile we need to transfer those alterations to your pattern.
Let's get into it!
Let's get into it!
Here's What You'll Achieve Today
- how to transfer all the alterations on your Toile to your pattern pieces
- getting your pattern ready to start sewing your gorgeous dress
With the alterations I did to my Toile this is how I altered my pattern pieces.
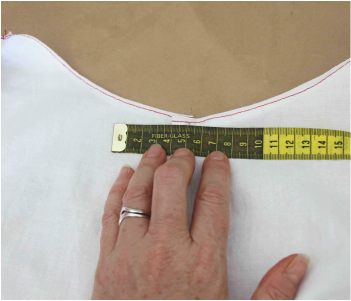
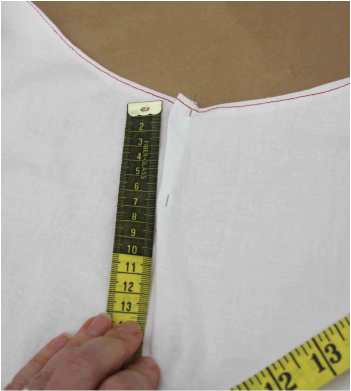
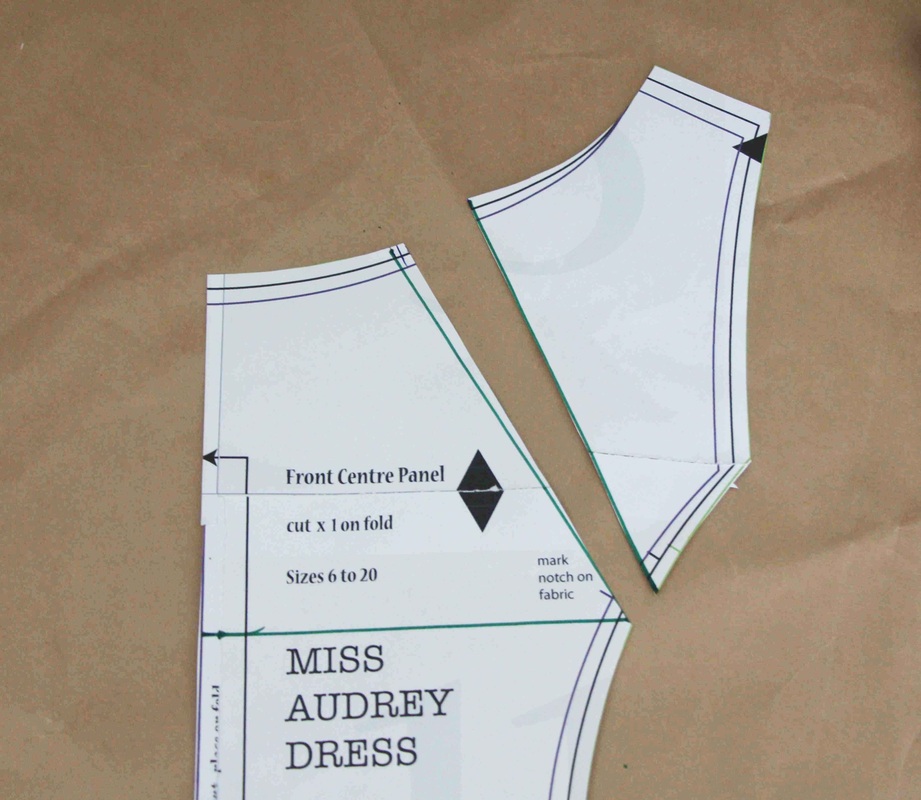
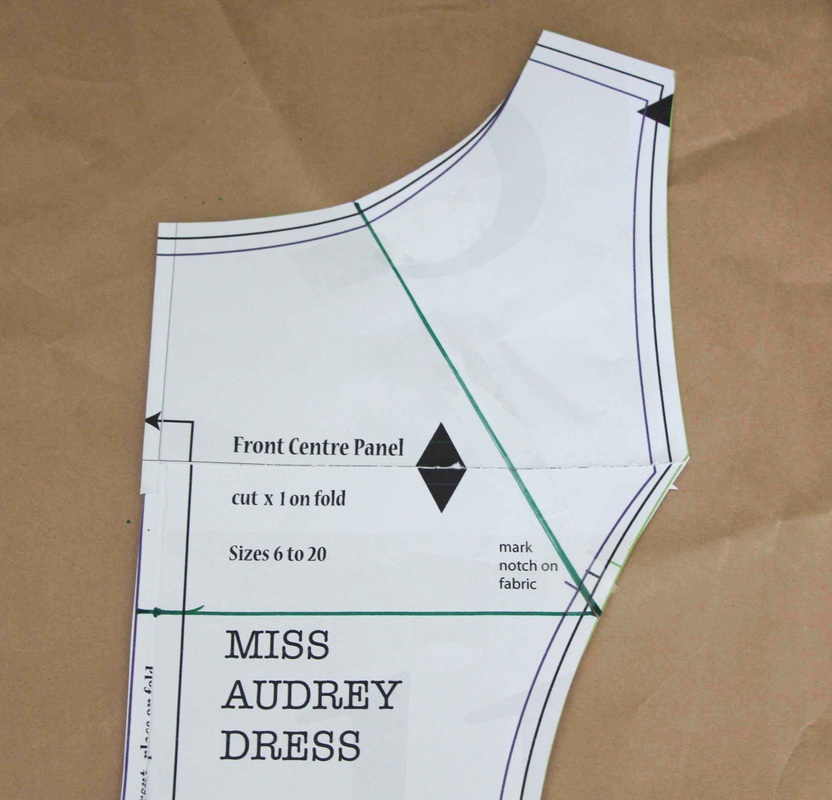
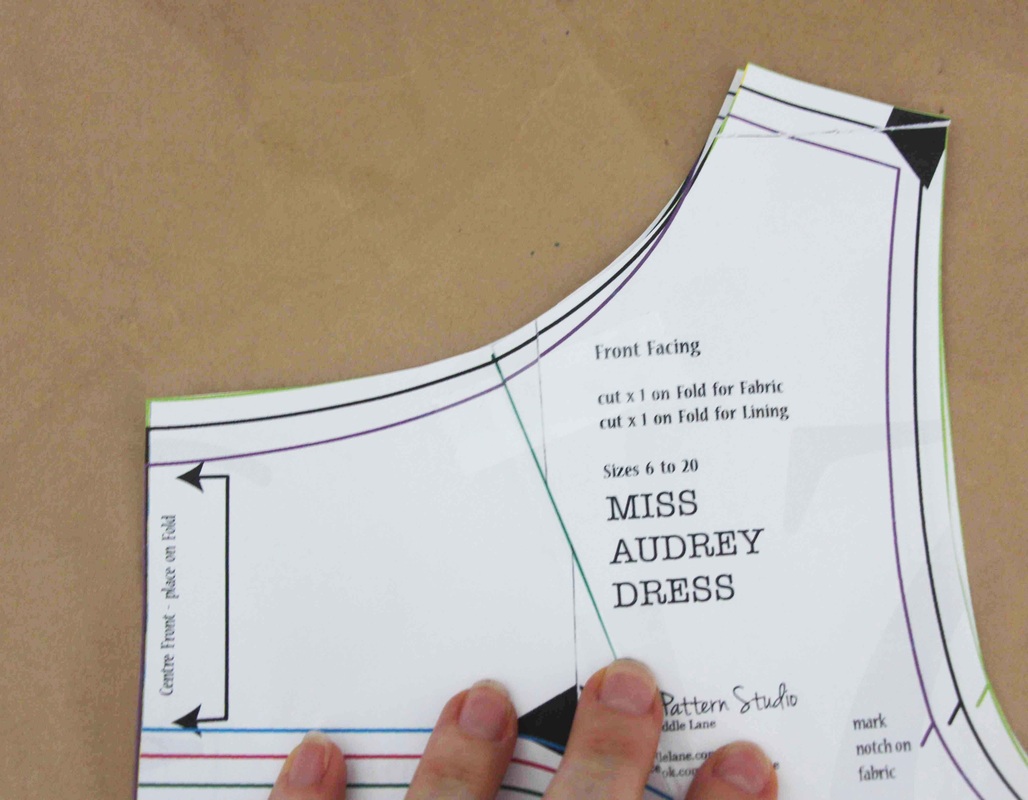
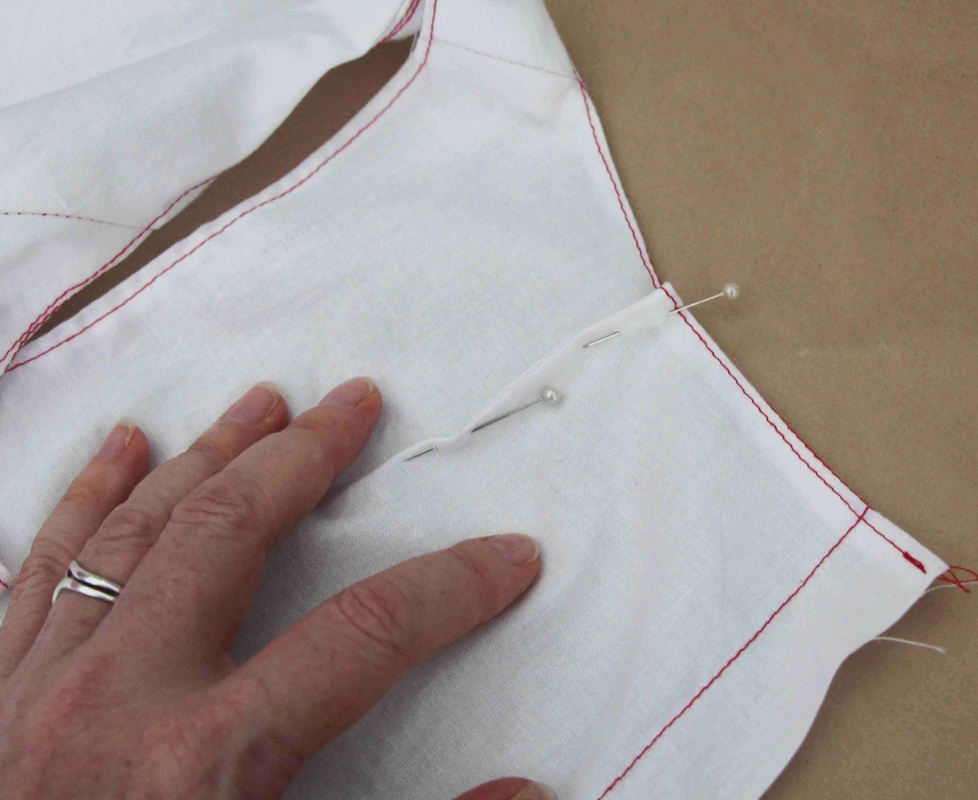
The Gaping Front Neckline
|
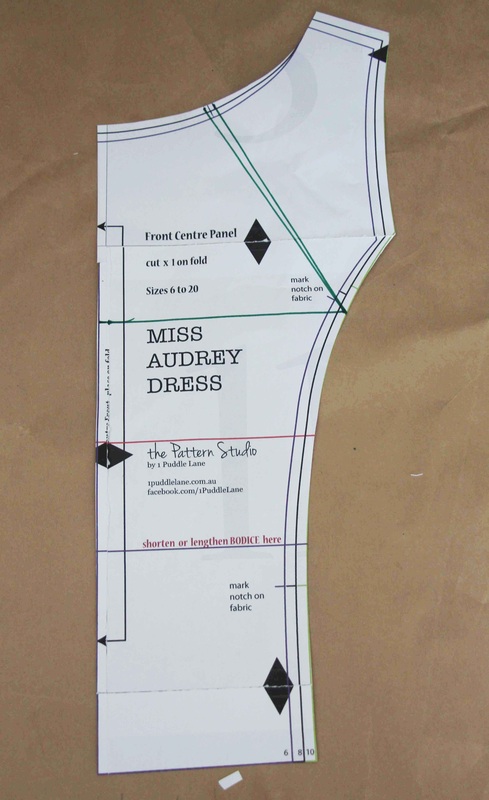
3. I then transferred those measurements to my pattern.
Now because I'm altering a pattern that is on the fold I need to half those the width measurement. 4. I measured down the CF the length measurement of the excess dart ( 13cm) and squared out a line to the seam. 5. I made a mark half way along the neck edge and ruled a line down to the first squared out line. 6. Because my excess fabric measured 2cm I need to half that measurement. So I measured out 1cm from the first line at the neck and ruled another line down to the squared out line. I have now formed a dart which I'm now going to get rid of. |
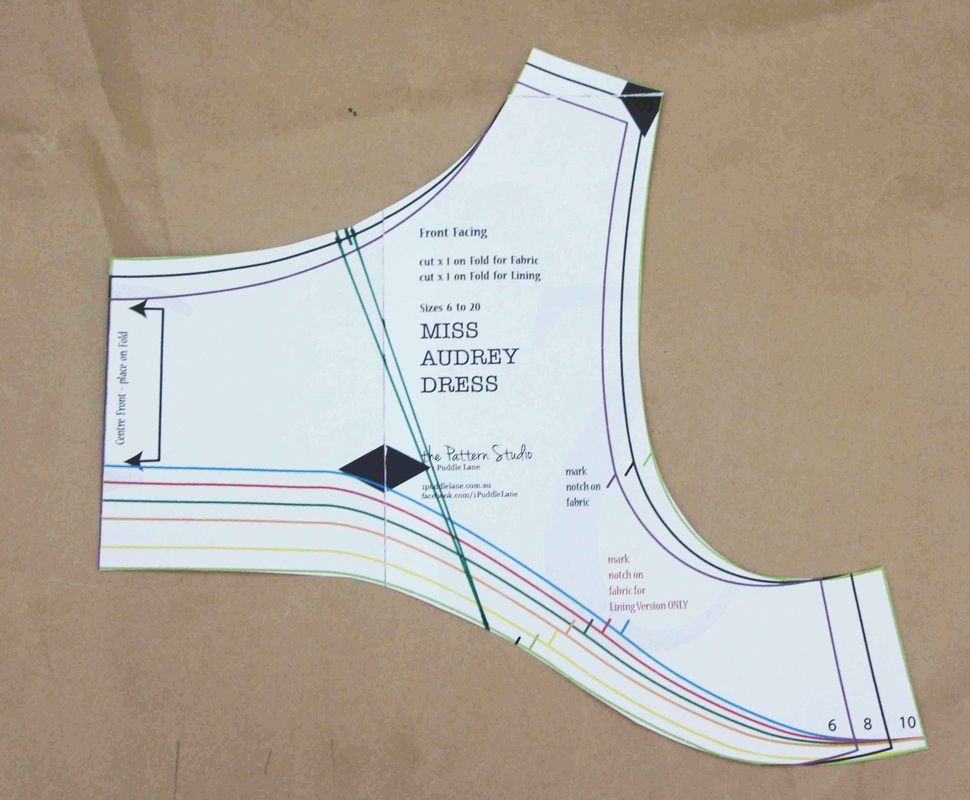
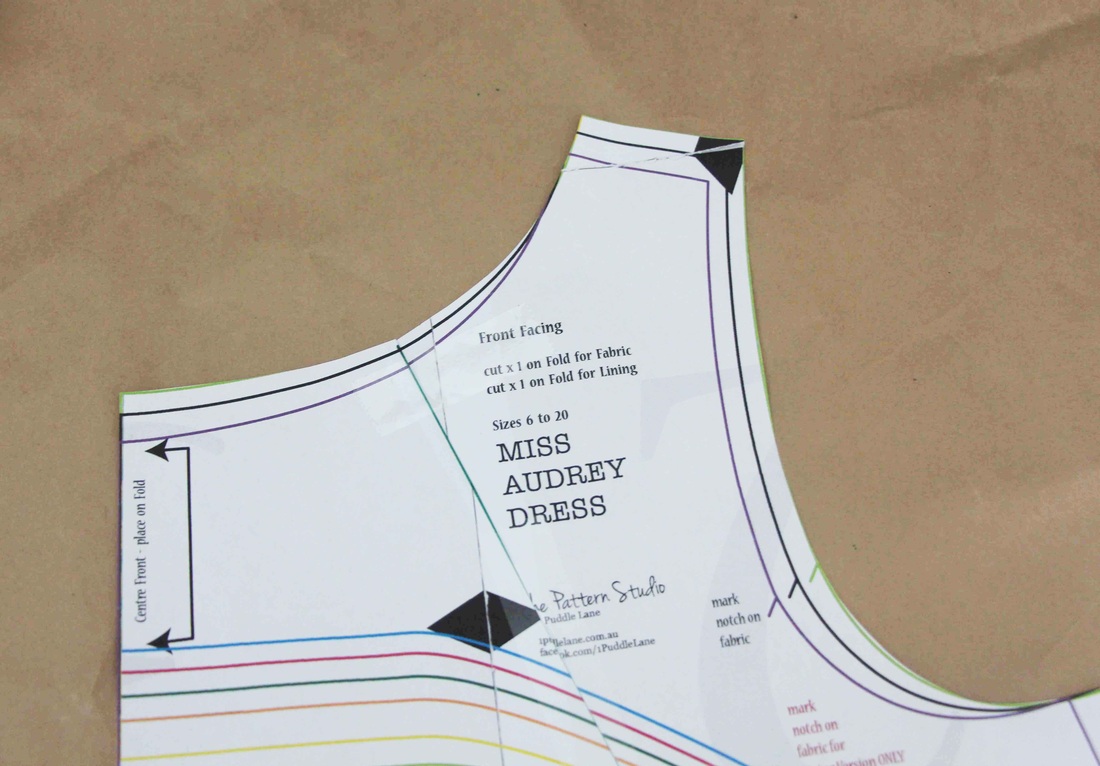
For a Gaping Back Neckline
I didn't have a gaping back neckline but if it did this is what I'd do.
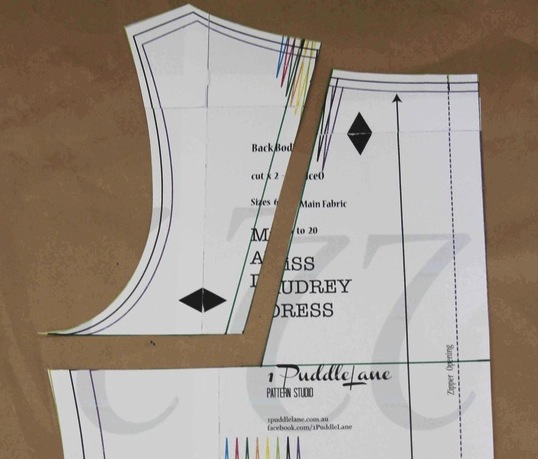
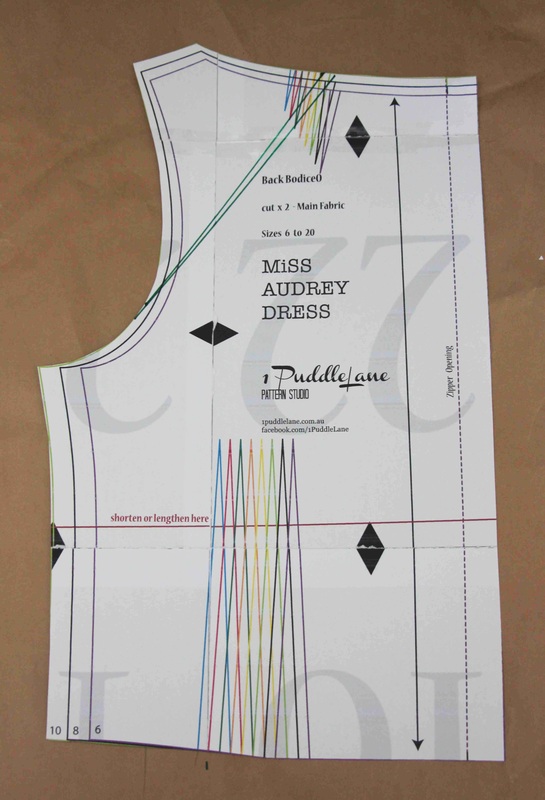
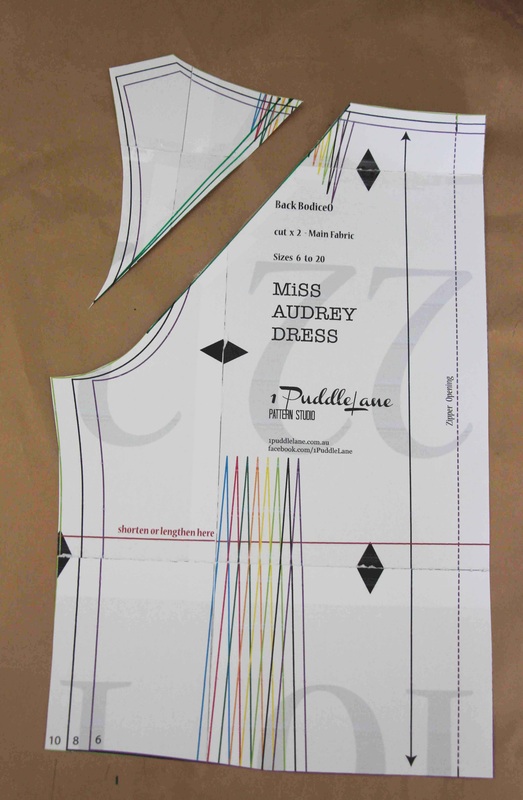
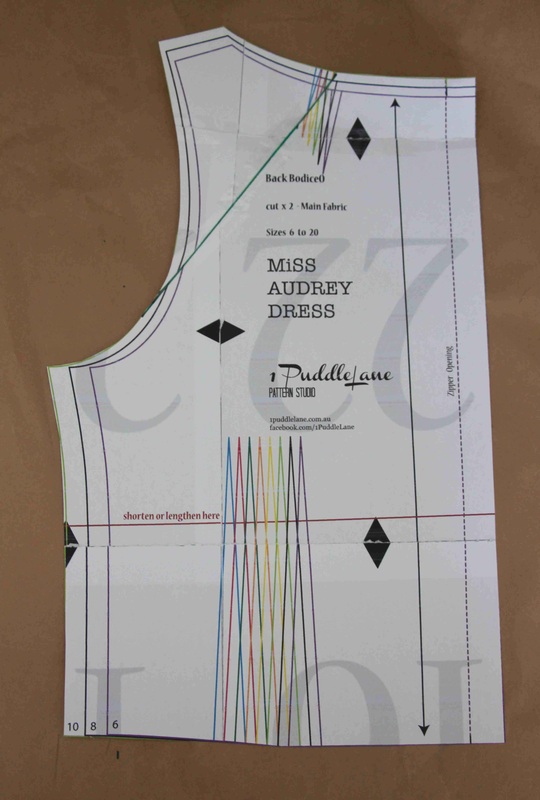
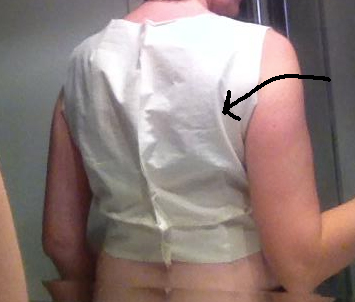
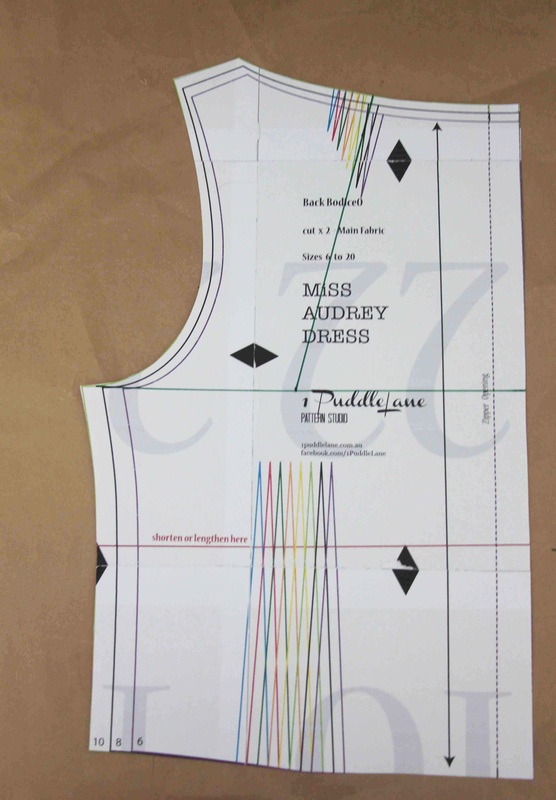
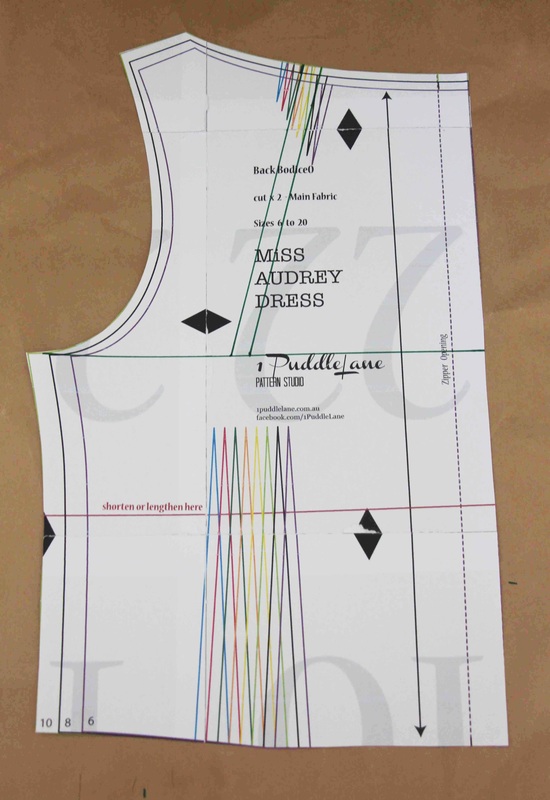
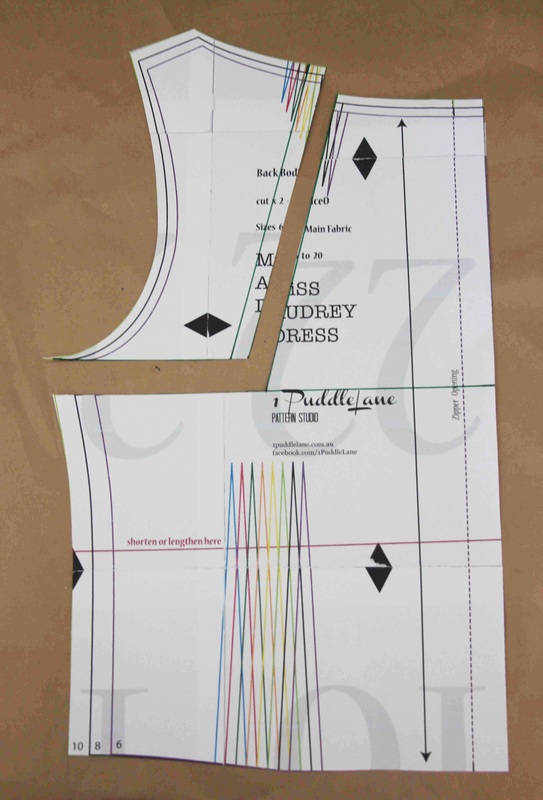
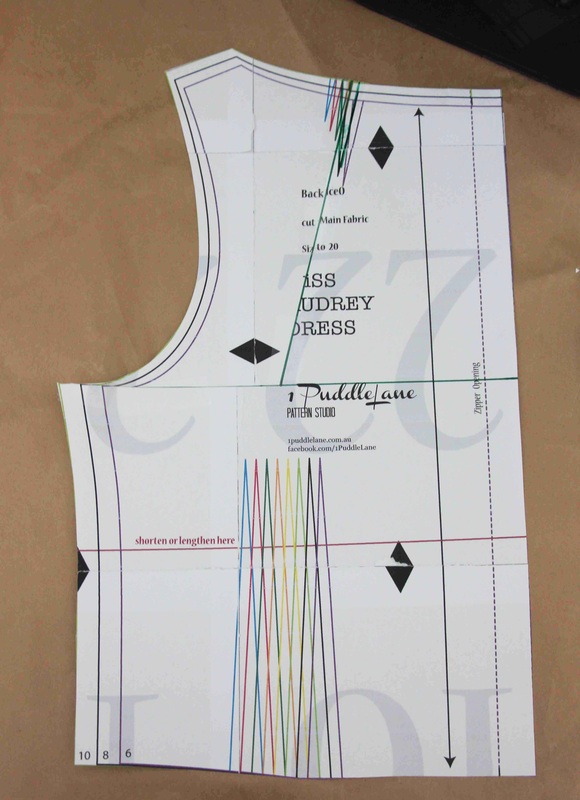
Across Back Alteration
|
5. With the 2 horizontal line of the bodice pieces against each other move the cut piece over and under the other piece to line up the 2 vertical line. Then tape in place to secure.
REMEMBER - the alteration you've done to the back needs to be done to the back facing as well. And then check that that the 2 patterns match. Your pattern has now been fixed for the Across Back alteration. |
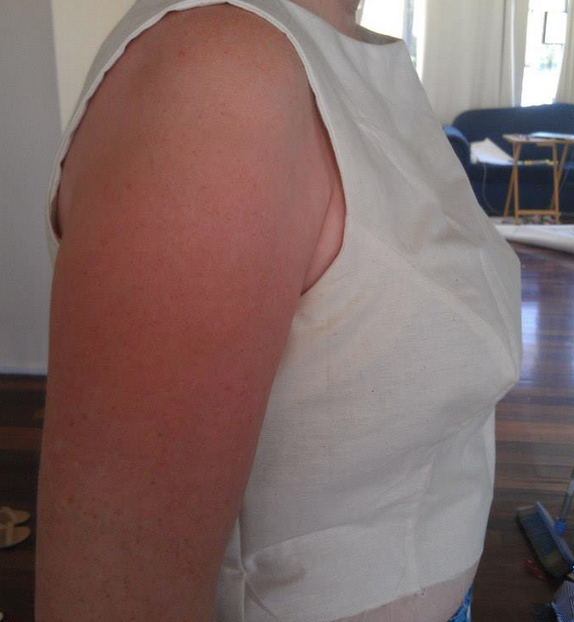
Pointy or Excess Bust Panel
|
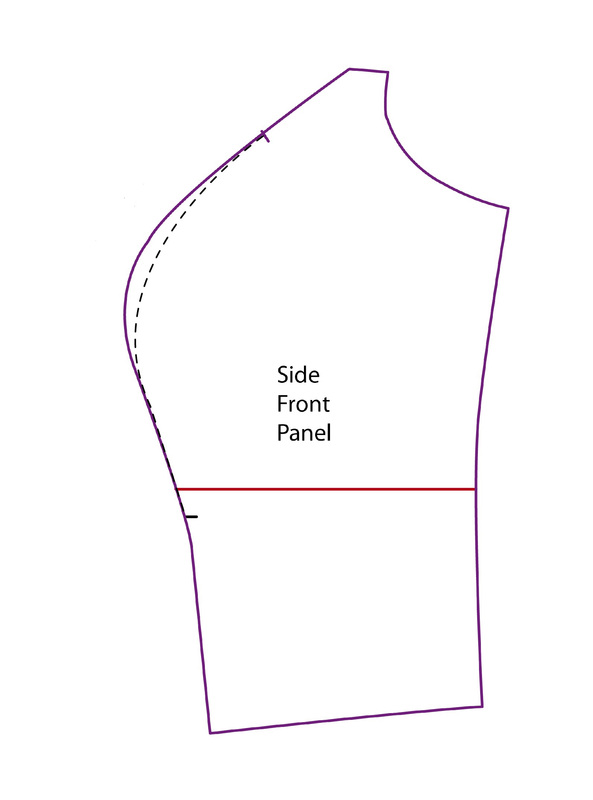
1. Now transfer that amount to the Front Side Panel ONLY. eg. if you pinned 2cm at the bust at one panel you mark 2cm in from the bust curve of the panel. Then measure how far you pinned the excess fabric and mark those measurements on the pattern and redraw a new curved line.
REMEMBER - if you dress is going to be lined you need to do the same alteration to the Front Side Lining panel. You have now fixed up a pointy bust. |
That's it for Today
How's your brain? Does it hurt? I know mine does! Well, that's a good thing. It means that you are learning new techniques! So stick with it as it's going to be invaluable what you will learn and you'll be able to use these techniques with any pattern in the future. And I'm learning how to run my first Sew-A-Long which will be invaluable for future Sew-A-Longs. So we are both benefiting!
Now don't forget to come on over to the facebook group with your questions and I or one of my clever testers will be there to help you out.
Lesson 4 will come out in about 5 days time and this is where we get into the fun of cutting our your beautiful fabric and sew your Miss Audrey Dress ready for Christmas.
The MiSS AUDREY DRESS SEW-A-LONG
- Welcome to the MiSS AUDREY DRESS SEW-A-LONG - posted 1/12/14
- Cutting Out and Sewing Up Your Calico Toile/Muslin - posted 2/12/14
- Fitting Your Calico Toile/Muslin - posted 4/12/14
- Transfer Your Toile/Muslin alterations to your pattern - 6/12/14
- Cutting Out and Sewing Up Your Bodice - Unlined/Lined version - 8/12/14
- Attaching the Skirt - Unlined/Lined - Pleated/Gathers - 13/12/14
- Attaching the Invisible Zip - Unlined/Lined versions and sewing the hem - 16/12/14
- Finale! Showing off your Beautiful Dresses - 23/12/14
