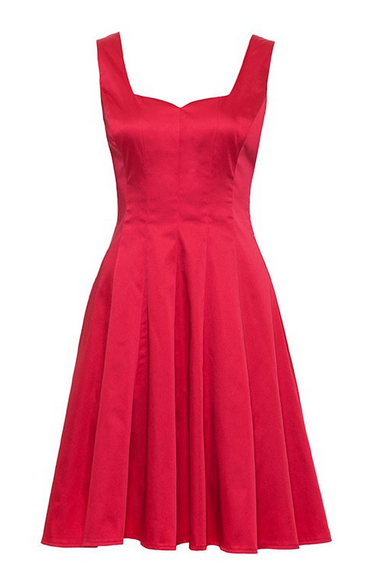
SQUARE & SWEETHEART NECKLINES - FRONT ONLY
Ok, so let's get started!
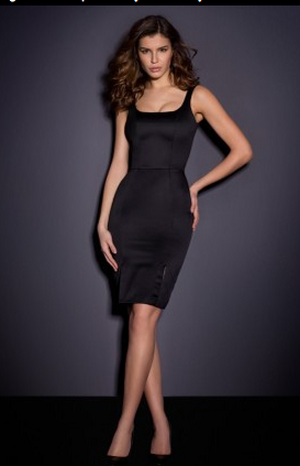
Elayne Dress - by Agent Provocateur
|
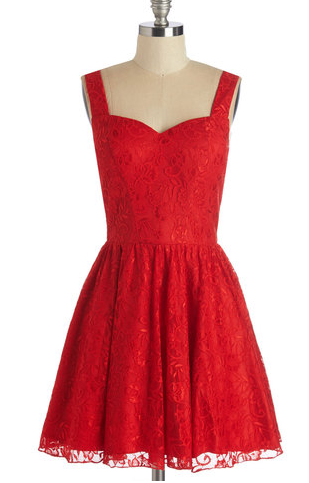
Stun, Moon and Stars Dress - by Chi Chi London
|
|
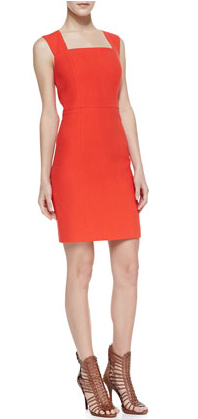
Square-Scoop Neck Basketweave Tweed Dress - by 4.Collective
|
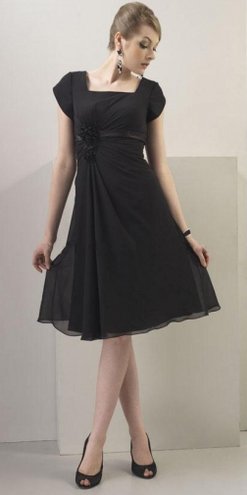
Felicity Dress - by Review
|

|
Here's What You'll Achieve Today
- How to Measure Yourself Correctly
- Deciding on What Size to Use
- How to Sew up your Calico Toile/Muslin for the Fitting Stage
How to Measure Yourself Correctly:
It's important to measure yourself correctly right from the start - when you have your correct measurements there is less room for error.
IMPORTANT - make sure you wear your best bra when you measure yourself as it does make a difference with the bra you wear. Your best bra needs to make your GIRLS sit up and look confident. As the dress at the end really features your bustline and your waist. So it is a must that you wear your bestest bra for the measuring and then wear it with the dress.
So with that in mind and to help you with your measuring I've attached a PDF on 'How to Measure Yourself' Form and Guide.
So step 1 is to measure yourself and write down those measurements on the PDF I've provided.
Deciding on What Size to Use:
Ok, now that you've done your measurements:
So, let's just say:
- Compare your BUST measurement with the BODY measurement of the pattern.
- Compare your WAIST measurement with the BODY measurement of the pattern.
- Then decide on the CUP size by using your BRA CUP size.
So, let's just say:
- Your bust measures 96cm/38"
- Your waist measures 76cm/30"
- And you wear a D bra cup size
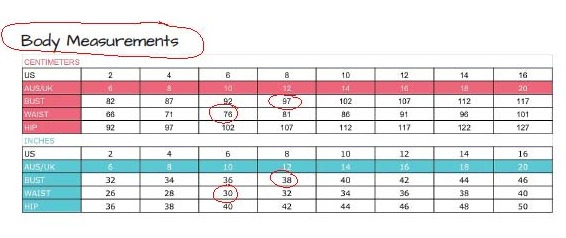
With the example above you would use size 8/12 for the bust and size 6/10 for the waist. In the pattern instructions (on page 9) I explain how to print out only the size you want OR you can just print out all the sizes and work from there. Either way is ok.
Then you would draw in your size D Cup line on the Side Front Bodice piece.
Then you would draw in your size D Cup line on the Side Front Bodice piece.
Below I'll show you how I picked the size for me. I'm a size 10 bust with a B cup, a size 10 waist and a size 12 hip - so I'm a lovely pear shape or I like to think I'm an hourglass shape. But if you follow what I've done below it applies to all sizes and size combinations.
|
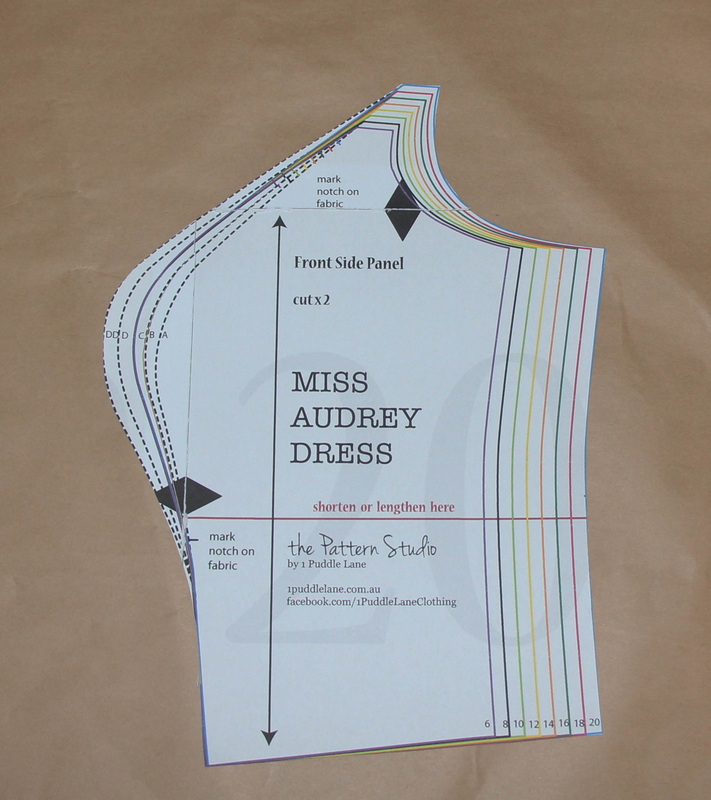
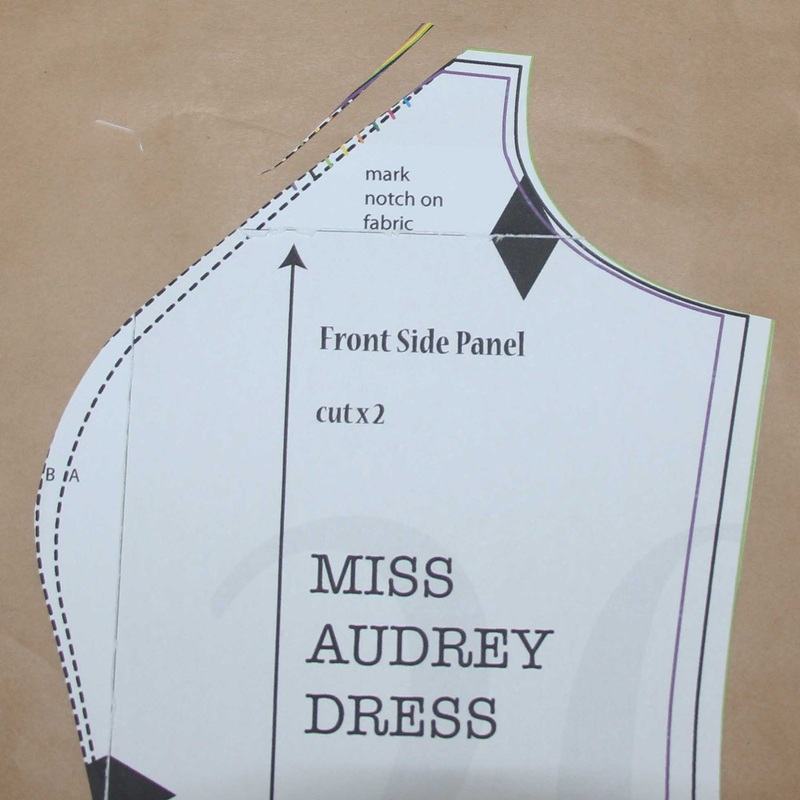
I chose to print all the sizes out and started with the front side panel.
|
|

|
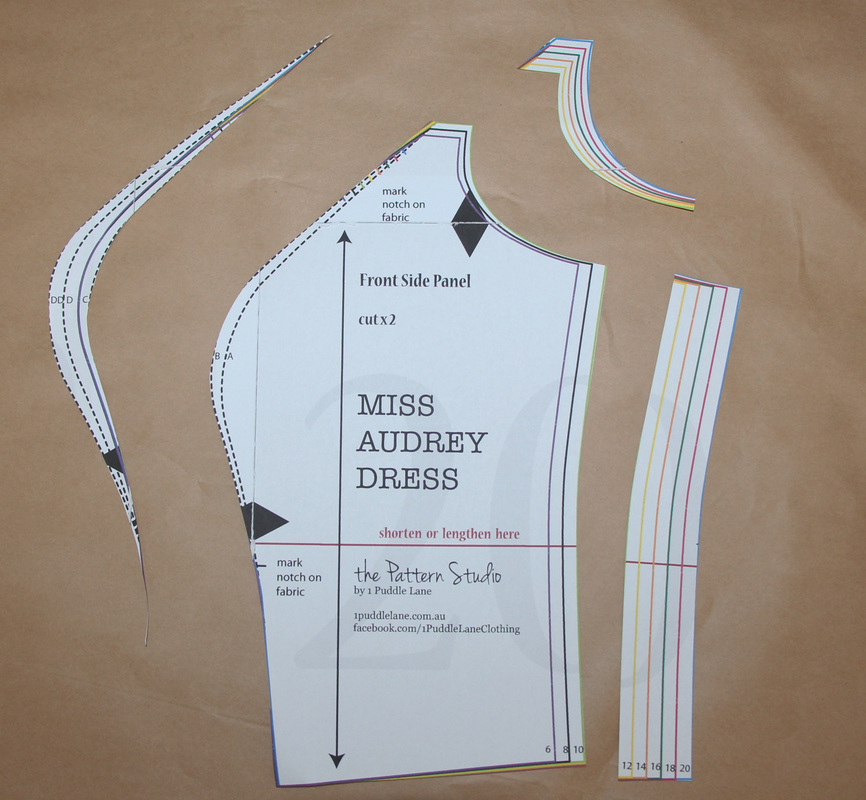
Then cut along the B cup line.
|
|
I then cut the size 10 line for the side seam and armhole.
|
|
|
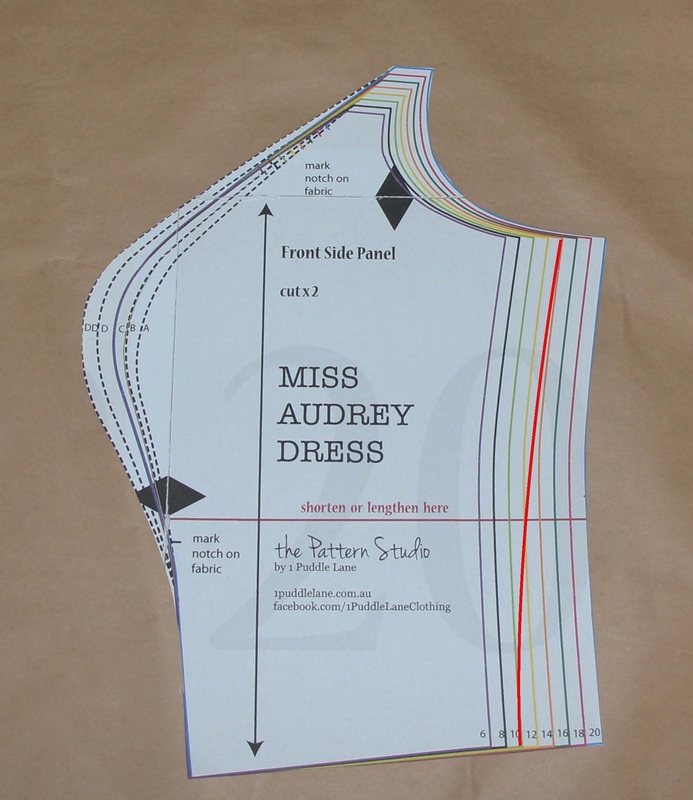
Then I cut away the tiny bit to make the B cup size line up with the size 10 at the top of the panel.
|
|
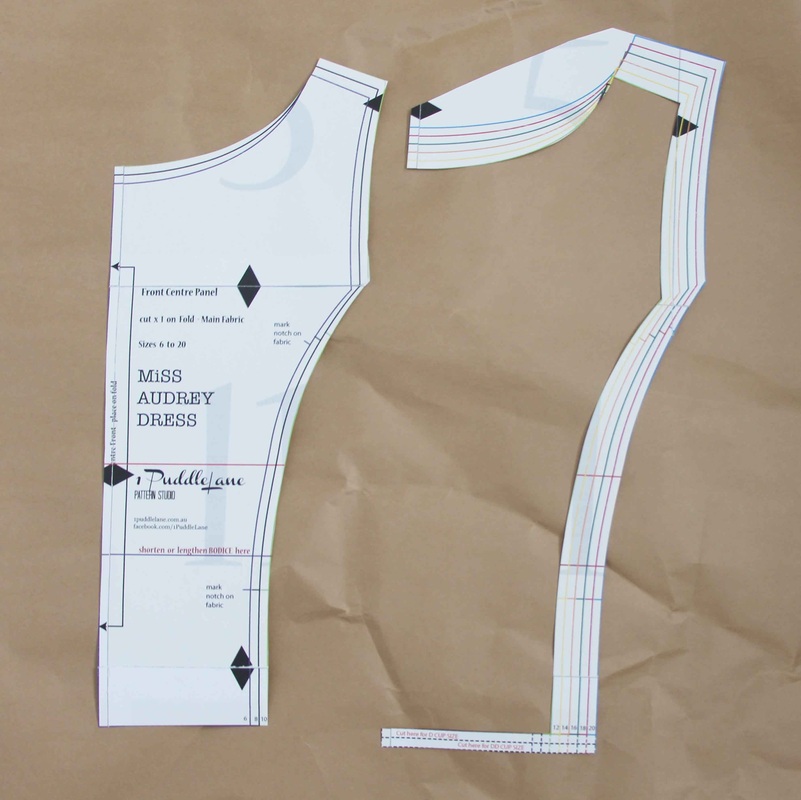
With the CF panel I cut out the size 10. Don't forget if you are a D or DD cup size you need to cut on the line that you need at the waist.
And for the back I just cut a straight size 10. |
|
If you are Multi-Sized - here's what you do
|
So, if you are multi sized - say a size 14 bust and size 10 waist you need to connect the sizes by drawing a slightly curved line from the 14 at the underarm down to the 10 at the waist and then continue cutting the size 14 line for the underarm.
And vice versa if you are a size 10 bust and a size 14 waist you will draw a line from the size 10 bust down to the size 14 waist and so on for other size combinations. Make sure, however, whatever alterations you do to the front side panel at the side seam you need to do the same for the back bodice as well. |
So, go ahead and work out what size/s you are and the cup size to use and print out your size/s and draw the cup size line on your Side Front Bodice piece. Make the skirt size the same as the waist size on the bodice.
Don't forget if you run into any trouble with choosing your size/s come over to the facebook page and ask away.
Don't forget if you run into any trouble with choosing your size/s come over to the facebook page and ask away.
How to Sew Your Calico Toile for the Fitting Stage
|
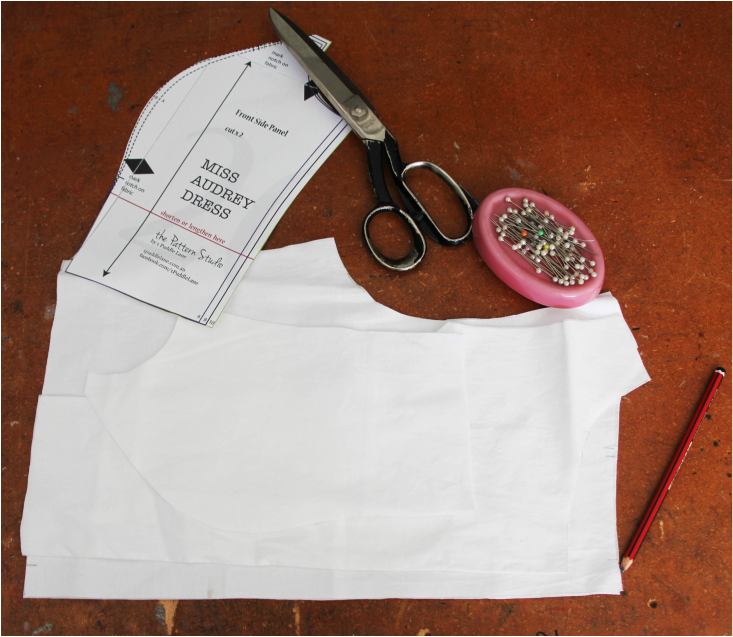
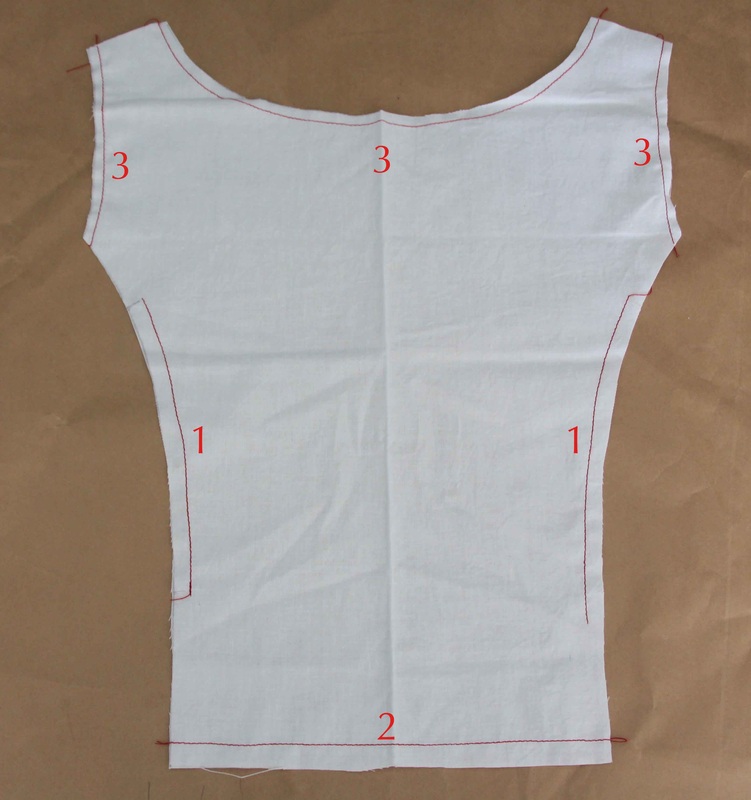
1. Make sure you cut out the following pieces for the Calico Toile:
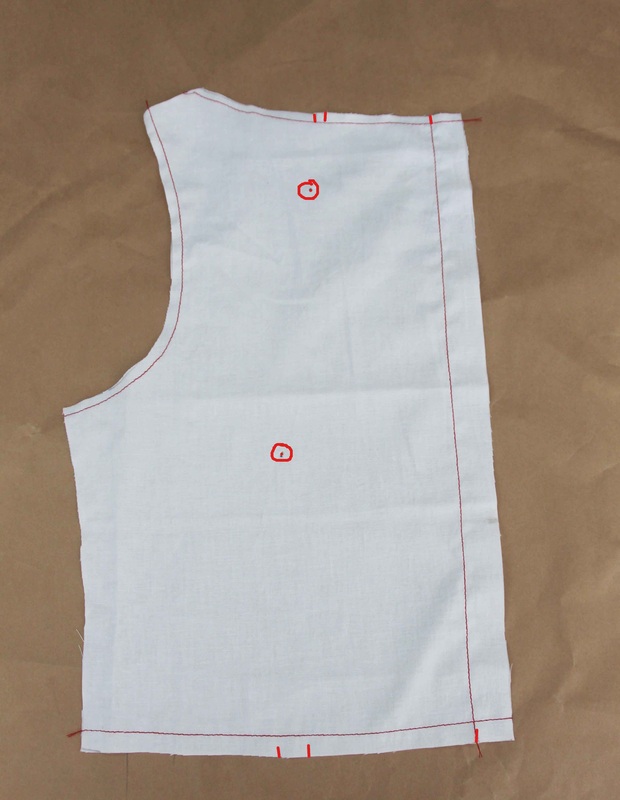
2. Once you've cut out the pattern pieces and while the pattern is still pinned to the calico mark the notches either with tailors chalk, pencil or nick with scissors:
|
|
|
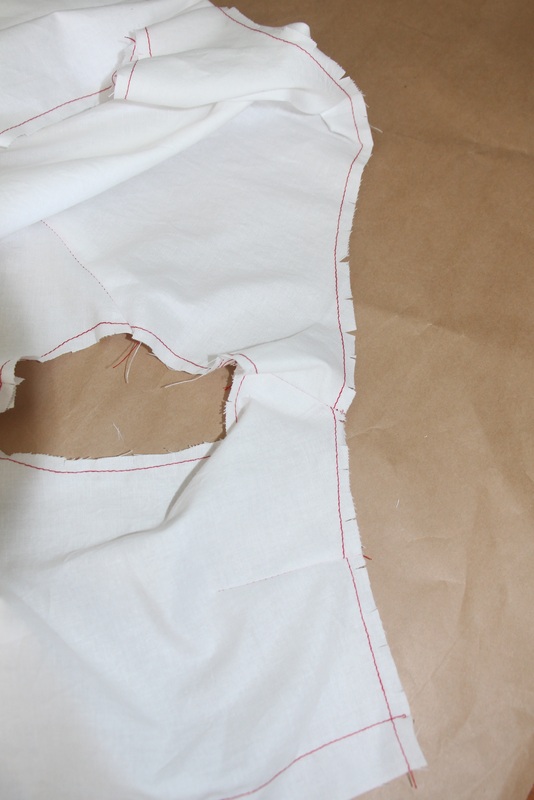
3. Starting with the CF panel, and sewing with a contrast thread, sew a stay stitch 6mm/1/4" in from edge on the outer seams from notch to notch.
4. Sew a stay stitch 12mm/1/2" up from the waist edge. 5. Sew a stay stitch 6mm/1/4" in from the neck and armhole edges. |
|
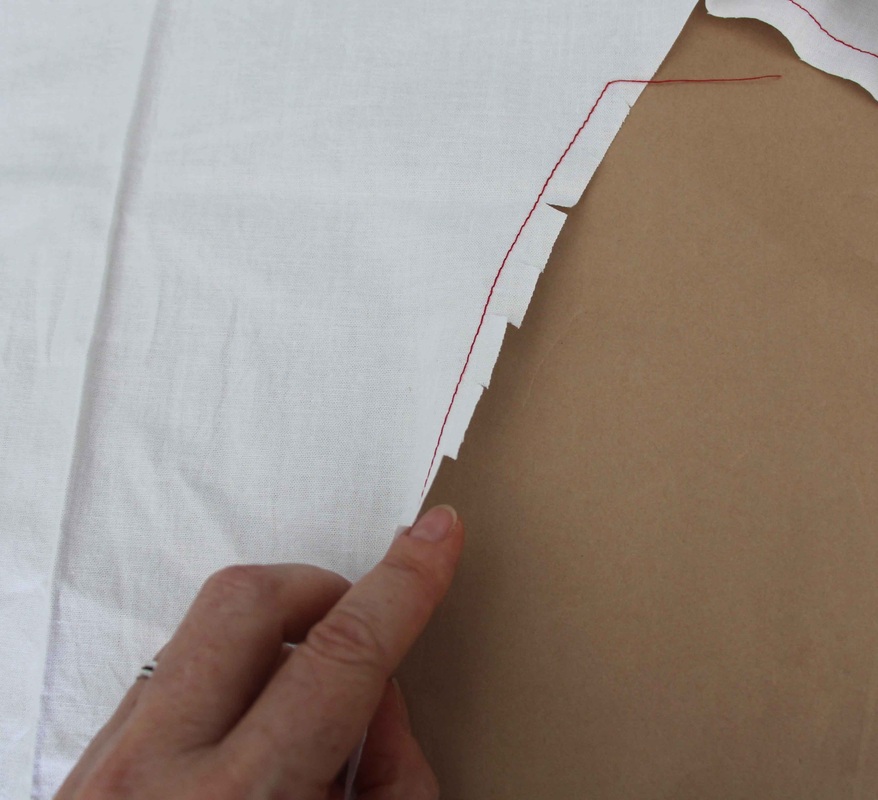
6. Then nick into the outer seam of the CF panel between the two notches making sure not to cut the stitching.
|
|
|
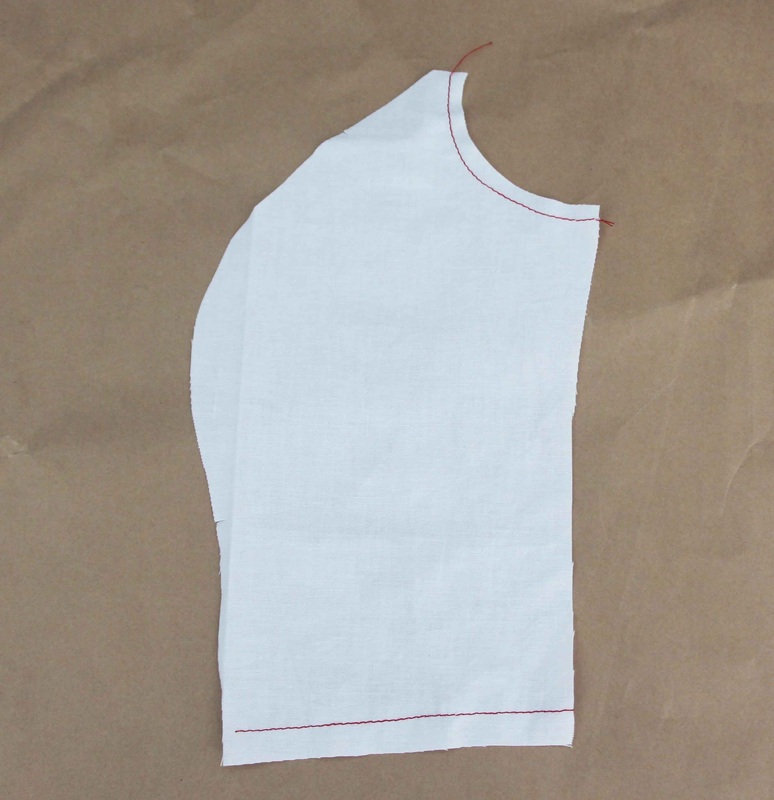
7. Sew a stay stitch 12mm/1/2" up from waist edge and 6mm/1/4" in from armhole edge.
|
|
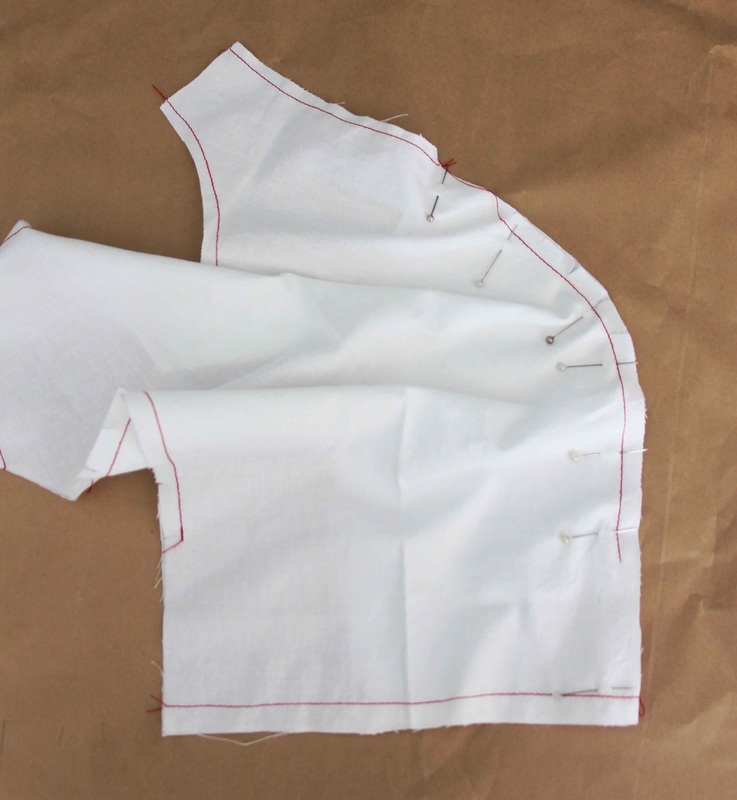
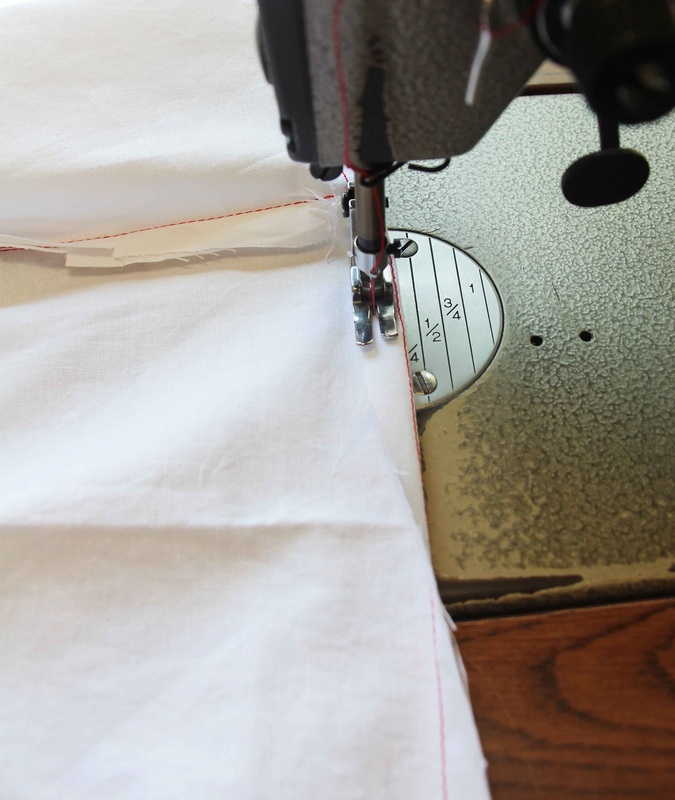
8. With the right sides together of the CF and Side front panel match up the notches and pin together and sew a seam 12mm/1/2" in from edge. Repeat this step for the other side of the bodice. Press seams to the CF.
|
|
|
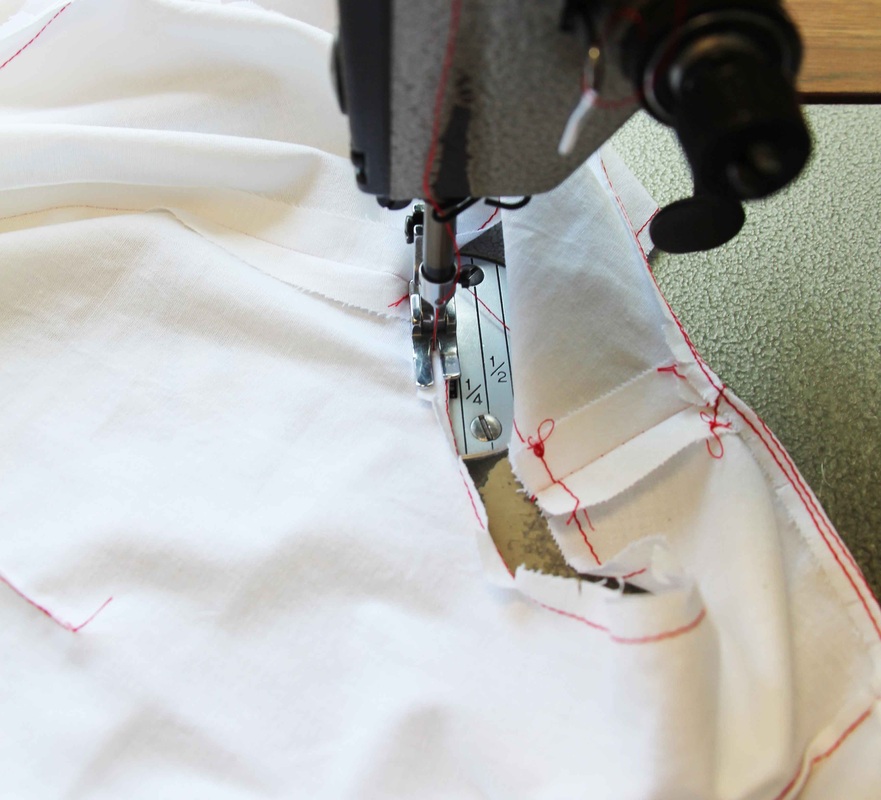
9. Make sure that you've marked the notches for the back and neck darts and the CB.
10. Sew a stay stitch down the CB from notch to notch. 11. Sew a stay stitch 12mm/1/2" up from the waist edge and 6mm/1/4" in from neck and armhole edges. Repeat these steps with the other side. |
|
12. On the wrong side sew the neck and waist darts and press to the side seam.
|

|

|
13. With right sides together sew the shoulder seams and side seams 12mm/1/2" in from edge. Press the seams open.
|
|
15. Now fold the neck, armhole and waist edges in to the wrong side at the stay stitch and sew in place.
|
|
|
15. Now fold the neck, armhole and waist edges in to the wrong side at the stay stitch and sew in place.
|
|
15. Now your Calico Toile is ready to fit. The reason why I turned all the edges in is so the Calico Toile mimic how the actual bodice will fit you when it's finished. You need to get the seam allowances out of the way when you are fitting. That way you will be able to see if the across chest and across back is too big or small and the front and back lengths are too long or short.
|

|
That's it for today
Ok, that's it for today. You've done really well - celebrate with a beverage of your choice. Your Toile is now ready for the Fitting stage.
In Lesson 2 you are going to fit your Calico Toile and nut out the fitting problems you might have. This lesson in particular will help you if you take photos of your Calico Toile on you and post it in the facebook group so I can help you with any fitting issues you might be having.
In Lesson 2 you are going to fit your Calico Toile and nut out the fitting problems you might have. This lesson in particular will help you if you take photos of your Calico Toile on you and post it in the facebook group so I can help you with any fitting issues you might be having.

1 DRESS PATTERN - SOOO MANY STYLES!
BONUS #1 - Choosing Colours that Suit You!
BONUS #2 - Choosing Fabric to Suit Your Style of Dress
BONUS #3 - Booking your Skype sessions with me.
- WELCOME!
- MODULE 1 - Making Your Bodice Toile
- MODULE 2 - Making Your Bodice Toile with a Short Sleeve
- MODULE 3 - Making Your Skirt Toile
- NECKLINES
- SLEEVES
- SKIRTS
- PEPLUMS
- MODULE 4 - Putting It All Together
BONUS #1 - Choosing Colours that Suit You!
BONUS #2 - Choosing Fabric to Suit Your Style of Dress
BONUS #3 - Booking your Skype sessions with me.
